
Build a robot car that thinks!
Your car can dodge walls, follow a line, and even escape a maze. Build it once, then teach it three cool games.
Meet your robot car
A robot car is just three things working together. Get these three ideas and the rest is easy!
The car has an ultrasonic eye that sends a tiny sound beep we cannot hear. It listens for the echo. If the echo comes back fast, something is close!
A small computer called Arduino is the brain. You write instructions for it, like 'if too close, stop and turn'. The brain decides what to do.
The brain tells the wheels to roll forward, backward, or turn. A part called the motor driver gives the wheels the power they need to spin.
Before you build, play with the car's eye. Move the wall and watch how the car knows when to stop. This is exactly how the real sensor works.
Echo comes back in
2320 tiny seconds
What the car does
Drives forward
This module follows the same pattern that popular maker sites such as Instructables use for robot car builds: a short introduction, a Supplies list with a photo of every part, then numbered steps, each with a picture and a few clear actions, followed by the code, a test, and a troubleshooting section. We keep that familiar order but add one important idea: build the car once, then change only the code and a few sensors for each project.
Here is the whole adventure in six little steps. Tap a section below to open it and start building.
Know your parts
Lay out every piece and match it to its picture.
Print the chassis
If you have a 3D printer, print the plates (or use the kit plates).
Build the base car
Screw, plug and wire it up once. Then it is ready for all three games.
Game A: Dodge walls
Make it drive and steer away from anything in its way.
Game B: Follow the line
Teach it to stick to a black tape path on the floor.
Game C: Escape the maze
Help it solve a maze and remember the shortest way out.
Build the car ONCE. Then you only change the code for each game, you never rewire it. The code for older builders is hidden in little boxes you can open when you are ready.
Lay every part on a clean table and tick it off. Your parts should look like the pictures.
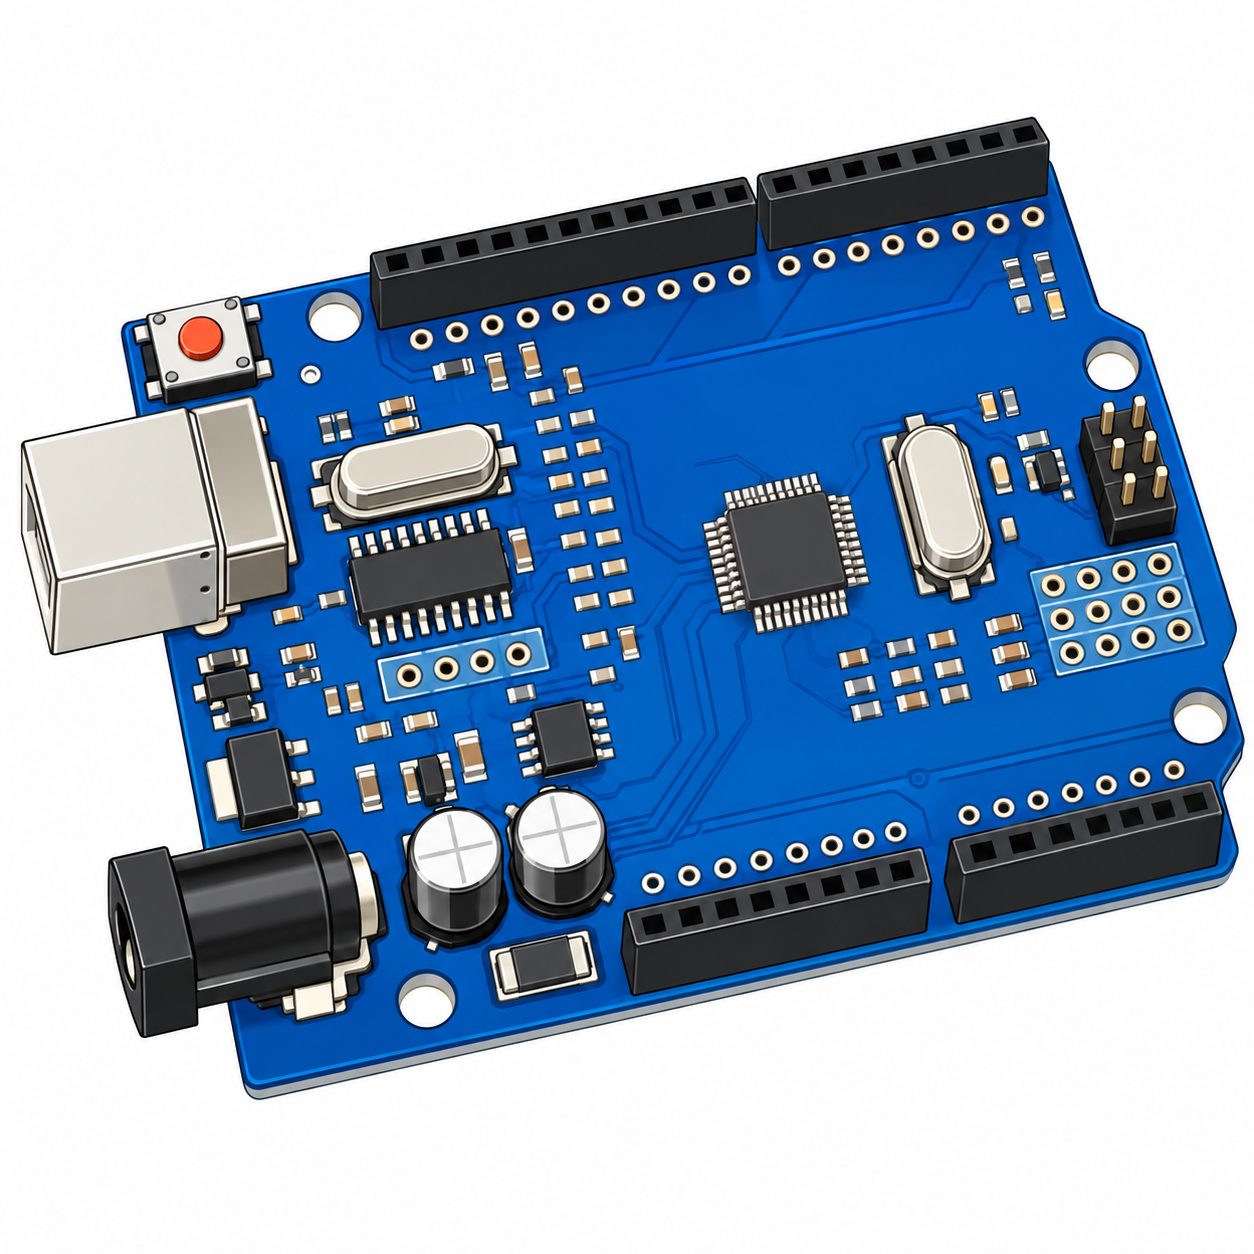
UNO R3 board (1)
The "brain". Runs your Arduino sketch and reads sensors.
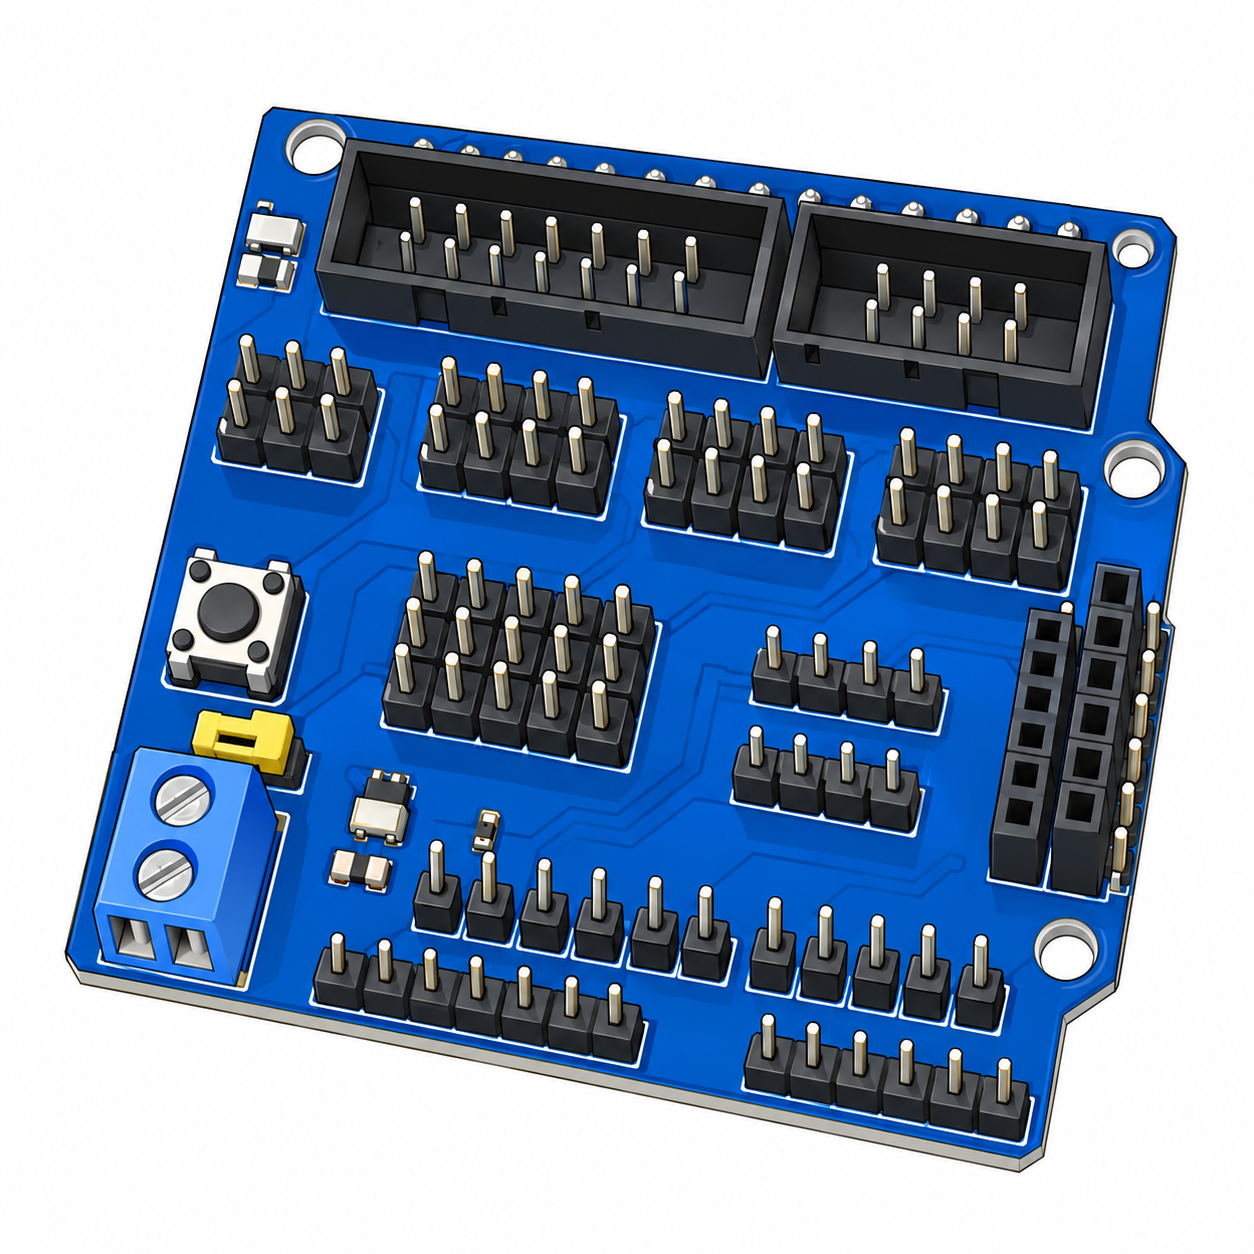
Sensor Shield v5.0 (1)
Plugs on top of the UNO. Every pin gets a 3-pin G/V/S header, so sensors plug in with no breadboard.
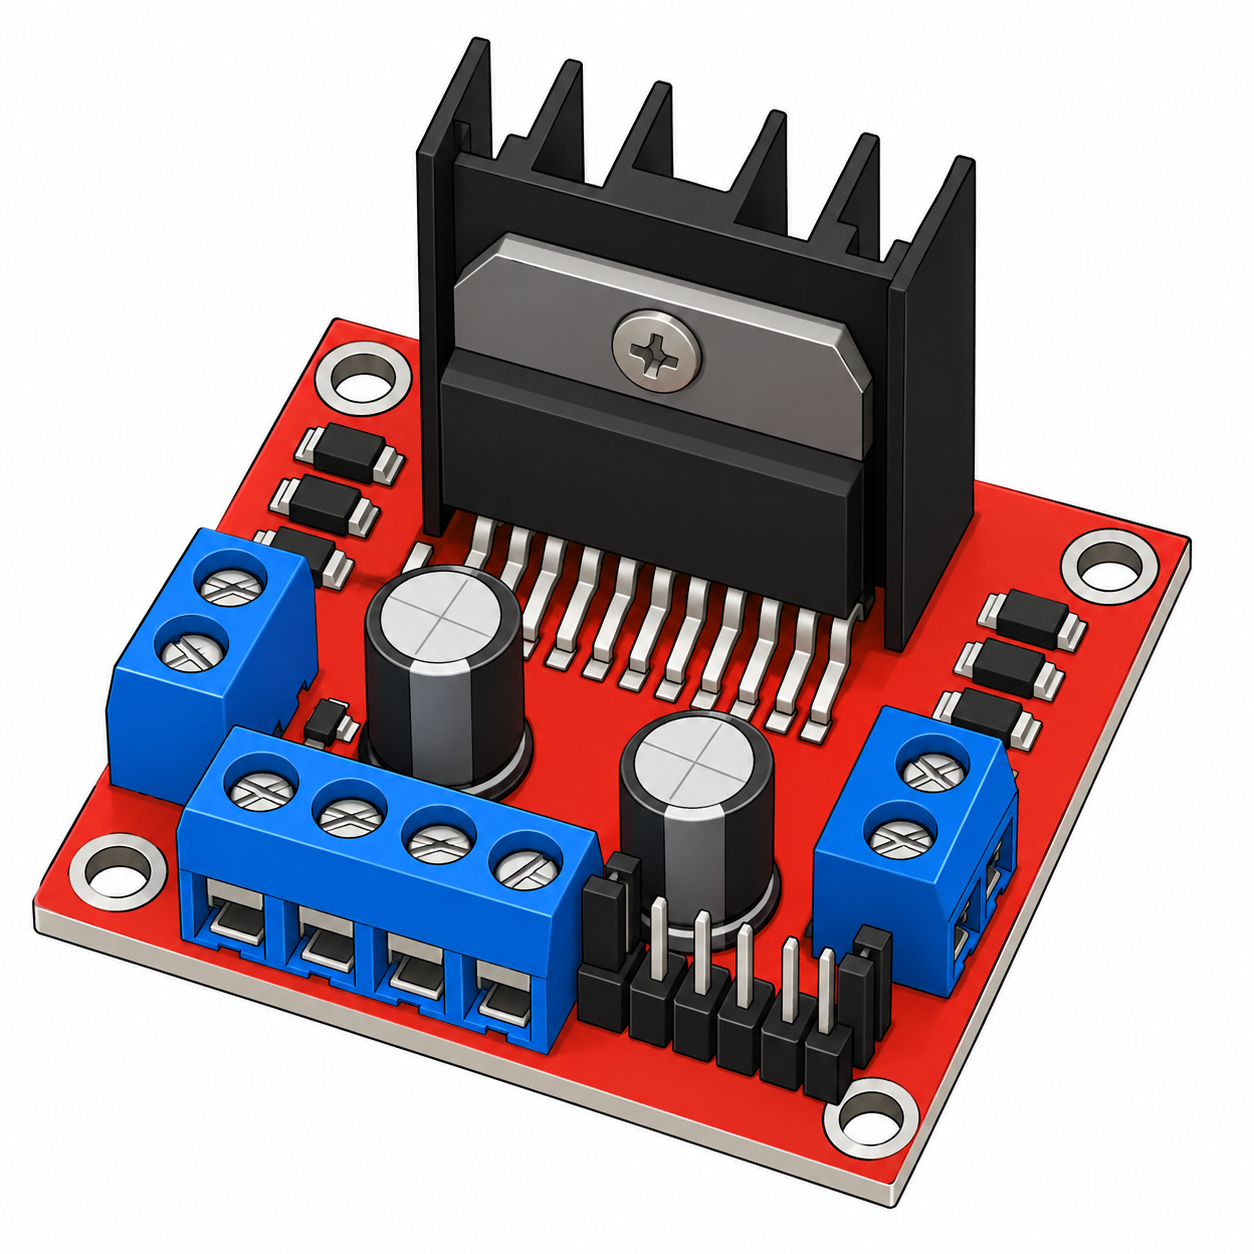
L298N motor driver (1)
Turns the small Arduino signals into motor power. Drives the left pair and right pair of motors forward or backward at variable speed.
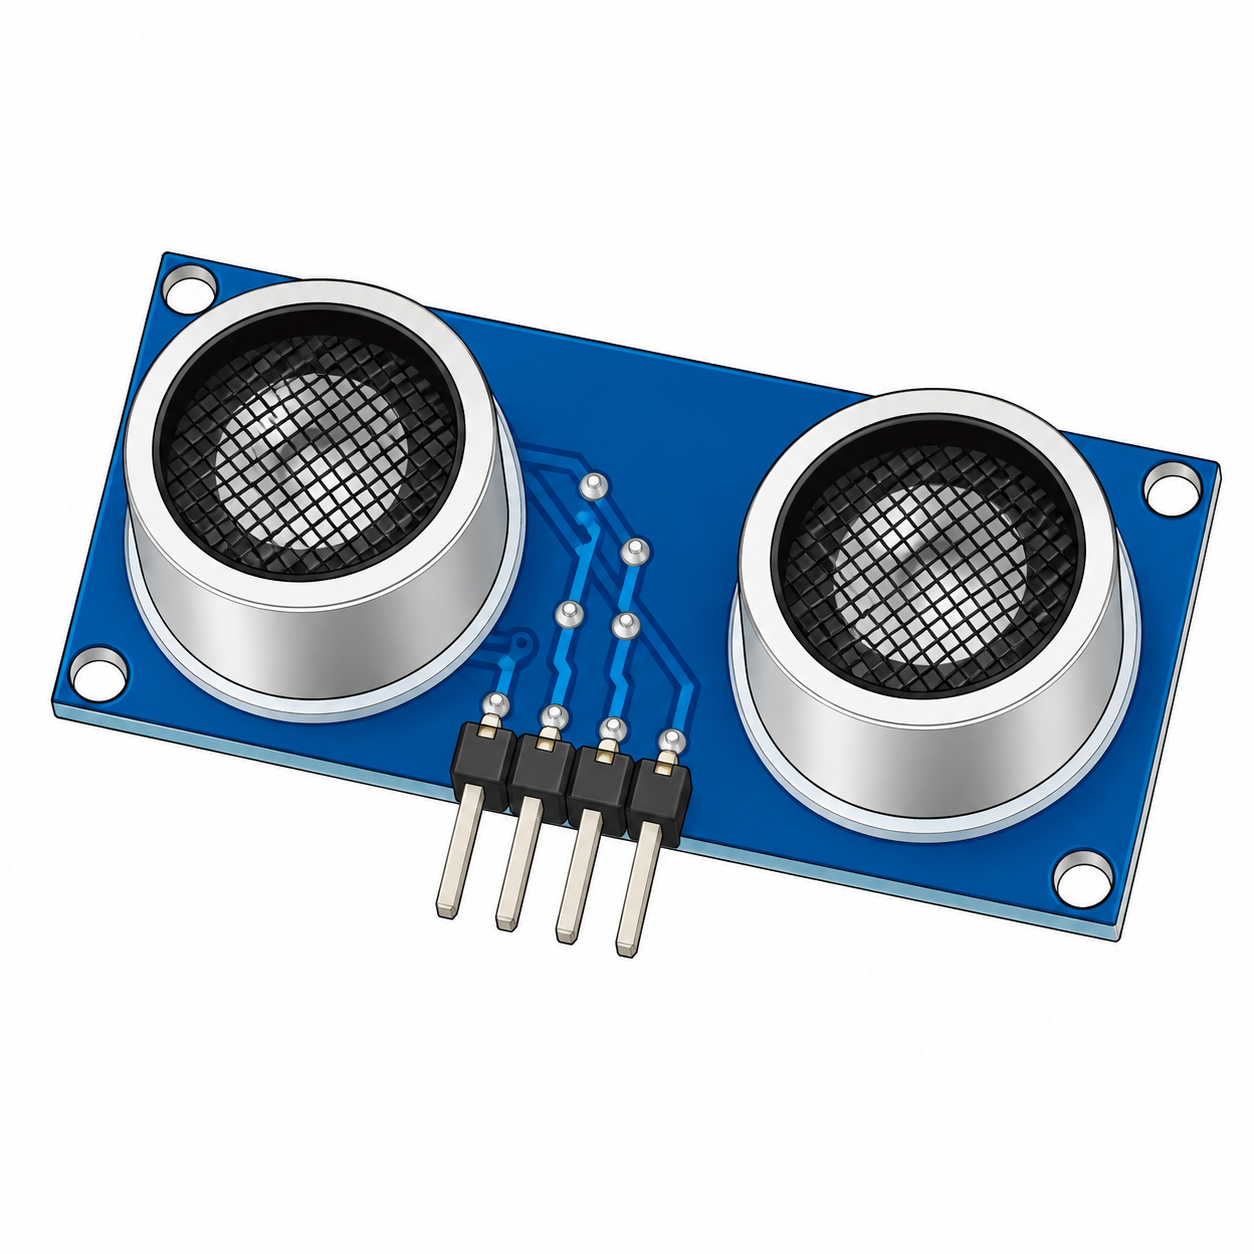
HC-SR04 ultrasonic sensor (1)
Measures distance (2–400 cm) with sound echoes. The car's "eyes" for obstacles and walls.
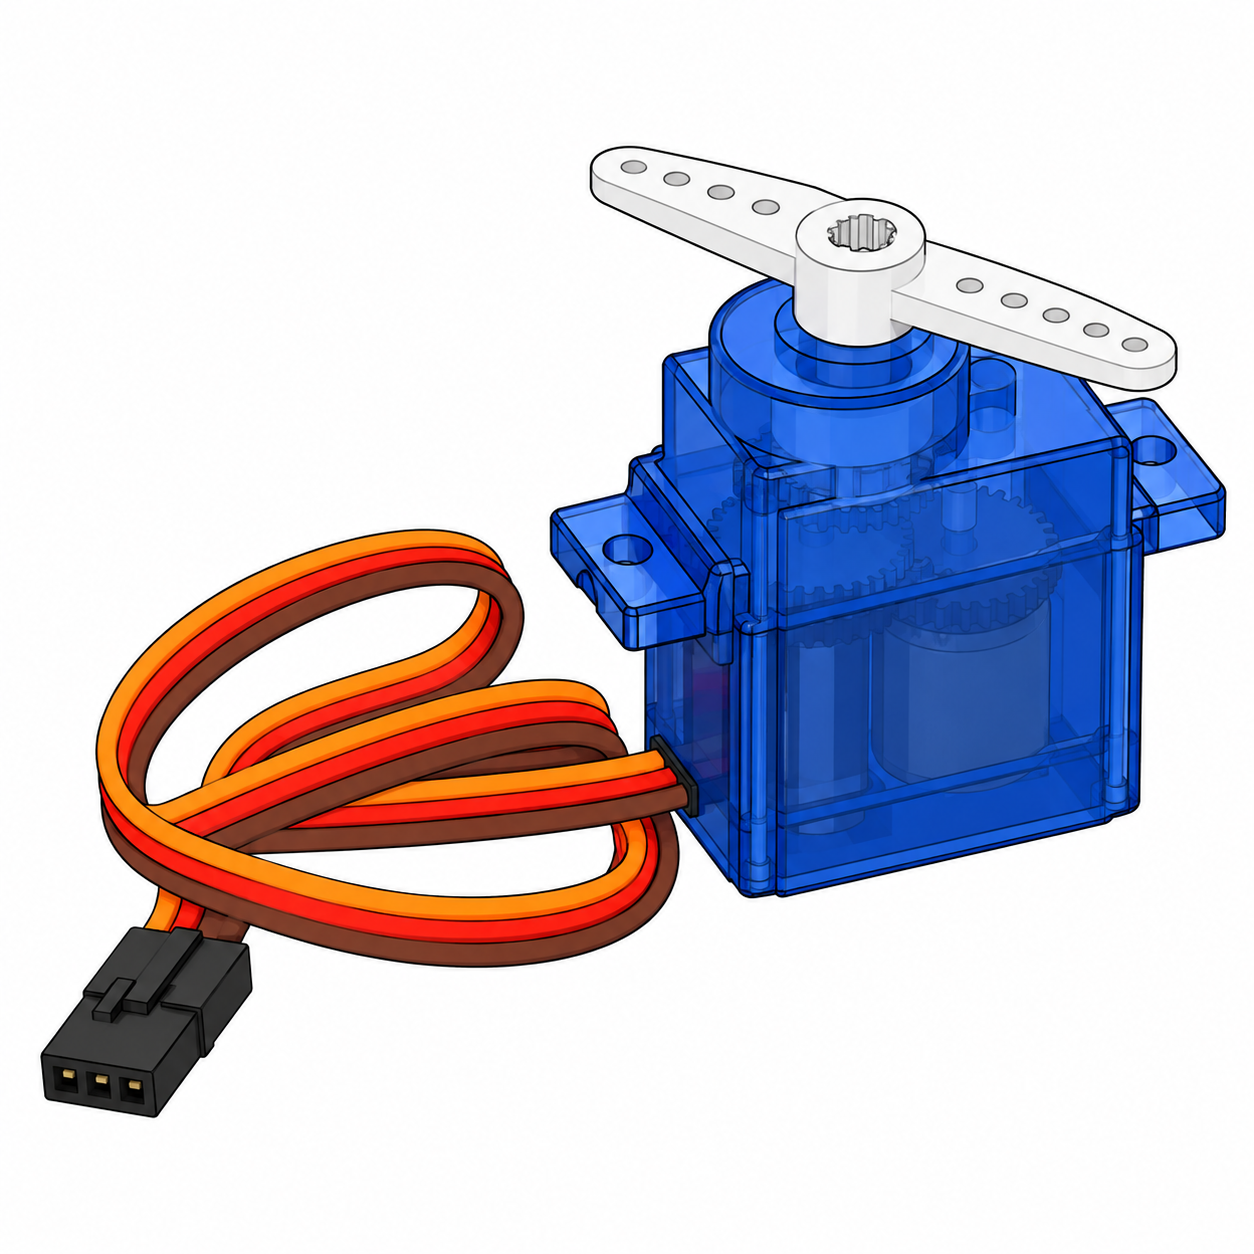
SG90 micro servo (1)
Turns the ultrasonic sensor left and right so the car can look around.

Pan-tilt bracket (1 set)
Holds the servo and the HC-SR04 at the front of the car.
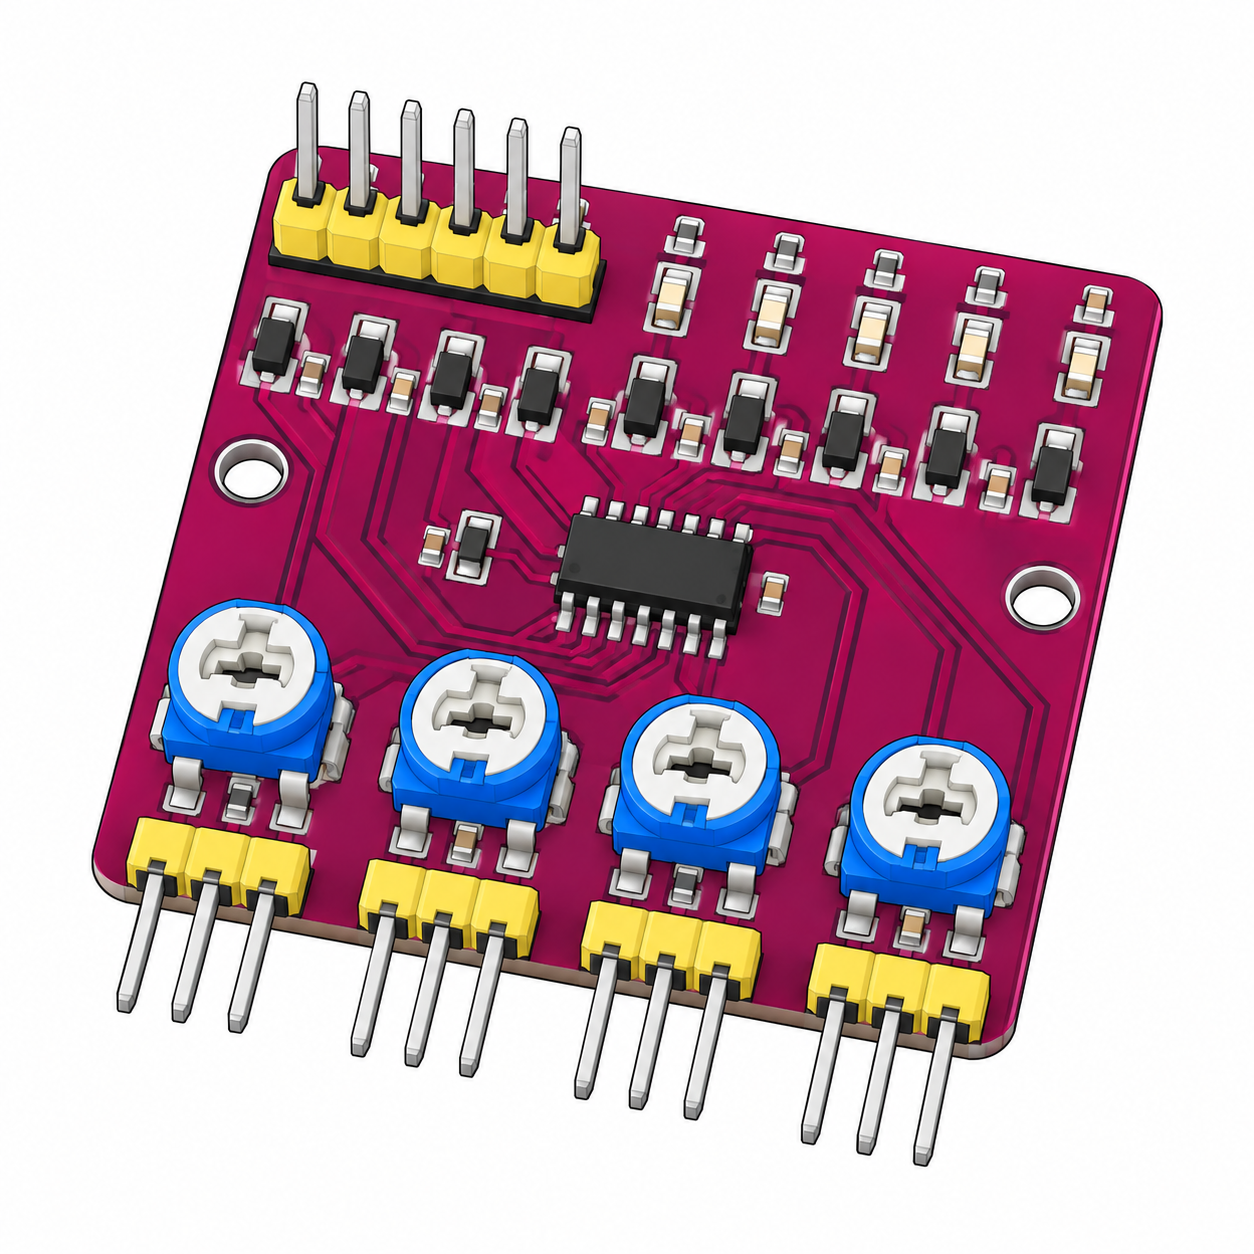
4-channel tracking board (1)
Comparator board with 4 blue sensitivity knobs. Converts the probe signals into clean HIGH/LOW outputs.
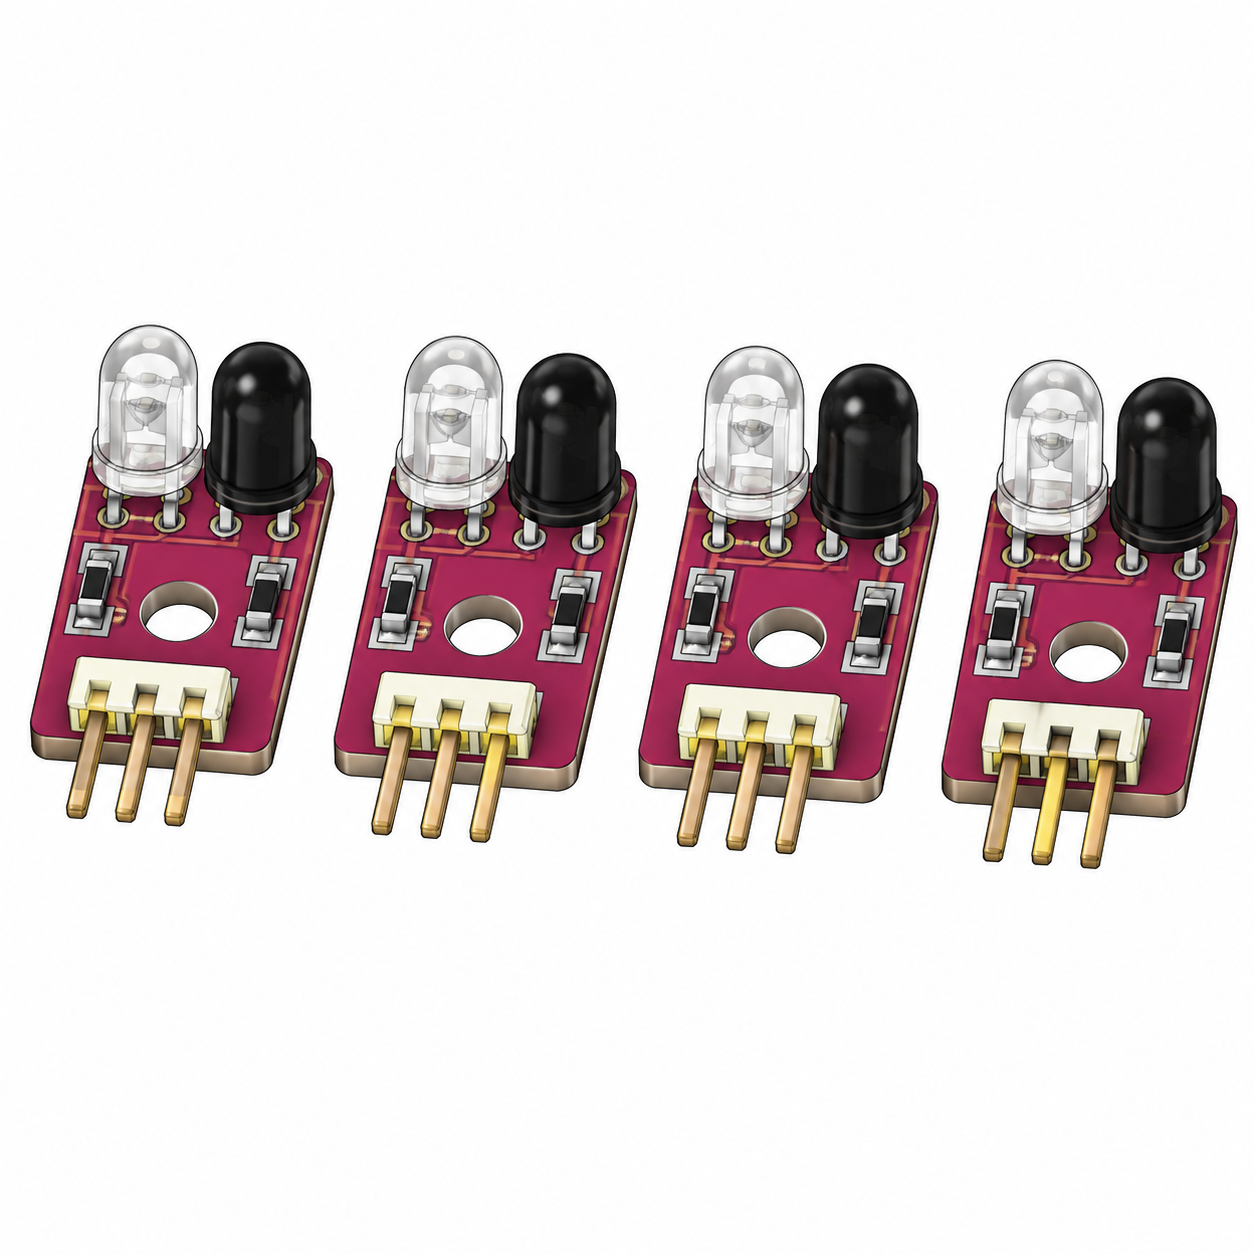
IR line probes (4)
Small TCRT5000-type sensors mounted under the front to see black tape.
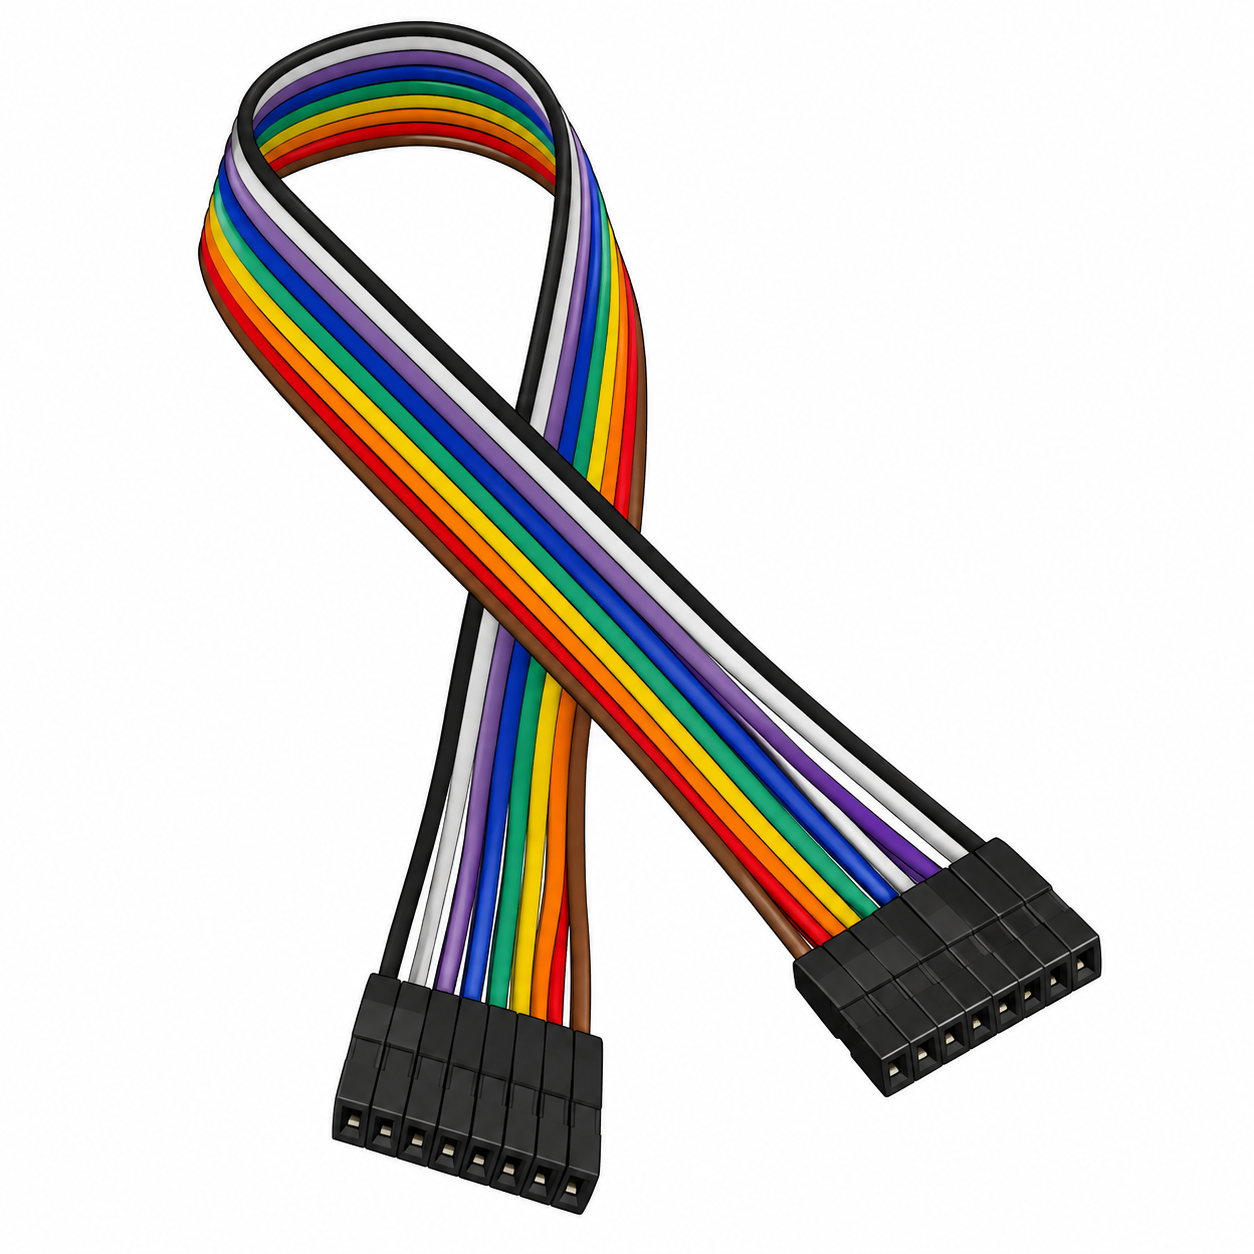
Dupont jumper wires
Female-female ribbon wires for all signal connections.

USB cable, red/black wire, header pins
USB for programming; red/black wire for power; header strip for spare connections.
The chassis pieces (the frame)
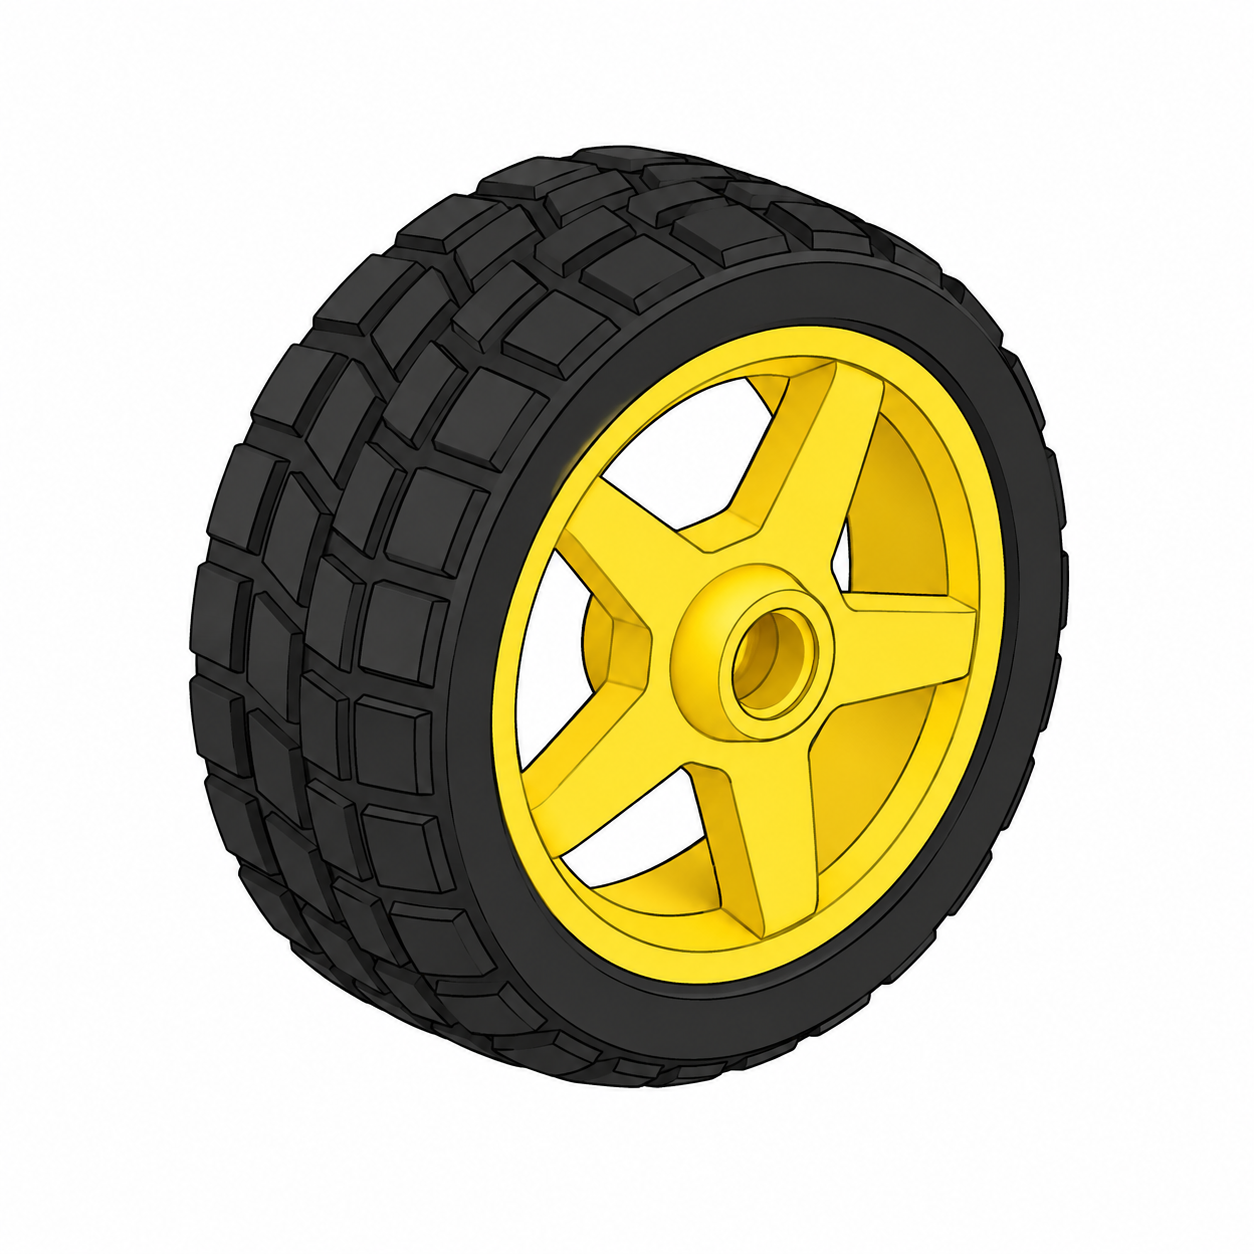
Wheel (4)
Rubber tire that pushes onto each motor shaft.
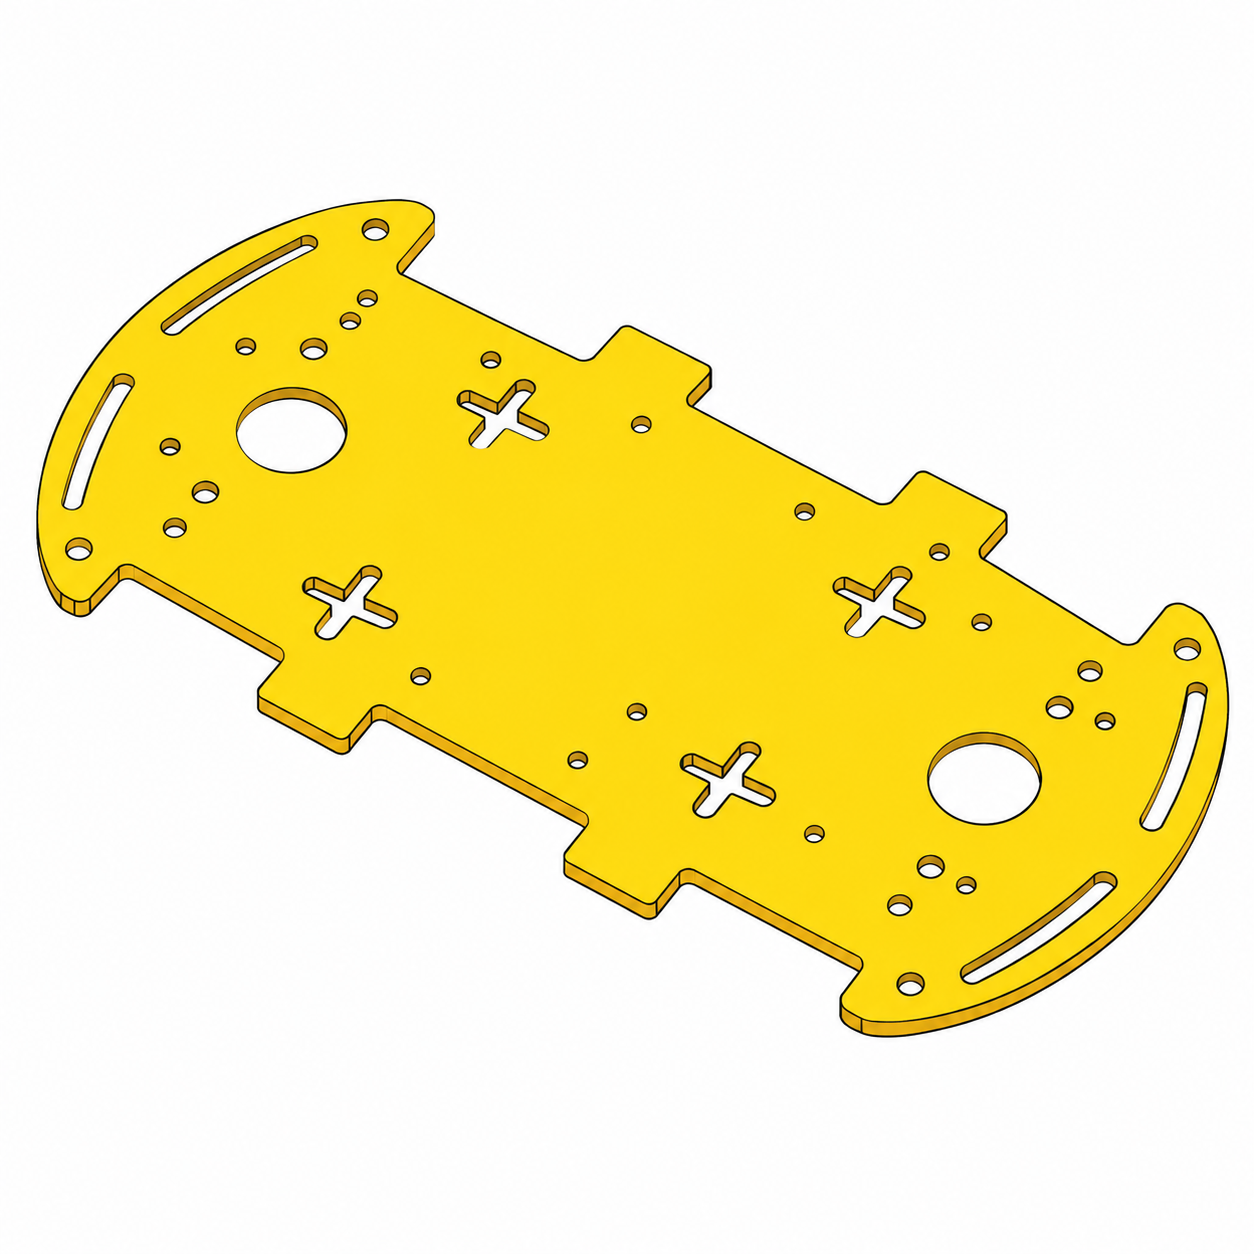
Chassis Plate (2)
Flat plate that holds all the parts. Two plates: top and bottom.
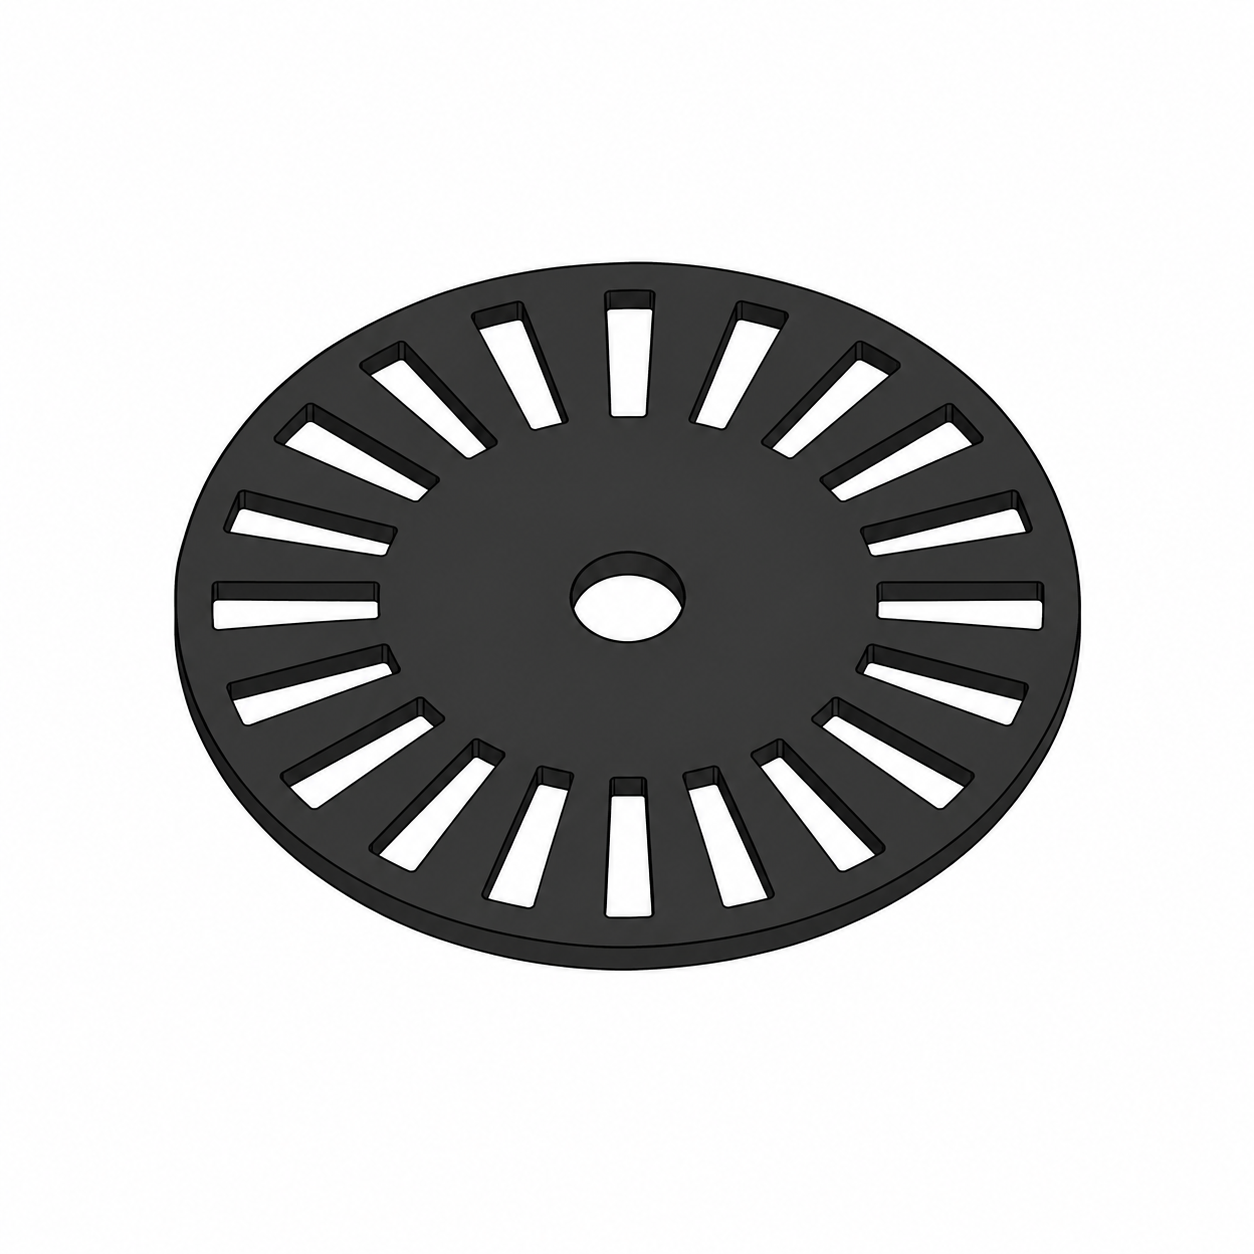
Encoder Disc (4)
Slotted disc that measures wheel speed.
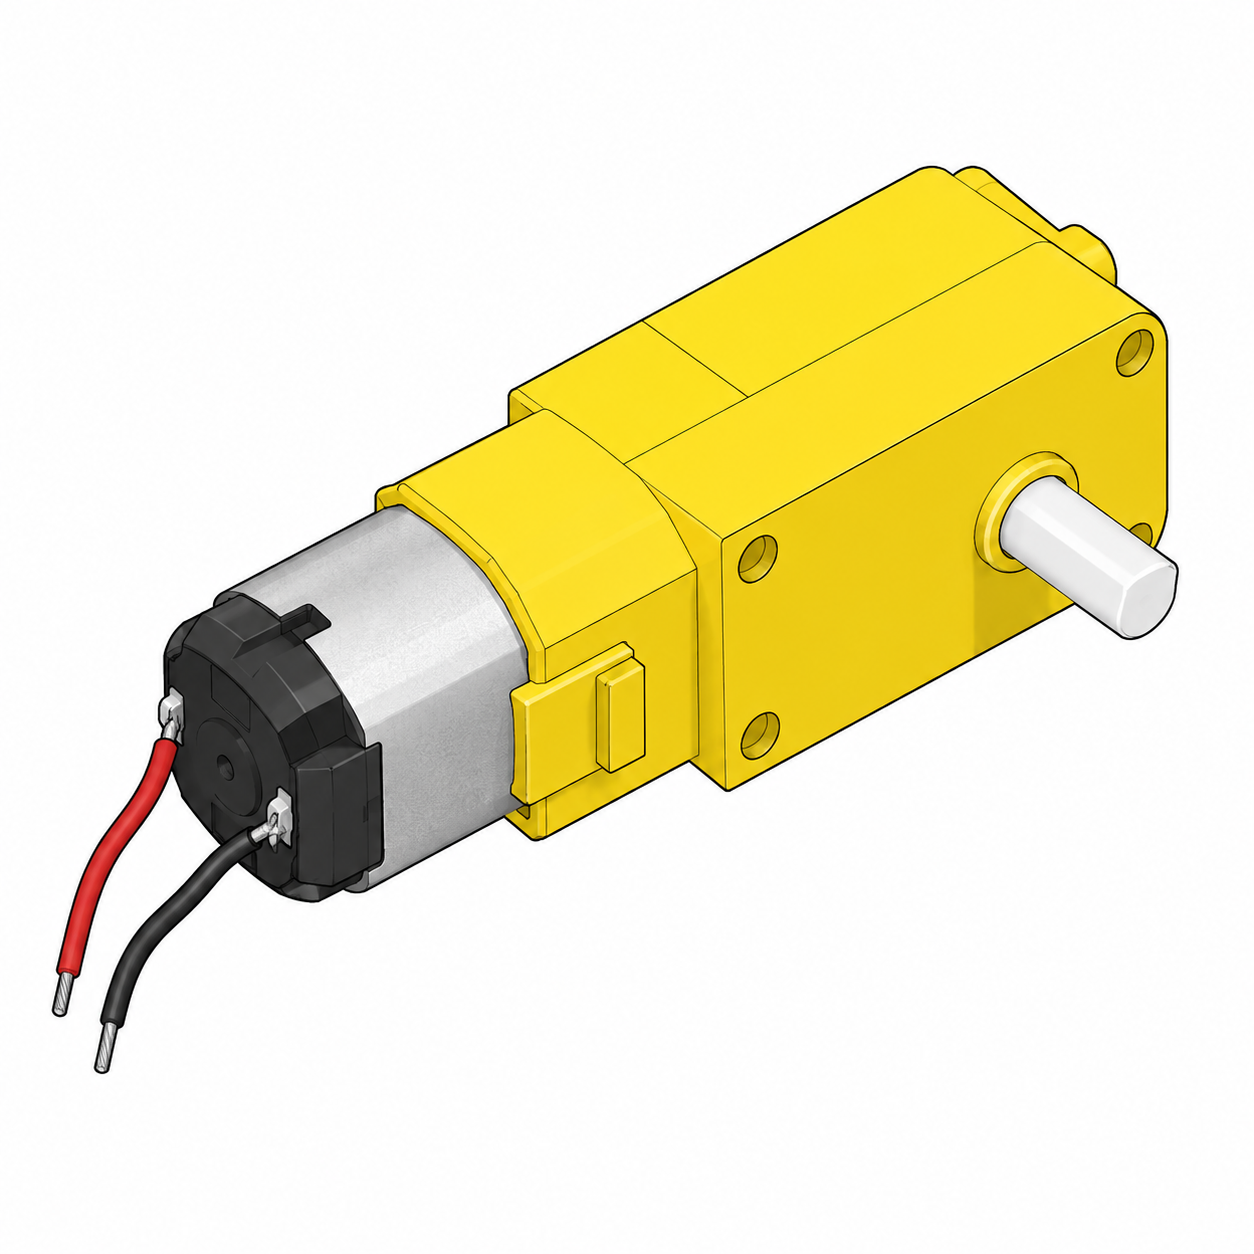
DC Gear Motor (4)
Motor that spins each wheel.
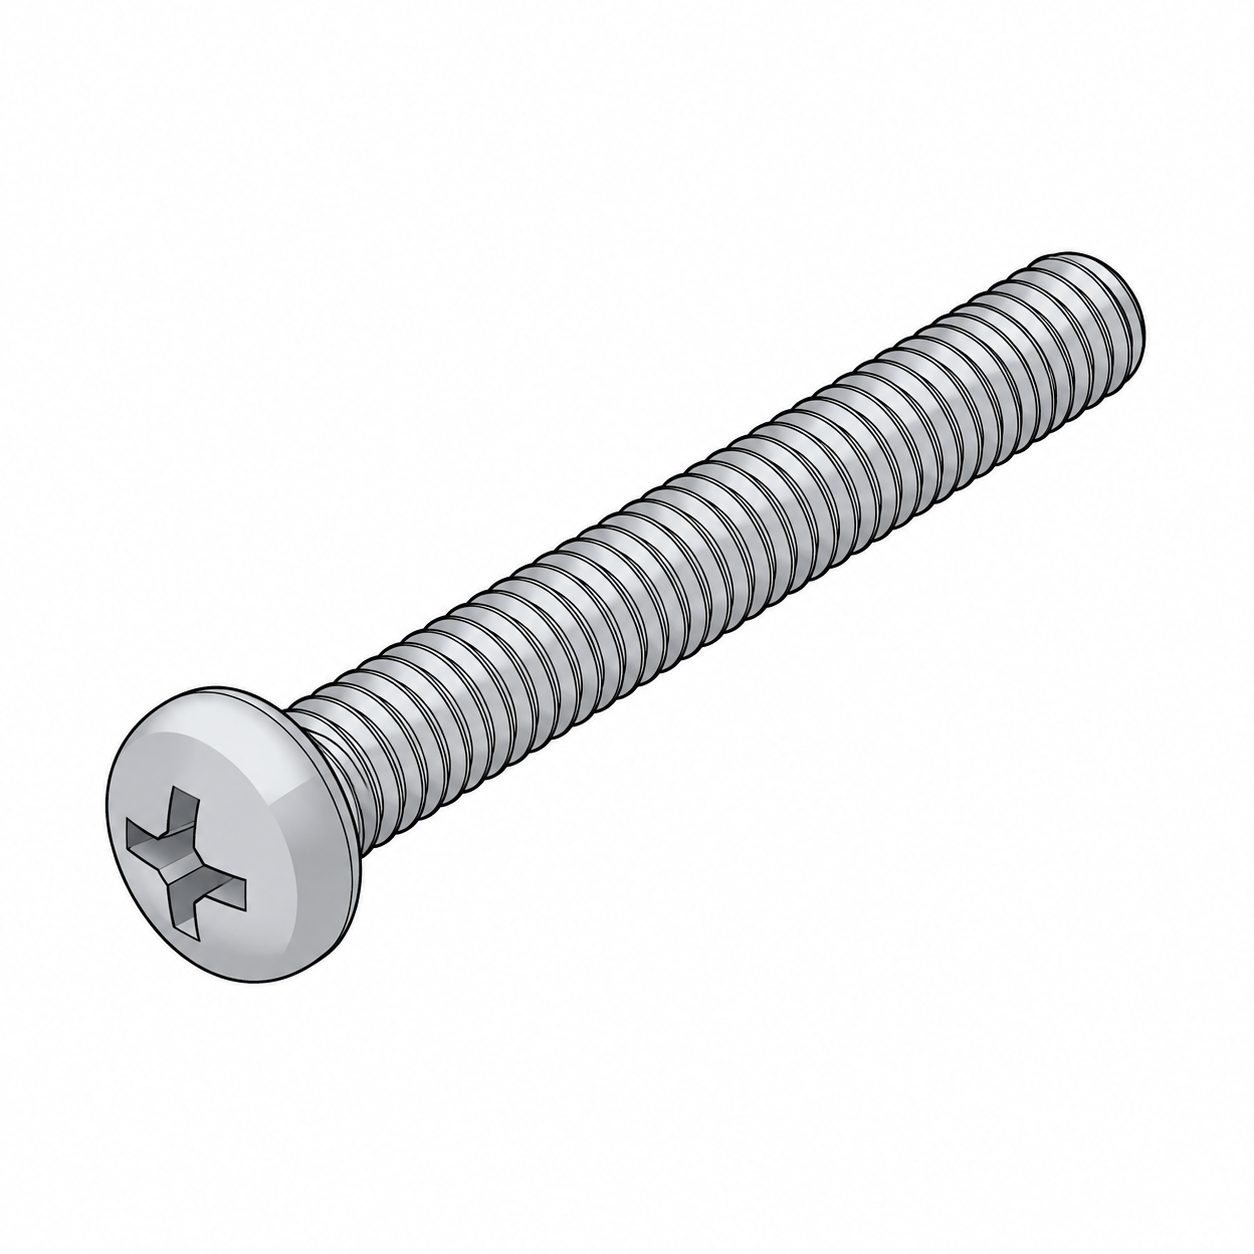
Long Screw (8)
Long screw that holds the motors.
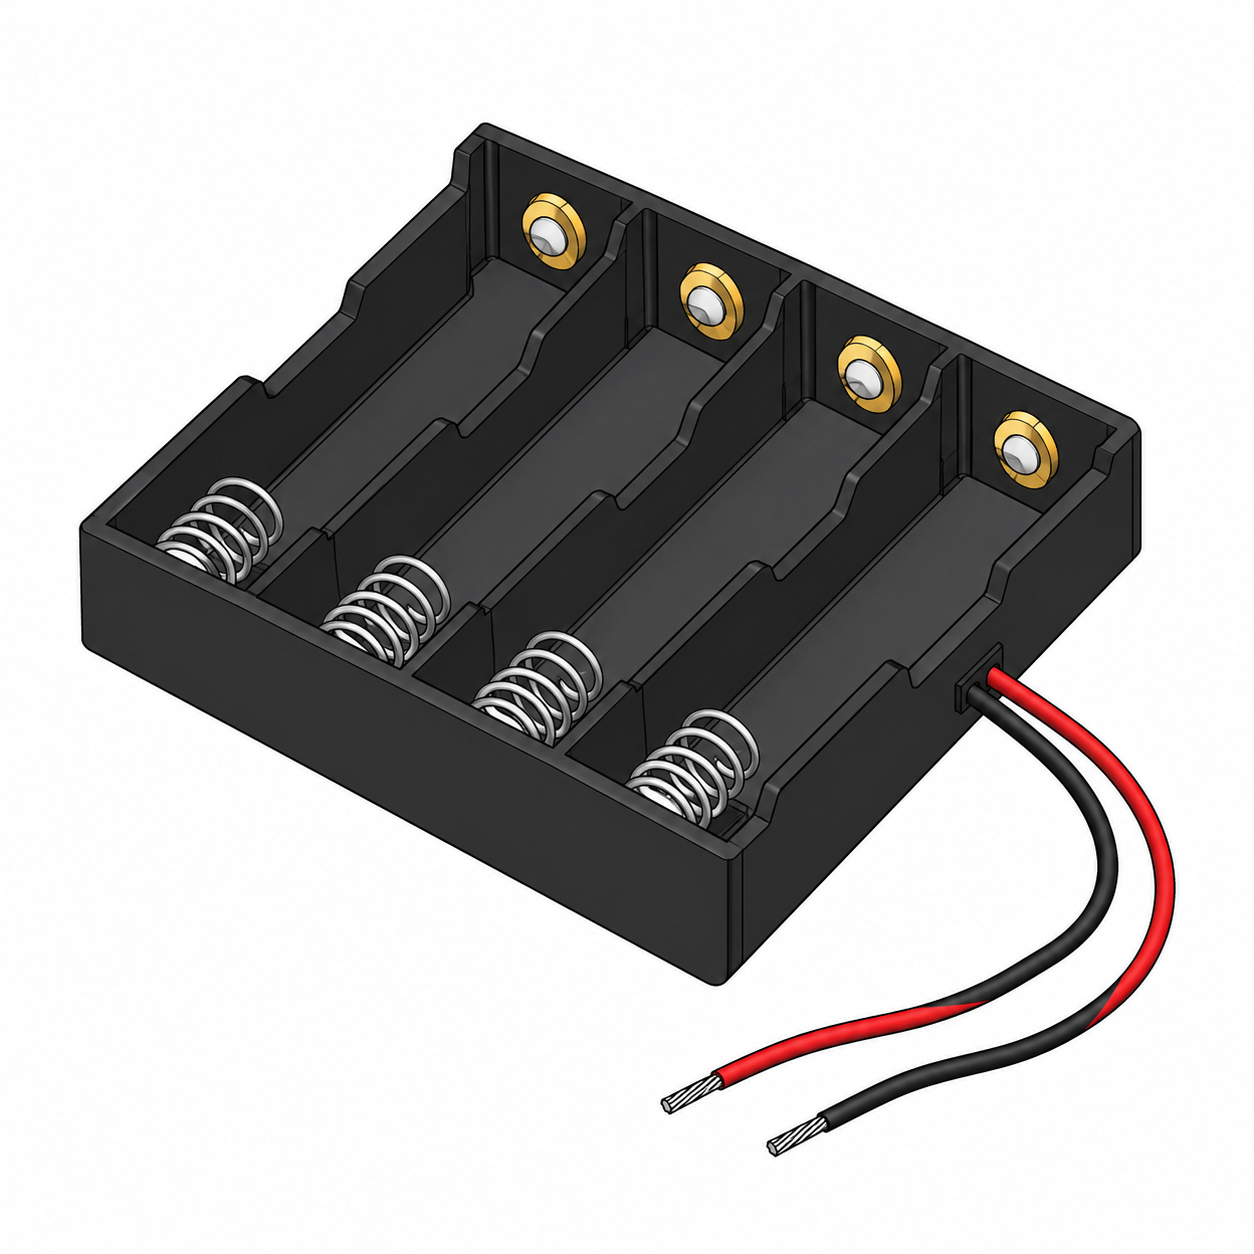
Battery Holder (1)
Box that holds the batteries.
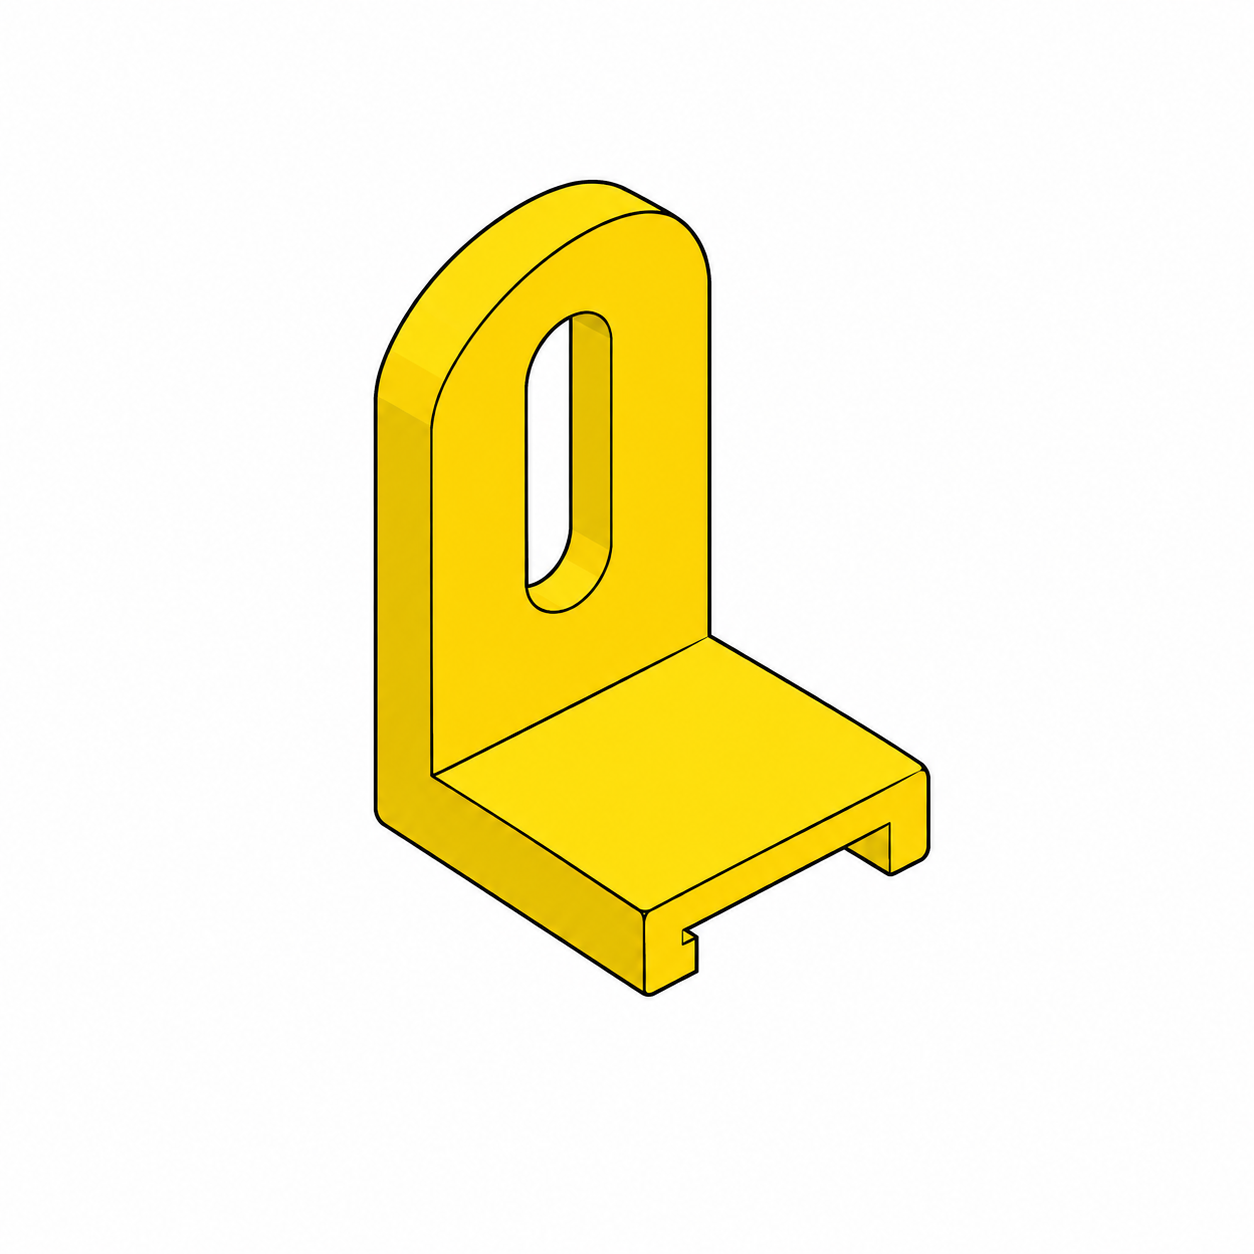
Motor Bracket (8)
Metal clip that holds each motor to the plate.
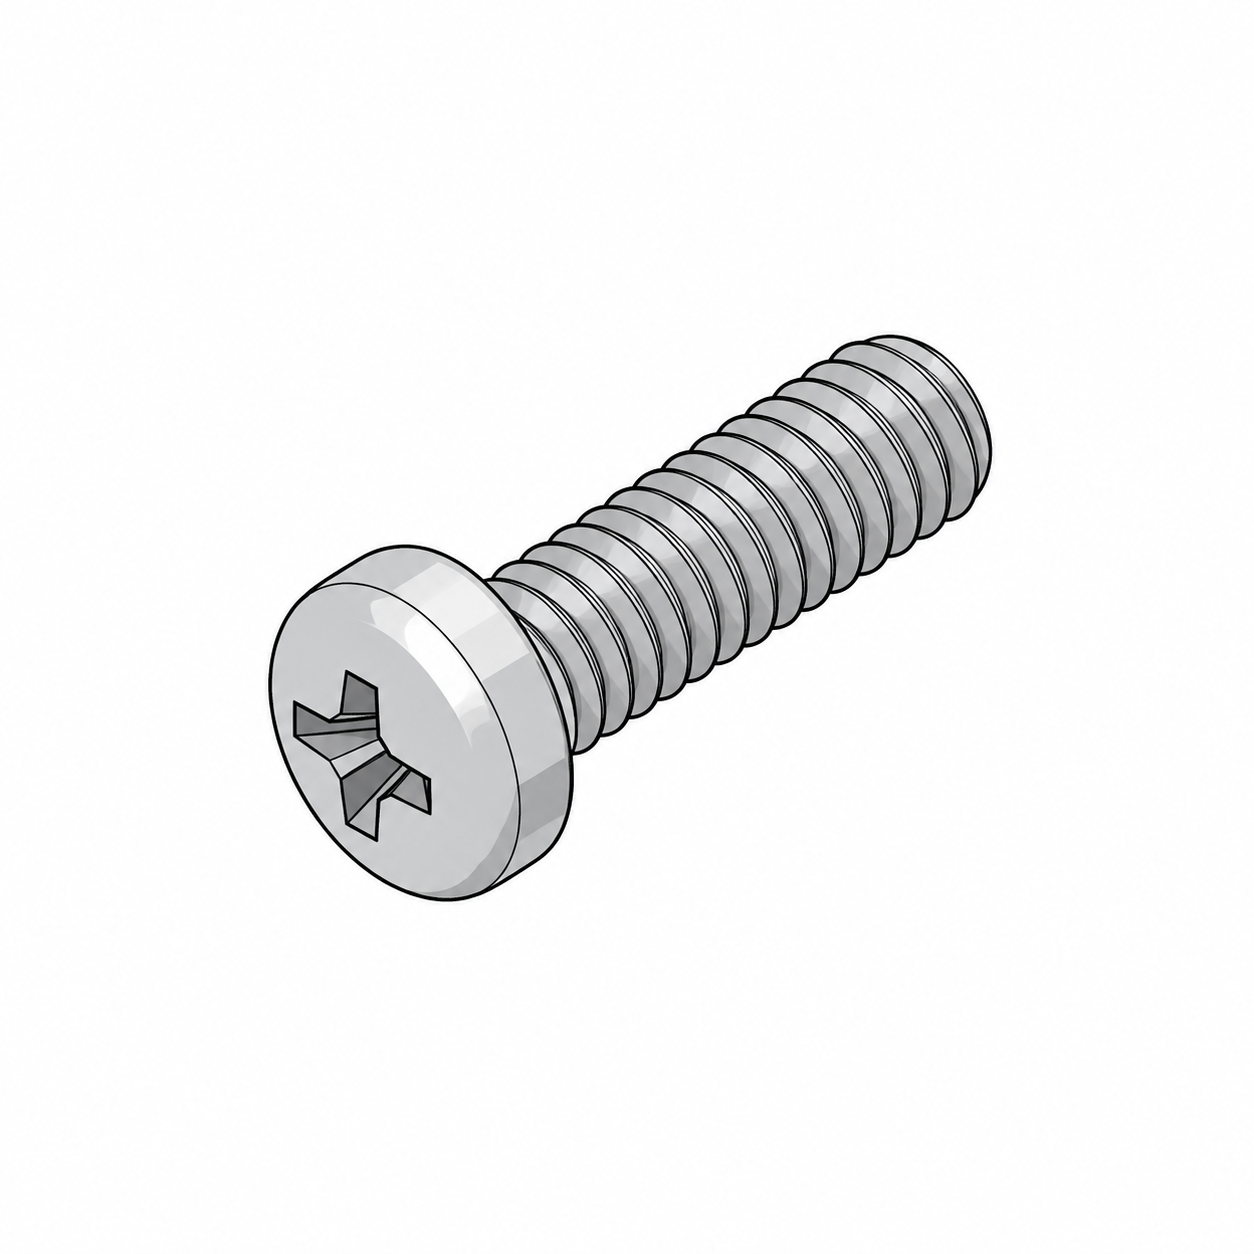
Short Screw (12)
Short screw for boards and spacers.
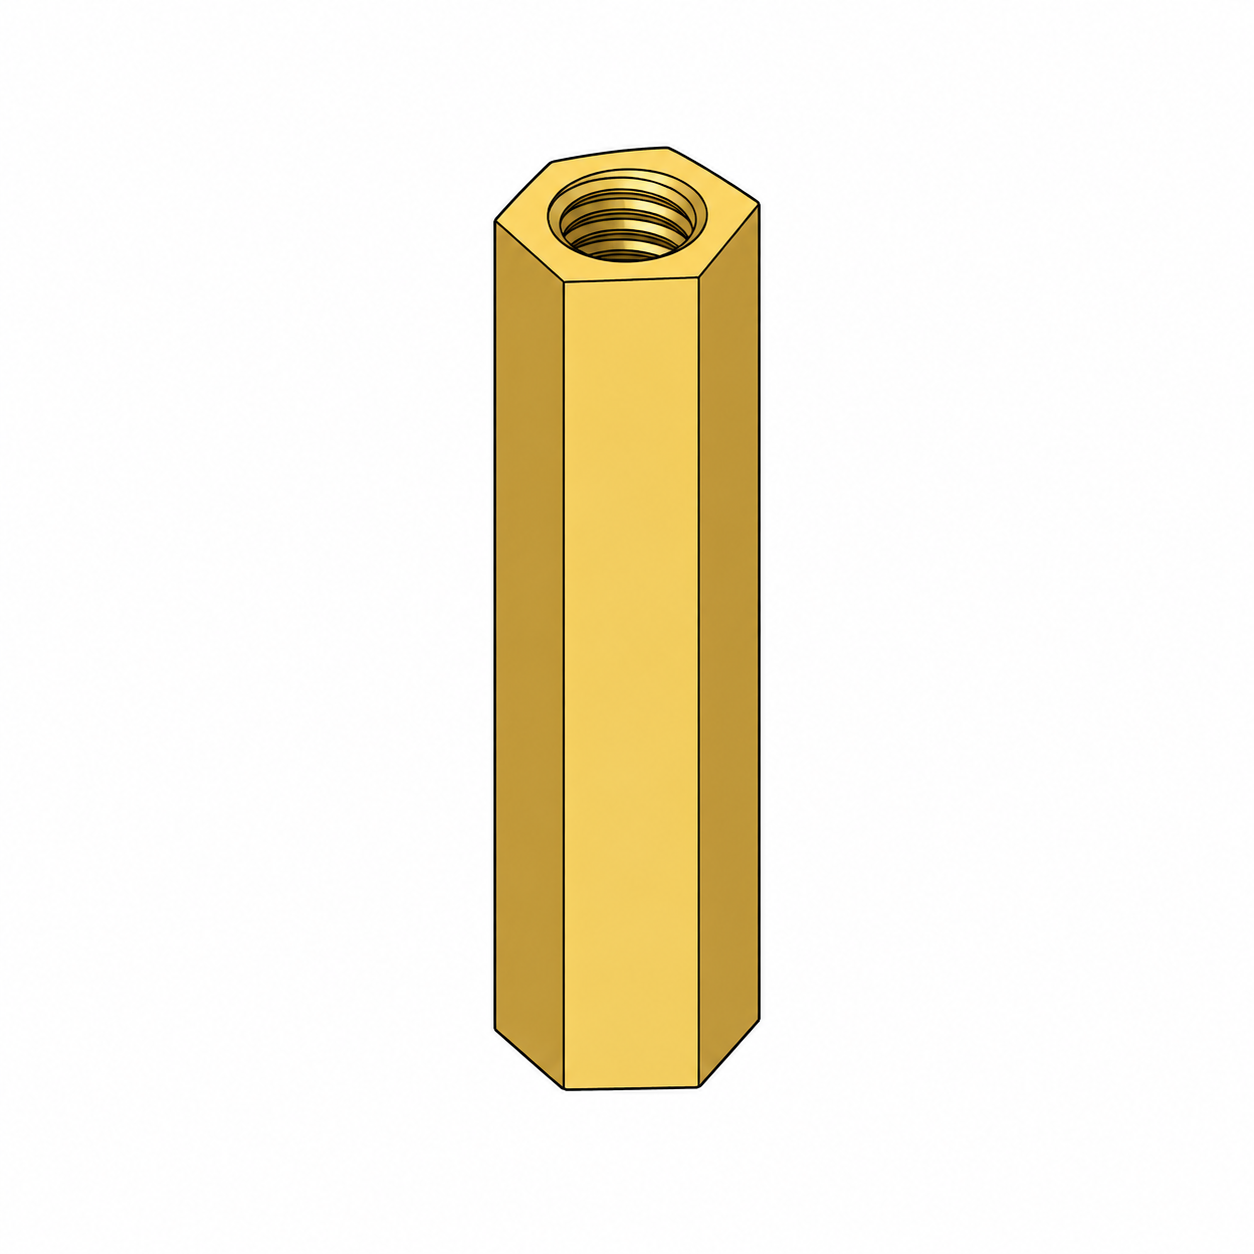
Hex Spacer (4)
Brass rod that spaces the top and bottom plates apart.
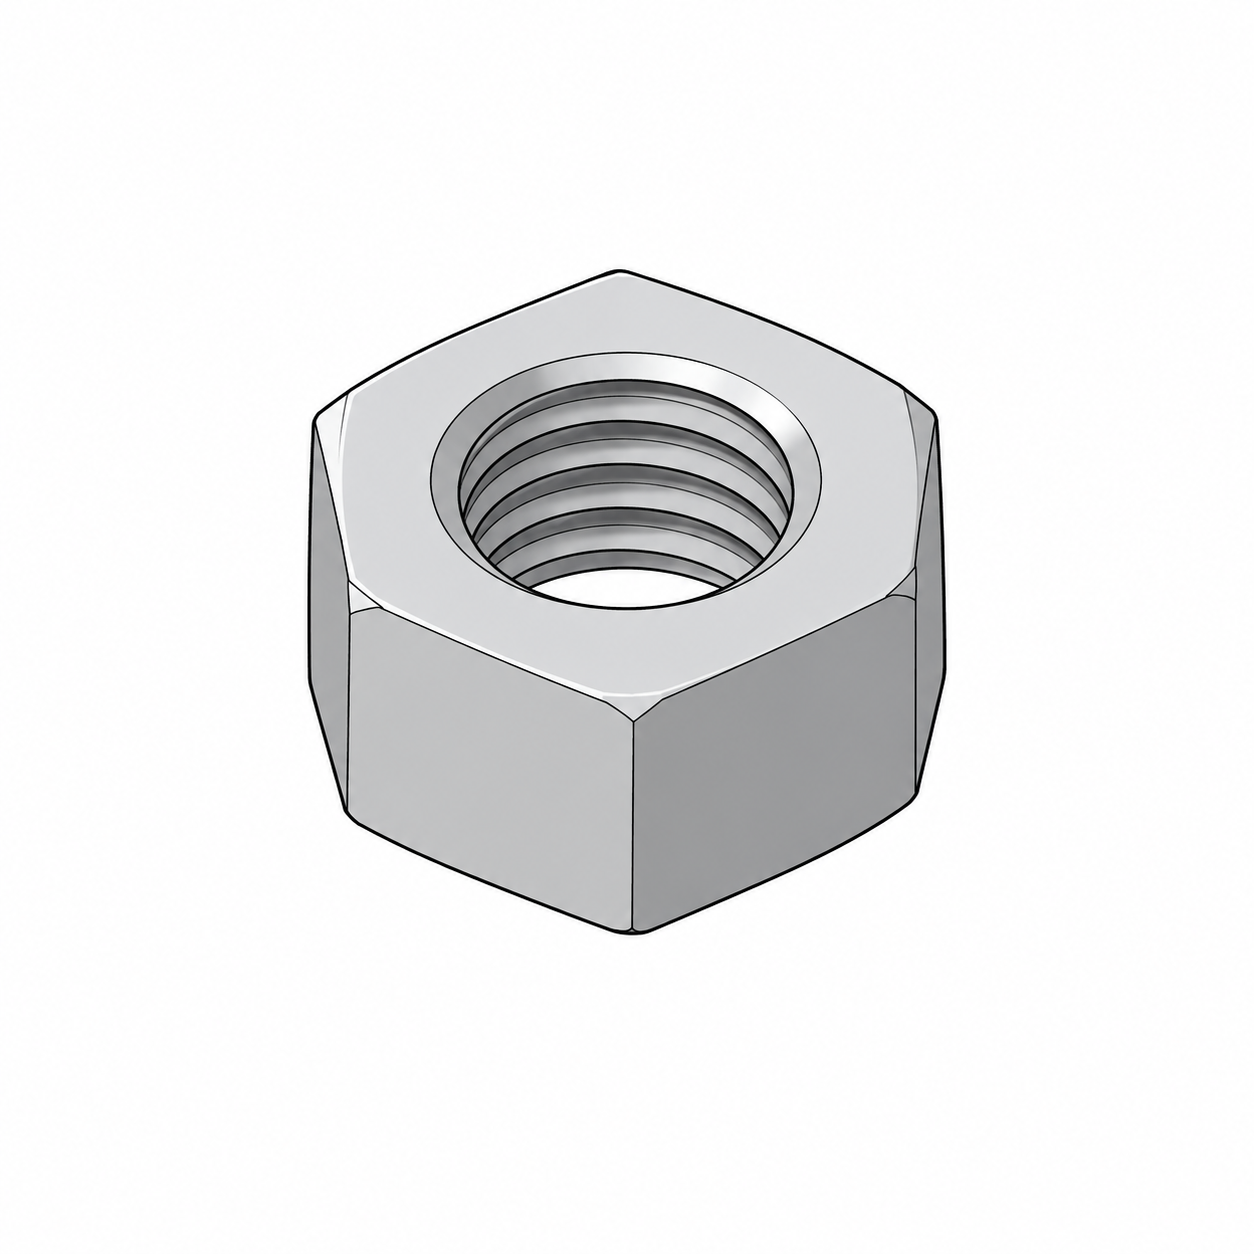
Hex Nut (8)
Nut that locks the motor screws tight.
Extra tools you also need (not in the kit)
- • Small Phillips screwdriver, wire stripper, and electrical tape. A soldering iron is needed only if your motors do not have wires attached.
- • Batteries for the battery box (2 or 4 cells). Rechargeable 18650 cells need a proper charger.
- • A small ON/OFF switch (strongly recommended) placed in the red battery wire.
- • For Project B and C1: black electrical tape 18–25 mm wide and a light, matte floor or a large white cartolina/illustration board.
- • For Project C2: cardboard, books or wood blocks to make maze walls at least 10 cm high.
- • A computer with Arduino IDE 2.x installed (free from arduino.cc). Select Tools > Board > Arduino Uno and the correct Port.