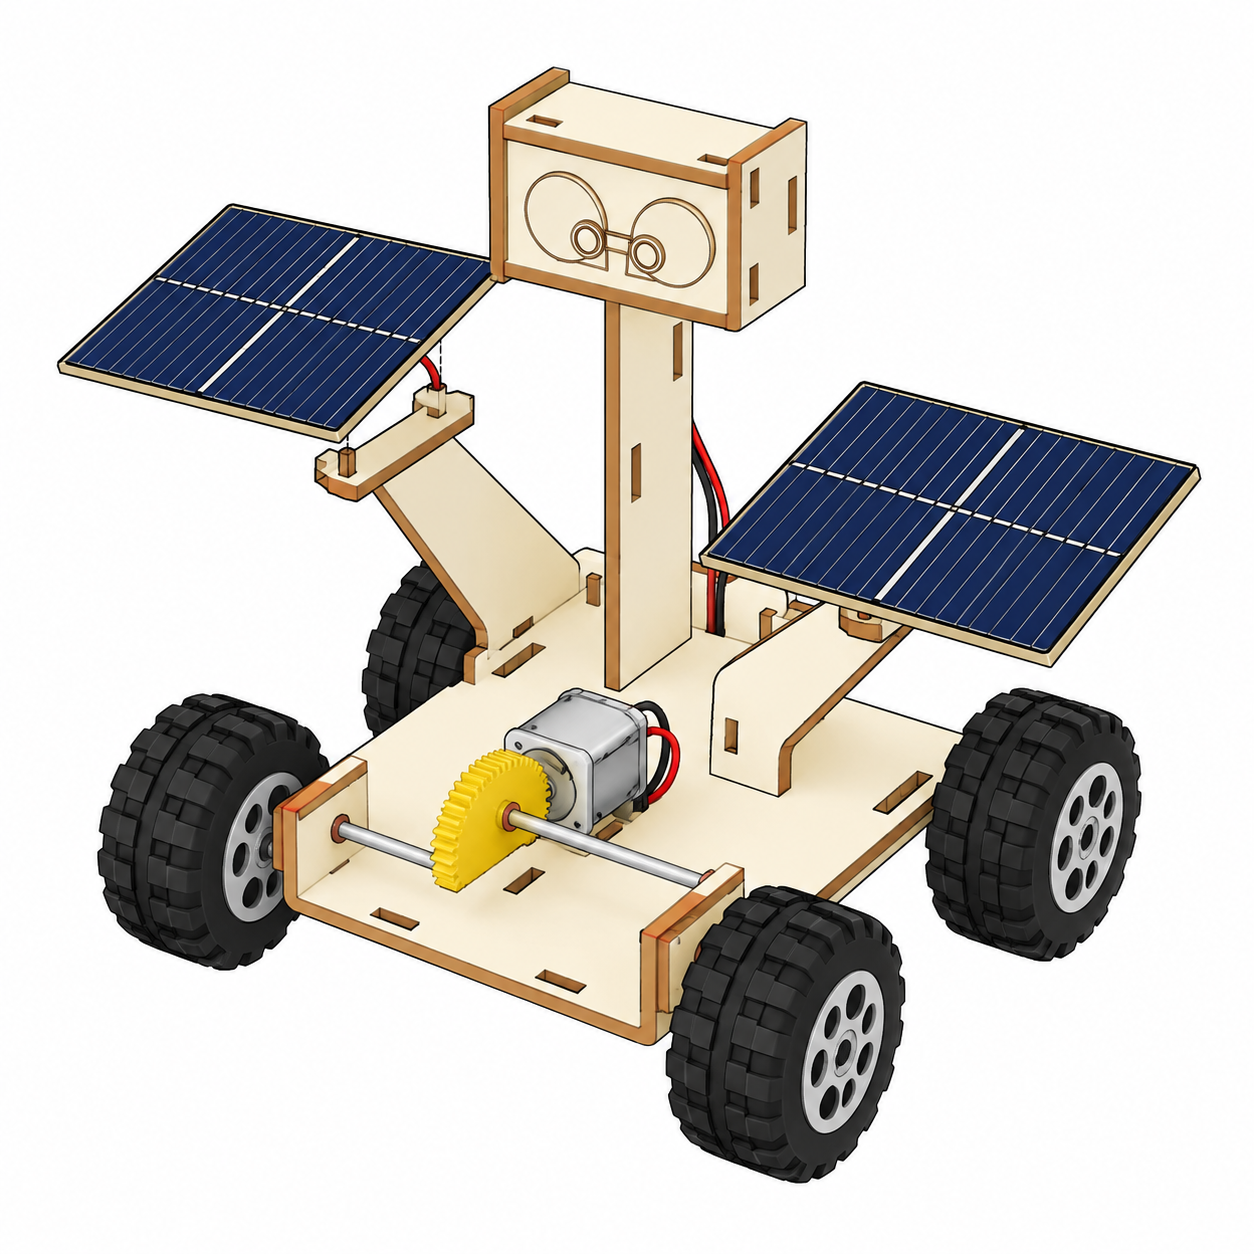
Solar Lunar Rover
3D-print every part yourself, then build a sun-powered rover with gears, a motor and solar panels
This rover is fully 3D-printed. Every body panel, support, mast, gear and wheel comes straight off your printer bed. You only add a small DC motor, two solar panels and a metal axle, and you have a car that runs on sunlight. First print the parts, then follow the assembly steps in order. Tick the Completed button on each step so you can track your progress.
3D-printed parts (17)
Print every part below yourself. Lay them out and tick each one off as you find it.
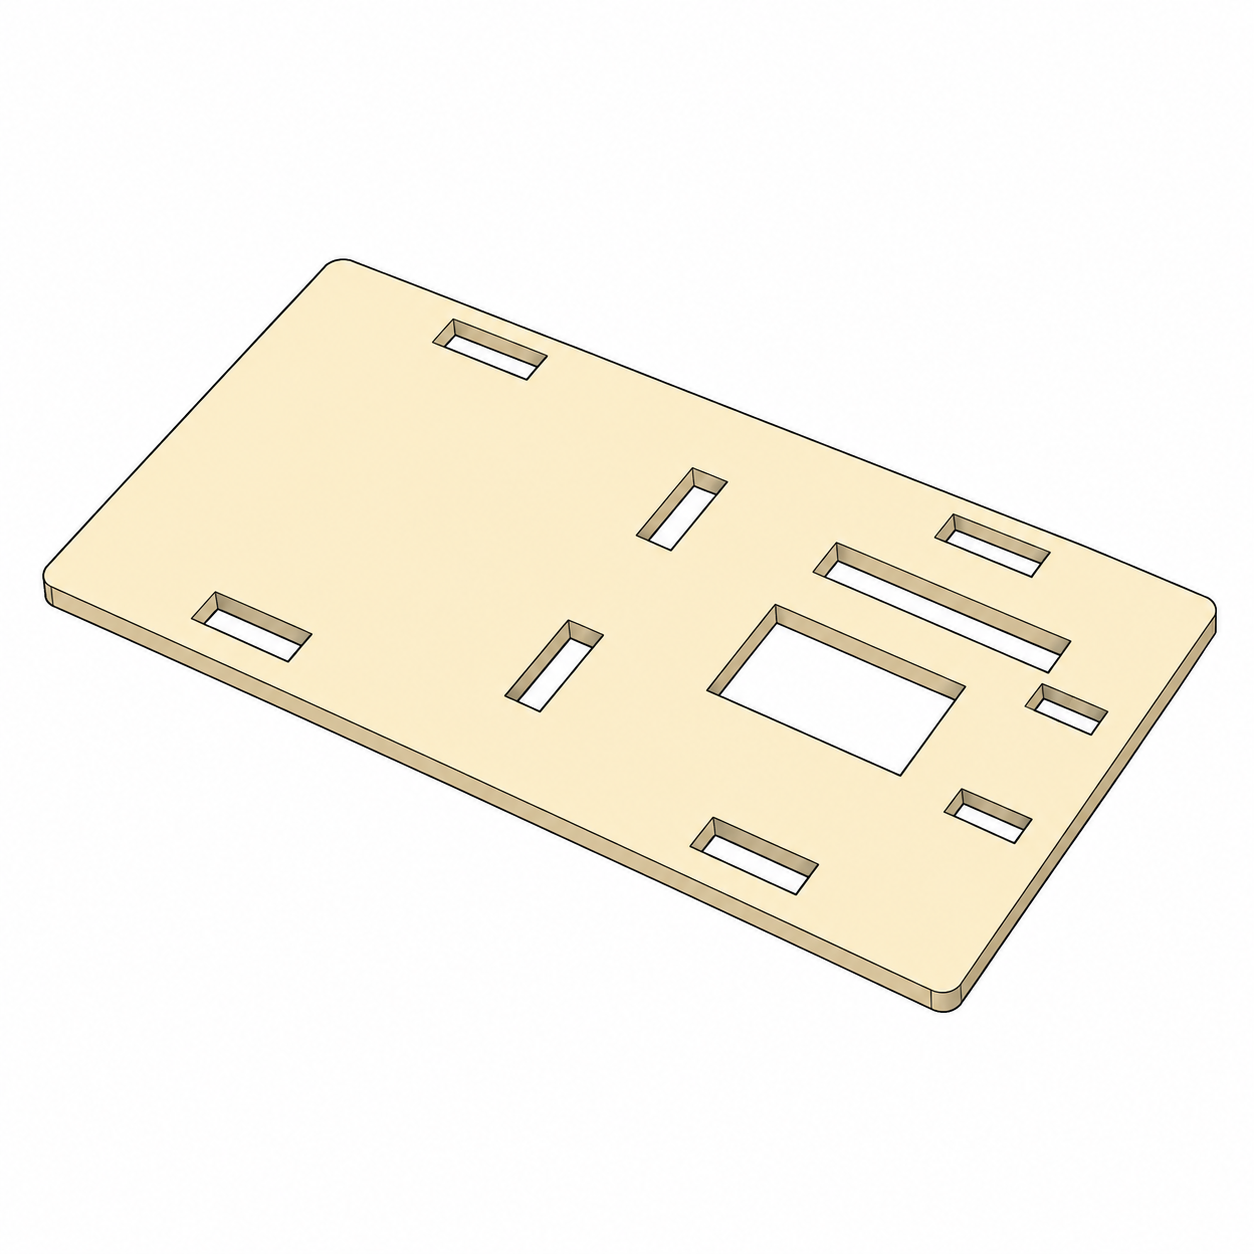
Chassis Plate
Main base that holds all the parts.
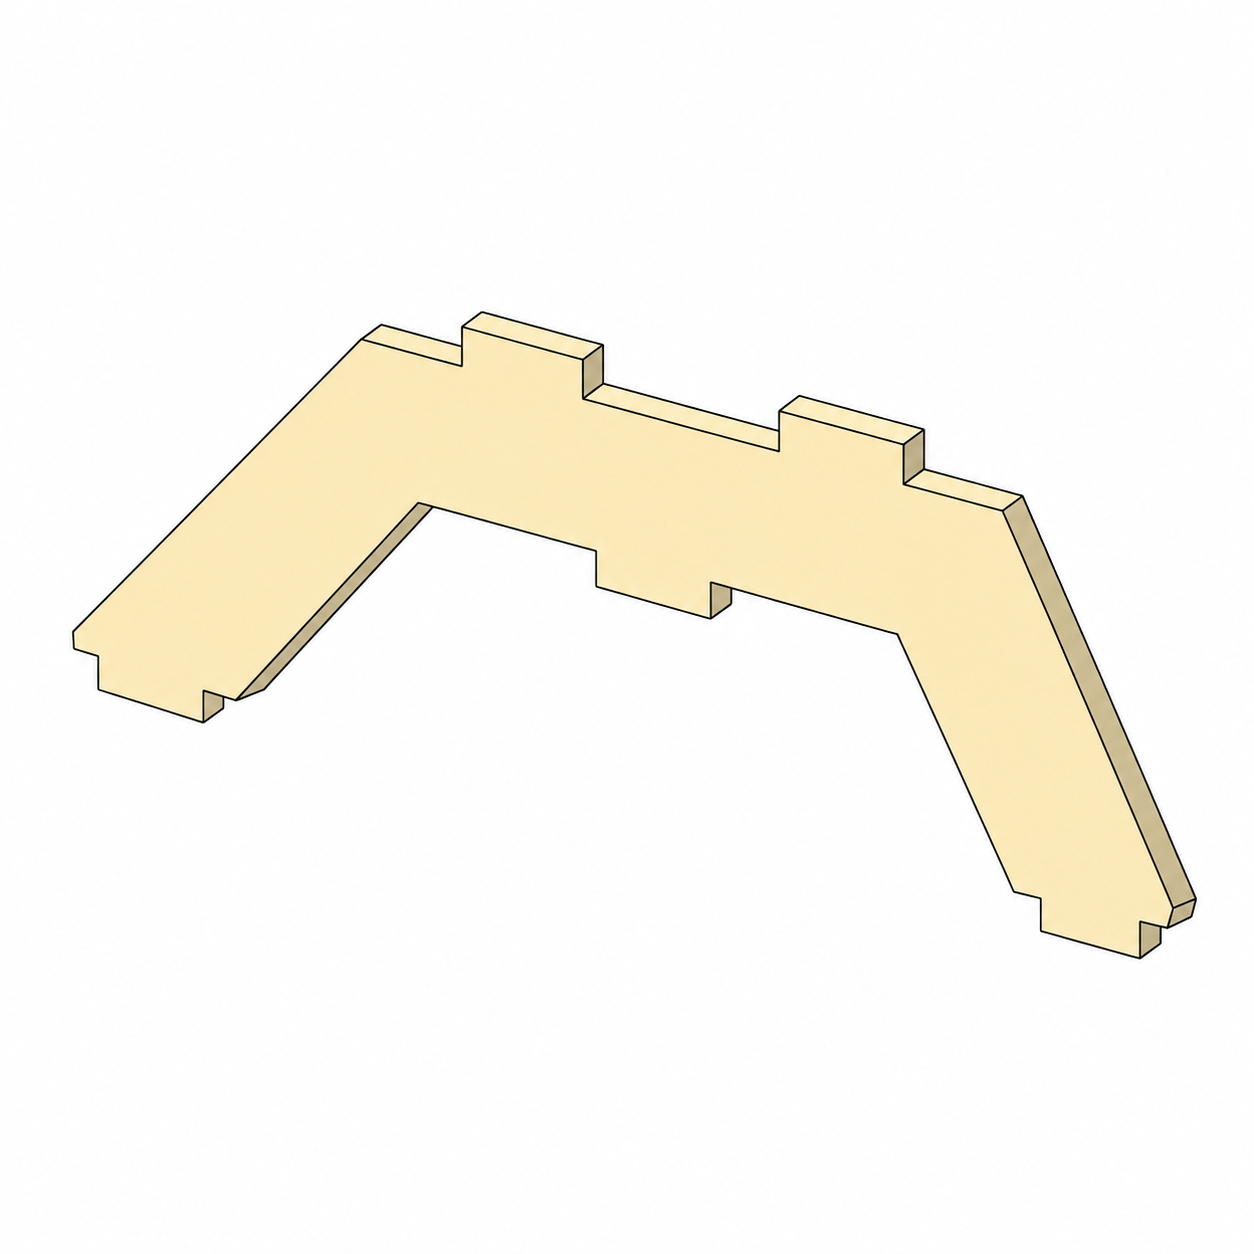
Motor Retaining Bracket
Clips over the motor to hold it down.
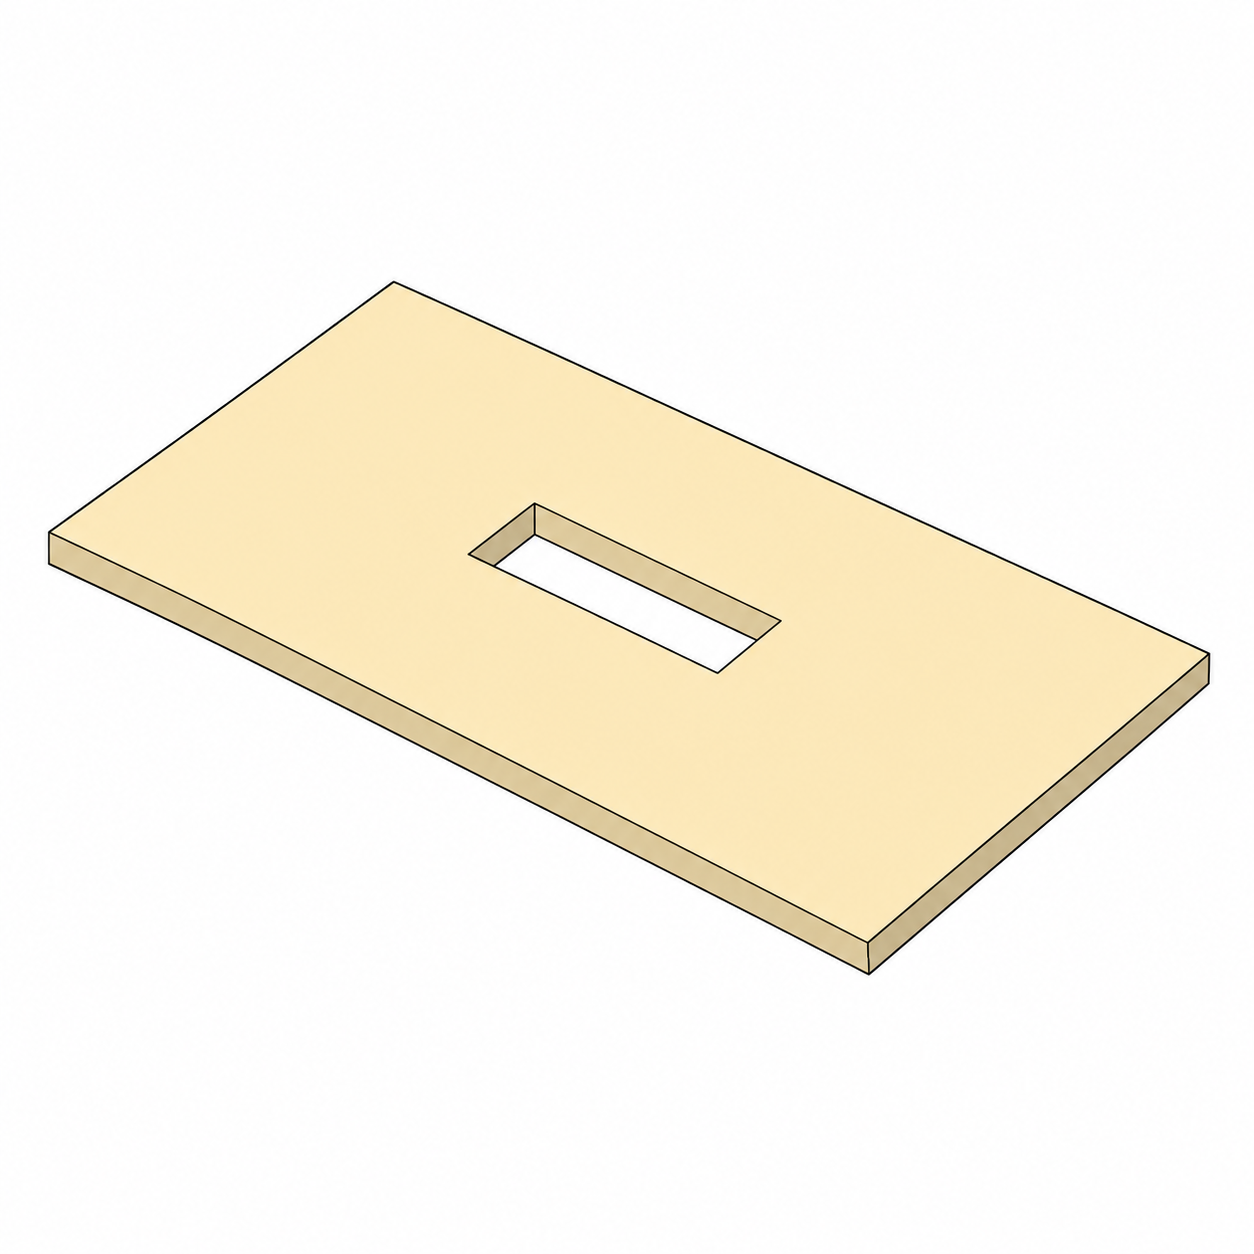
Slotted Panel
Side panel with cut-out slots.
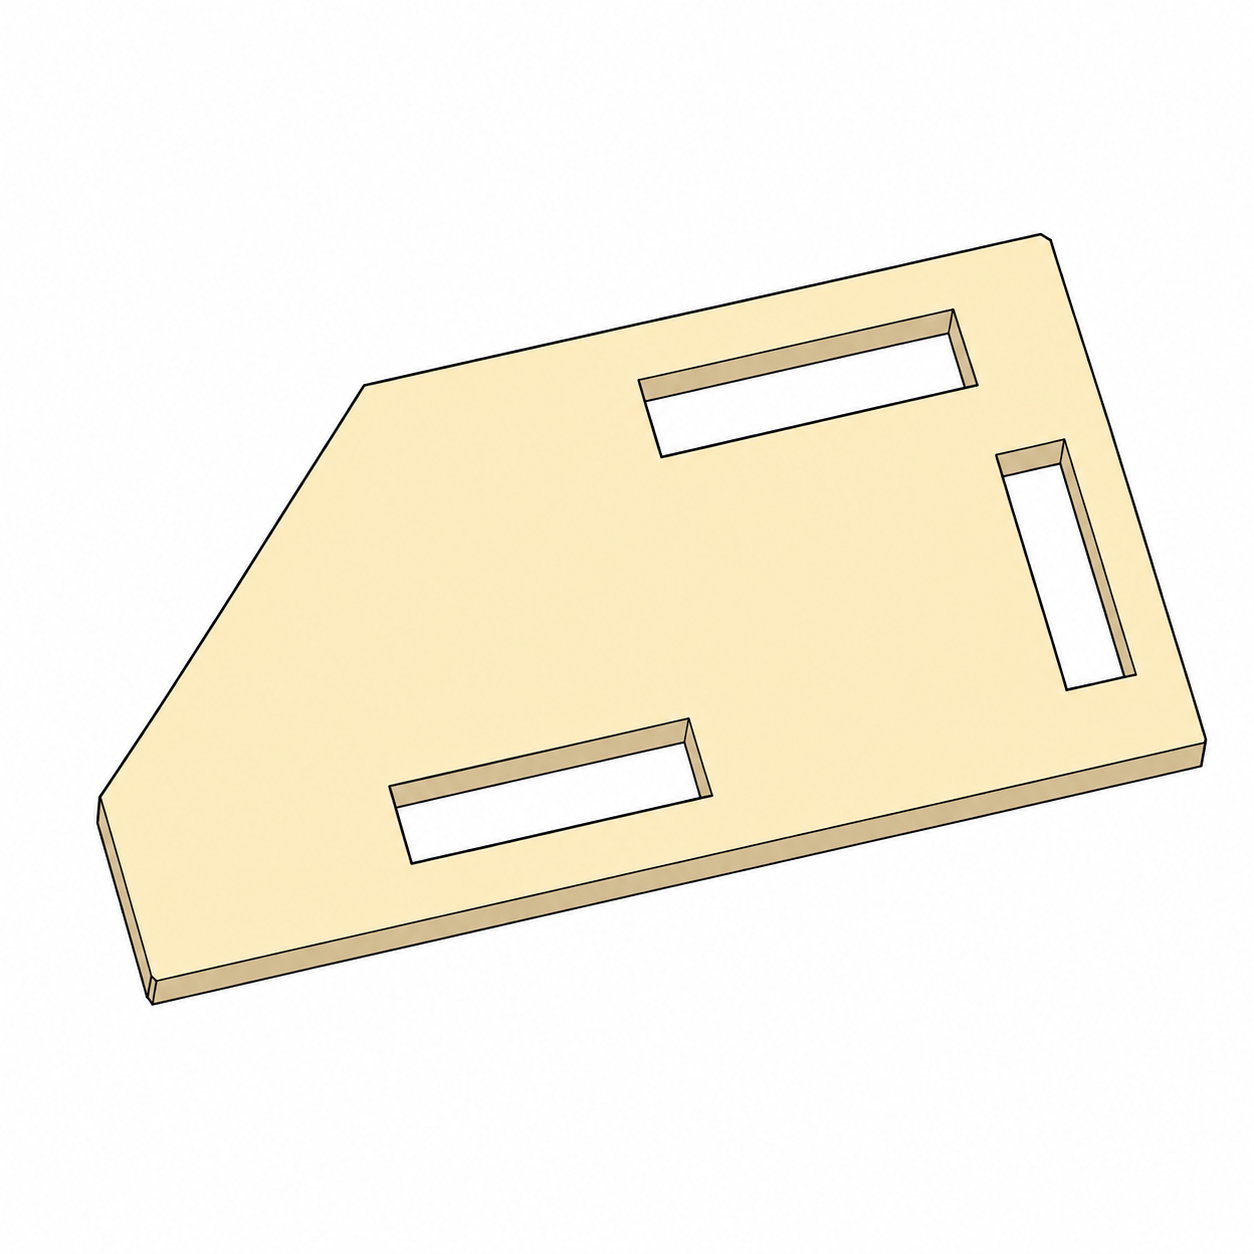
Angled Solar Support A
Holds one solar panel at an angle.
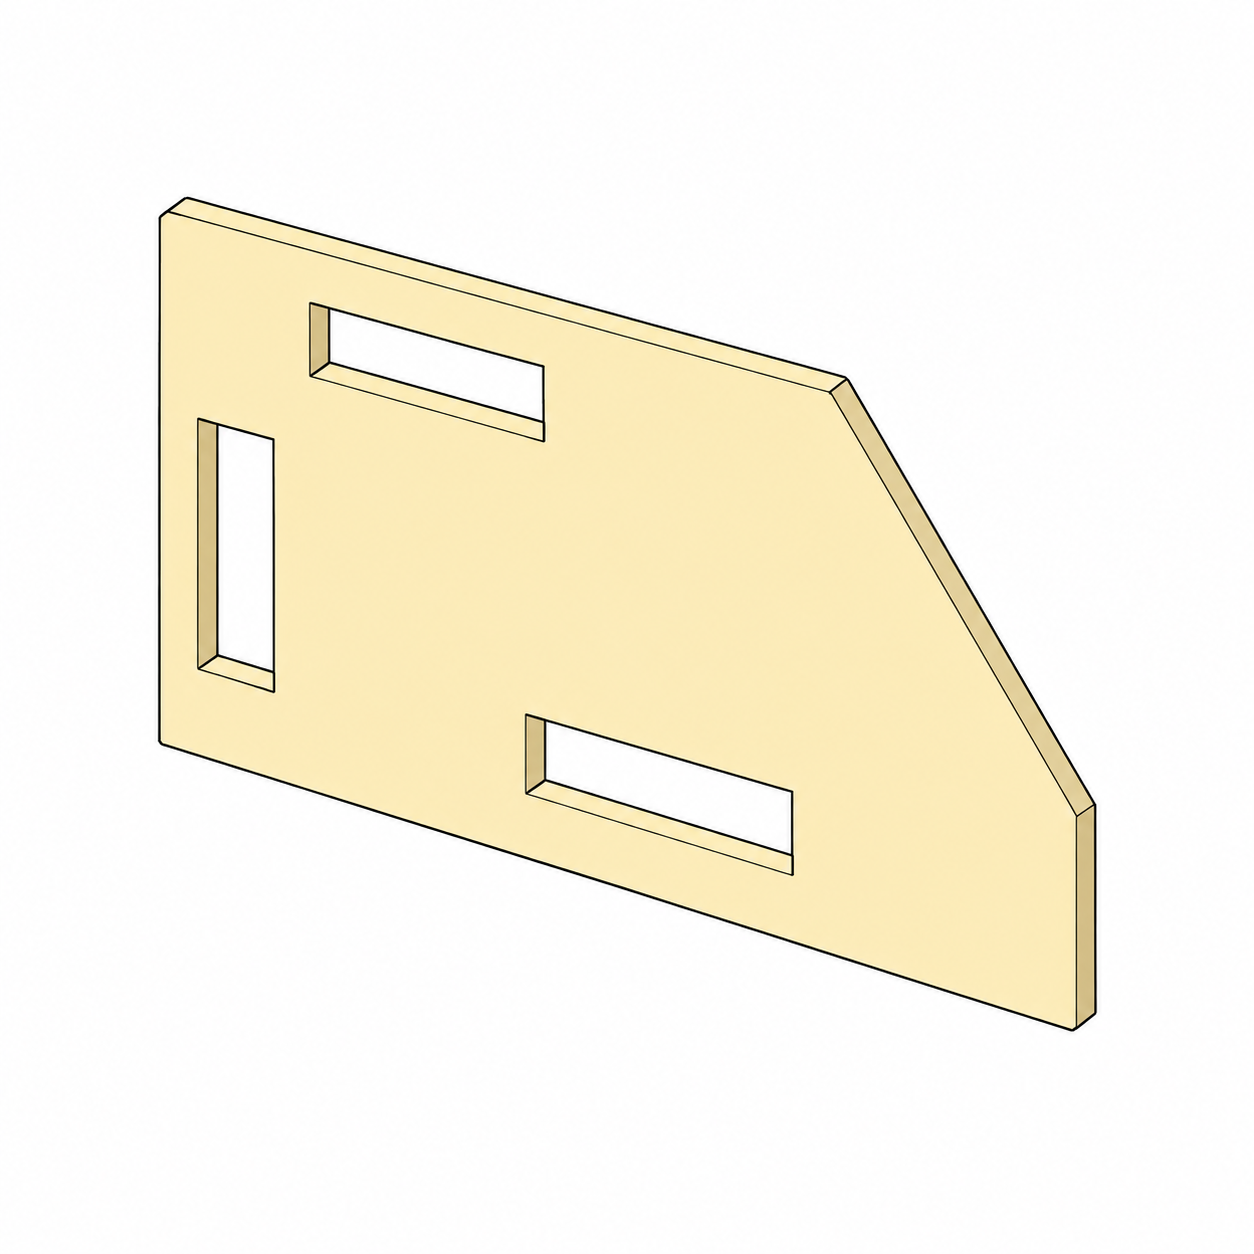
Angled Solar Support B
Holds the other solar panel.
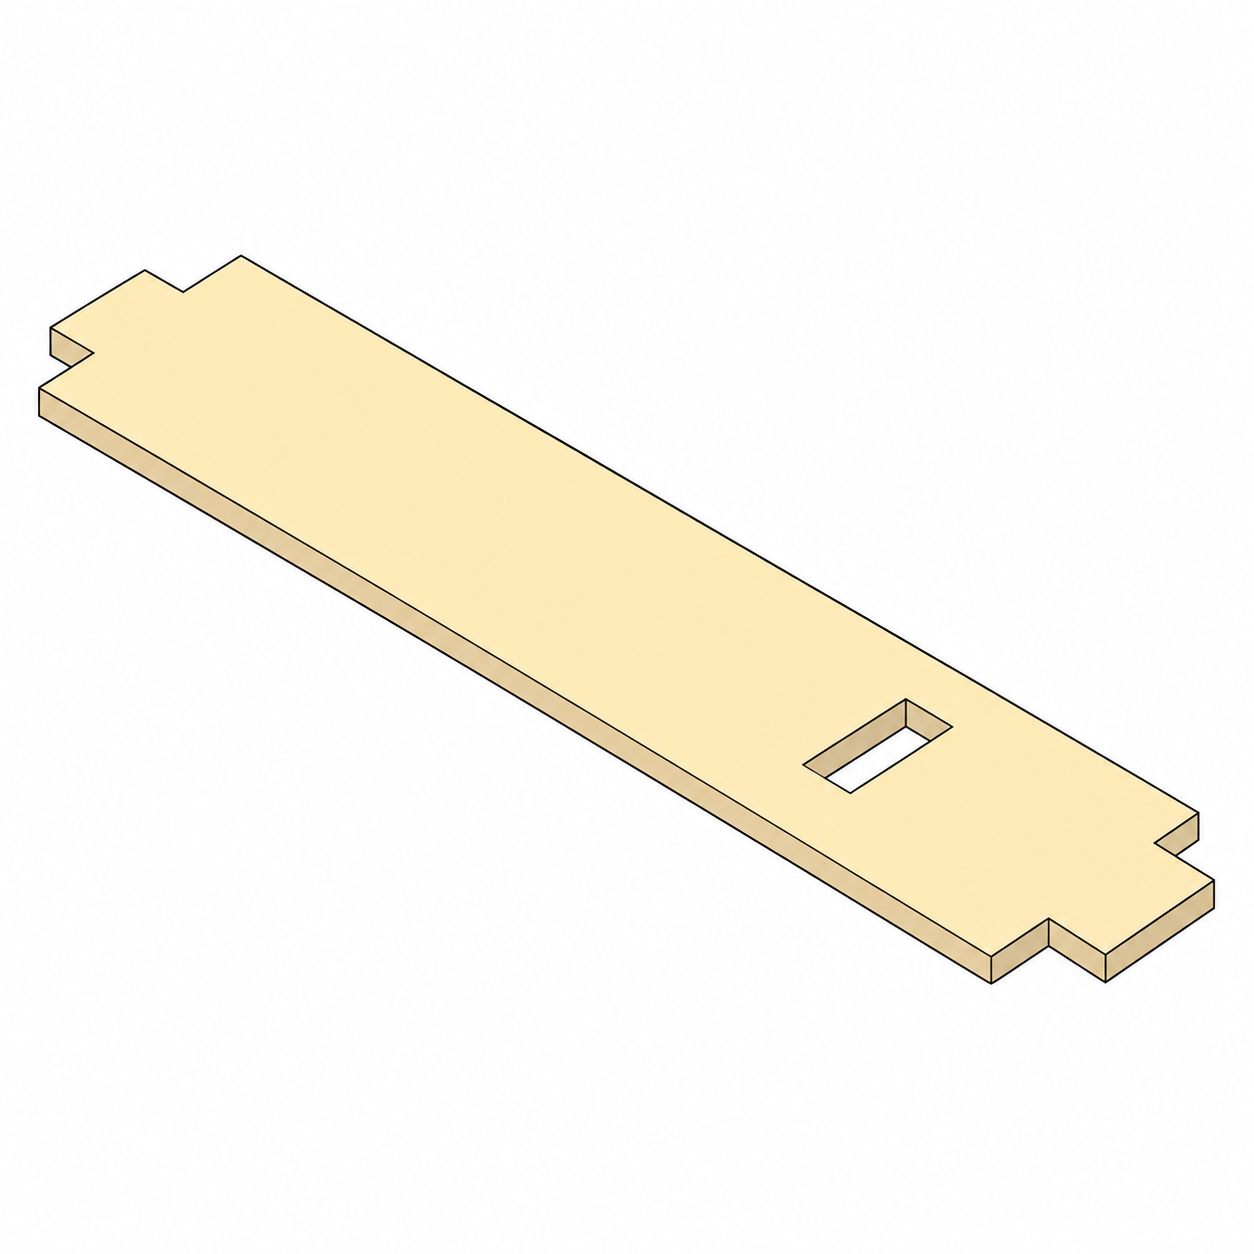
Mast Rail A
Long support arm for the mast.
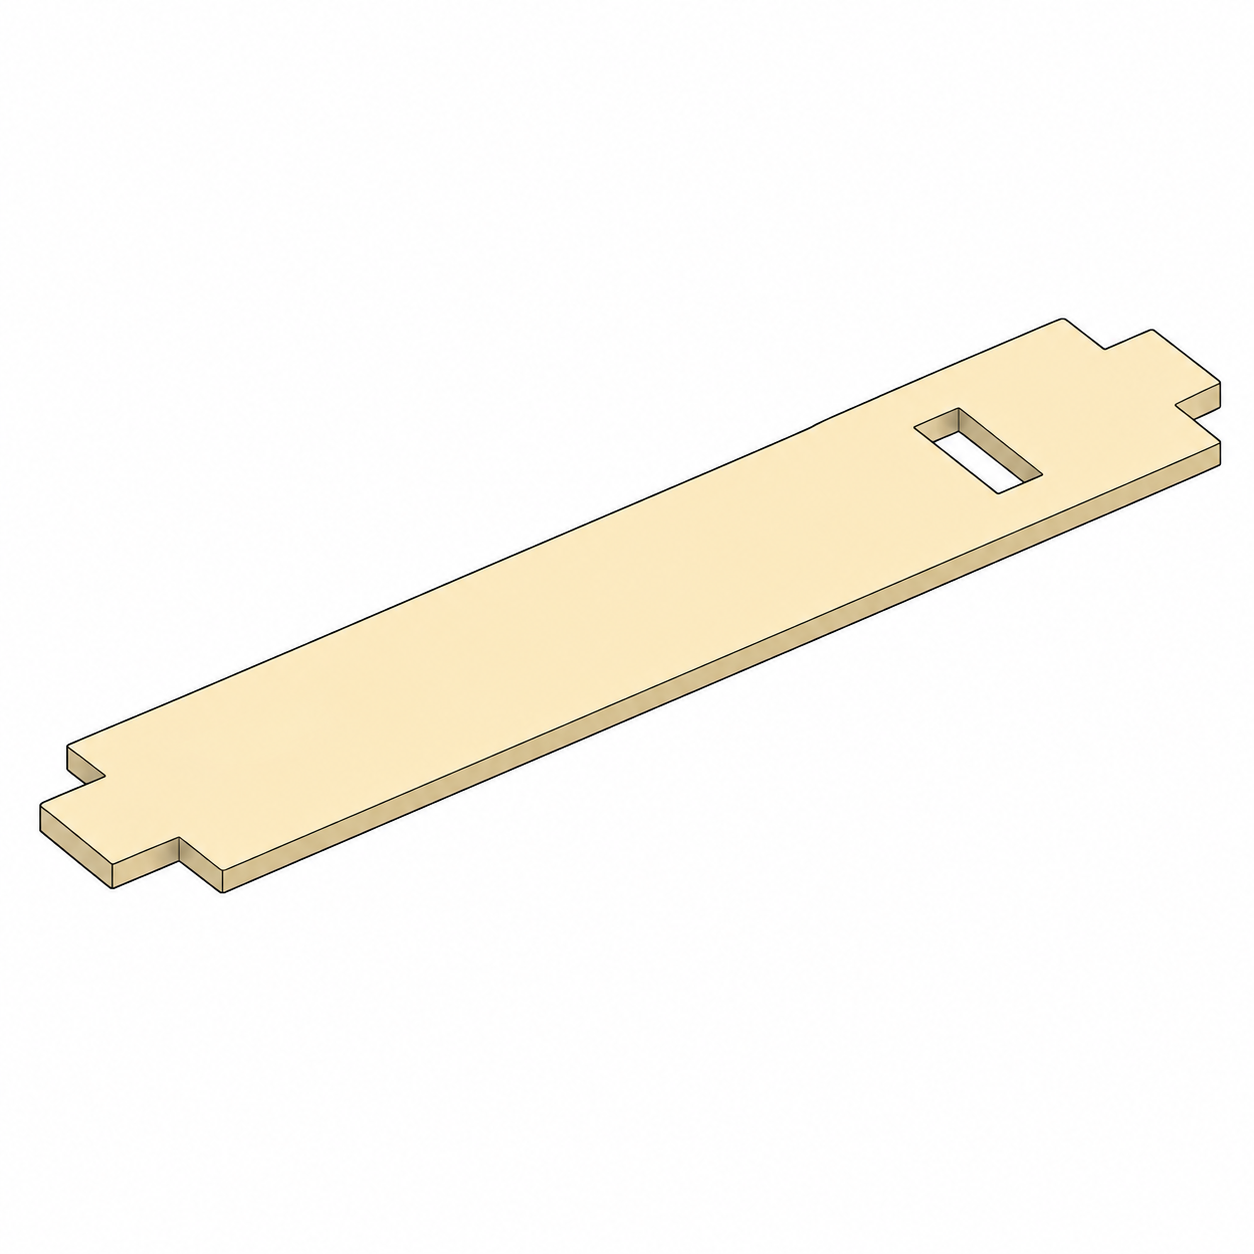
Mast Rail B
Second mast support arm.
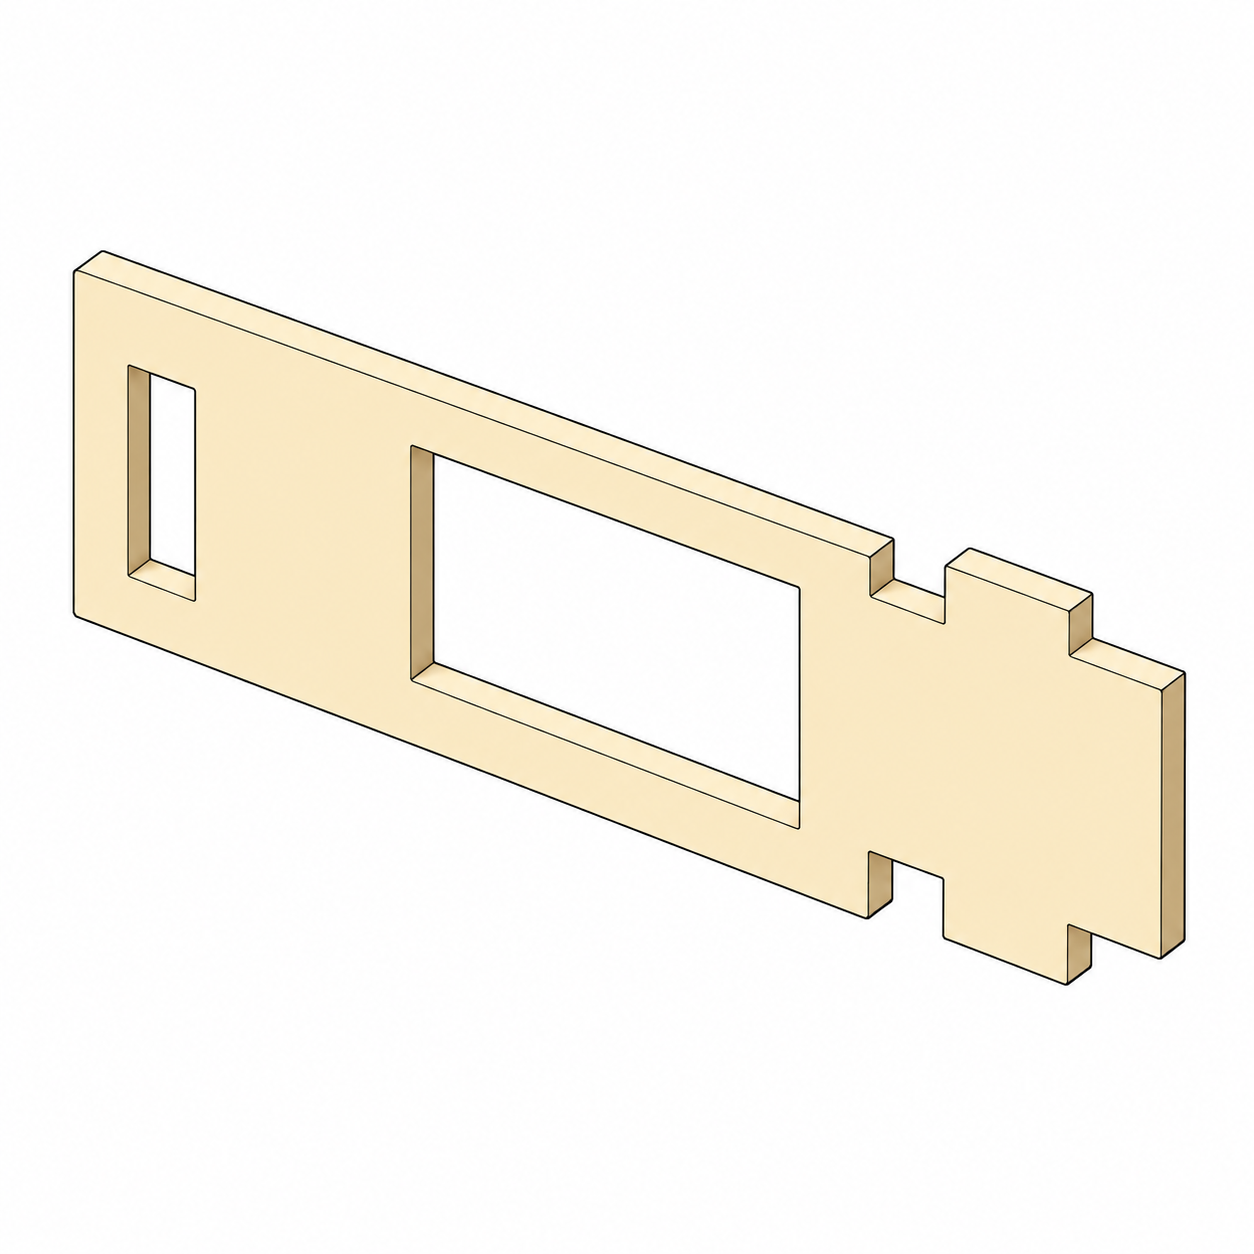
Windowed Mast Frame
Tall vertical frame with a window cut-out.
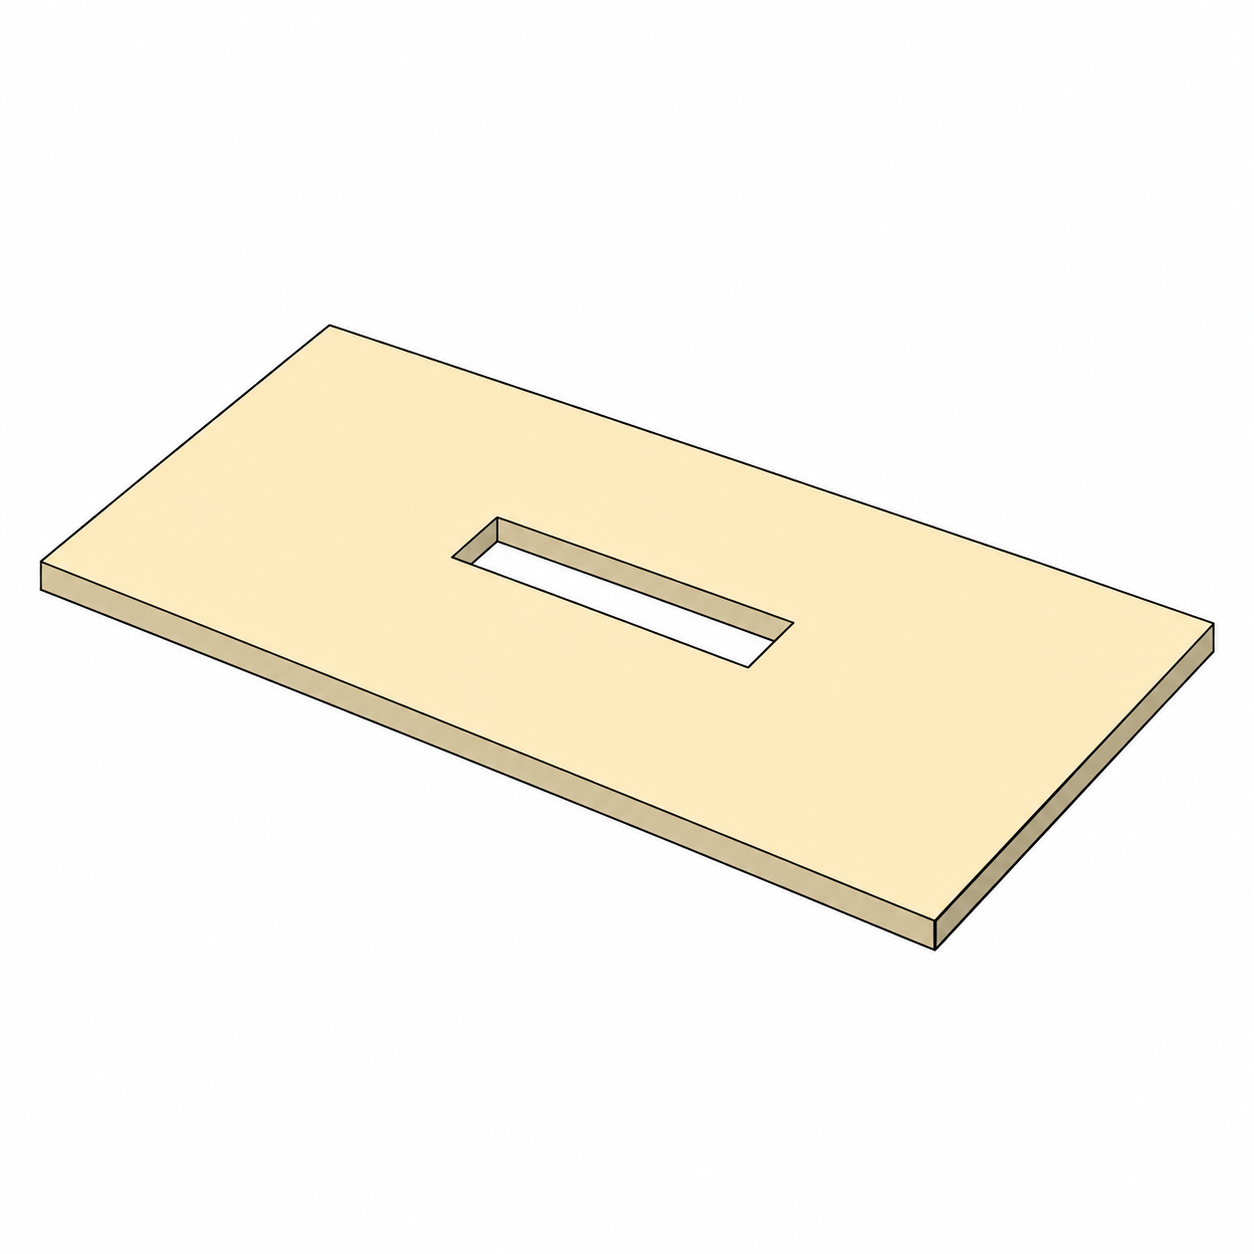
Slotted Panel
Panel with cut-out slots for assembly.
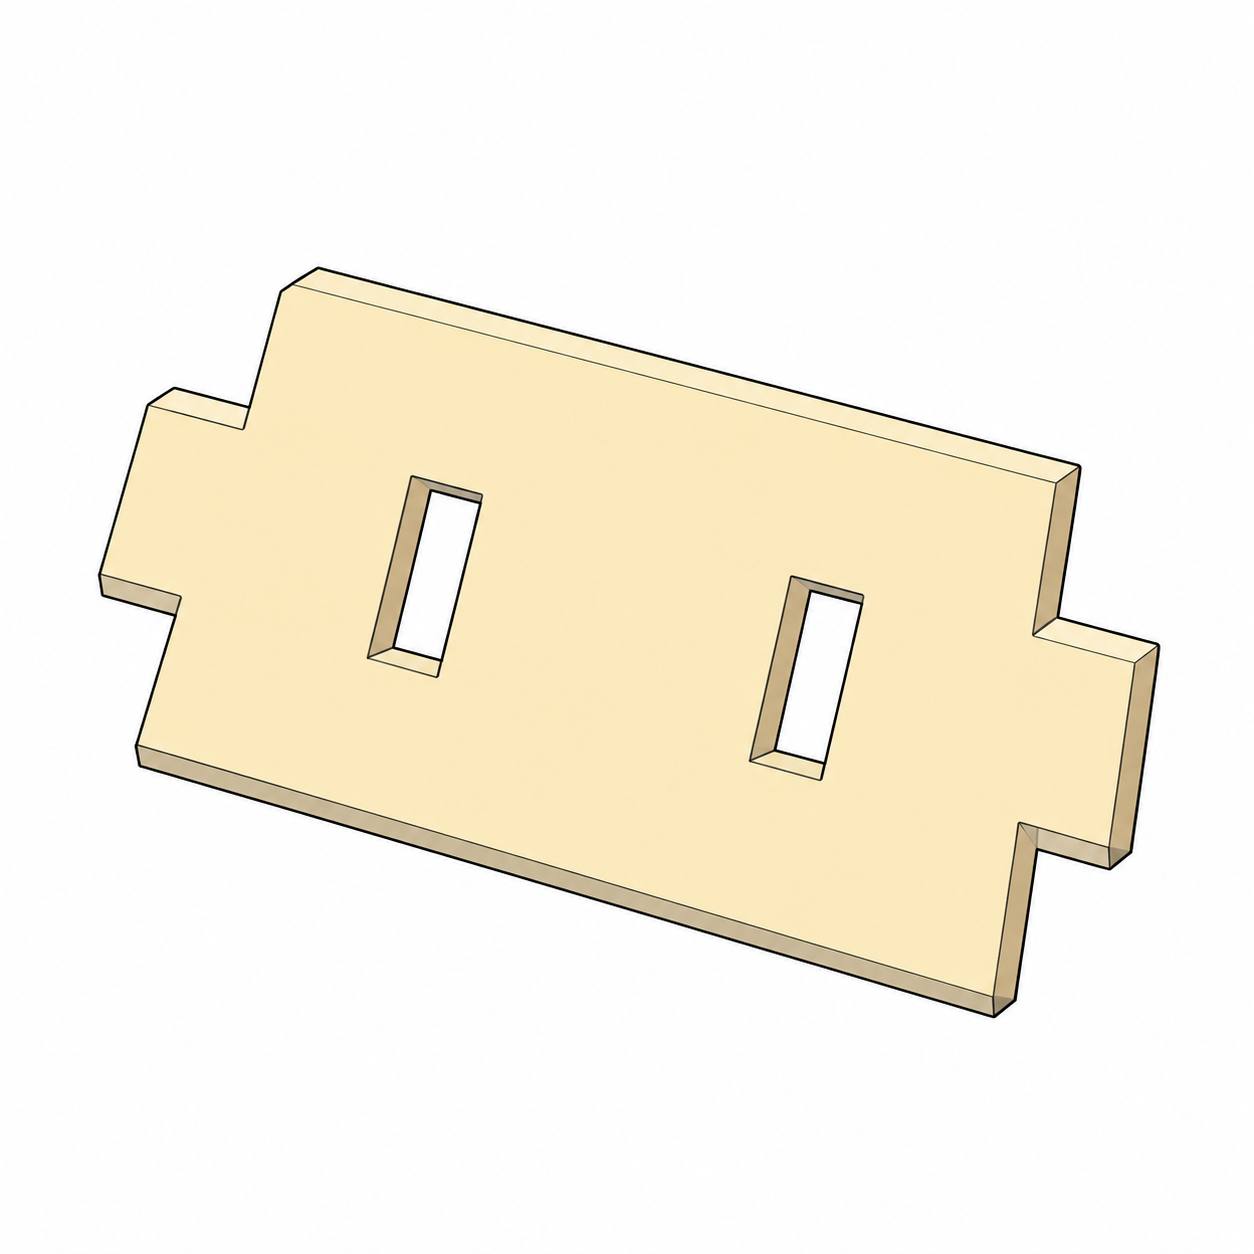
Double Slot Panel
Panel with two slots for joining.
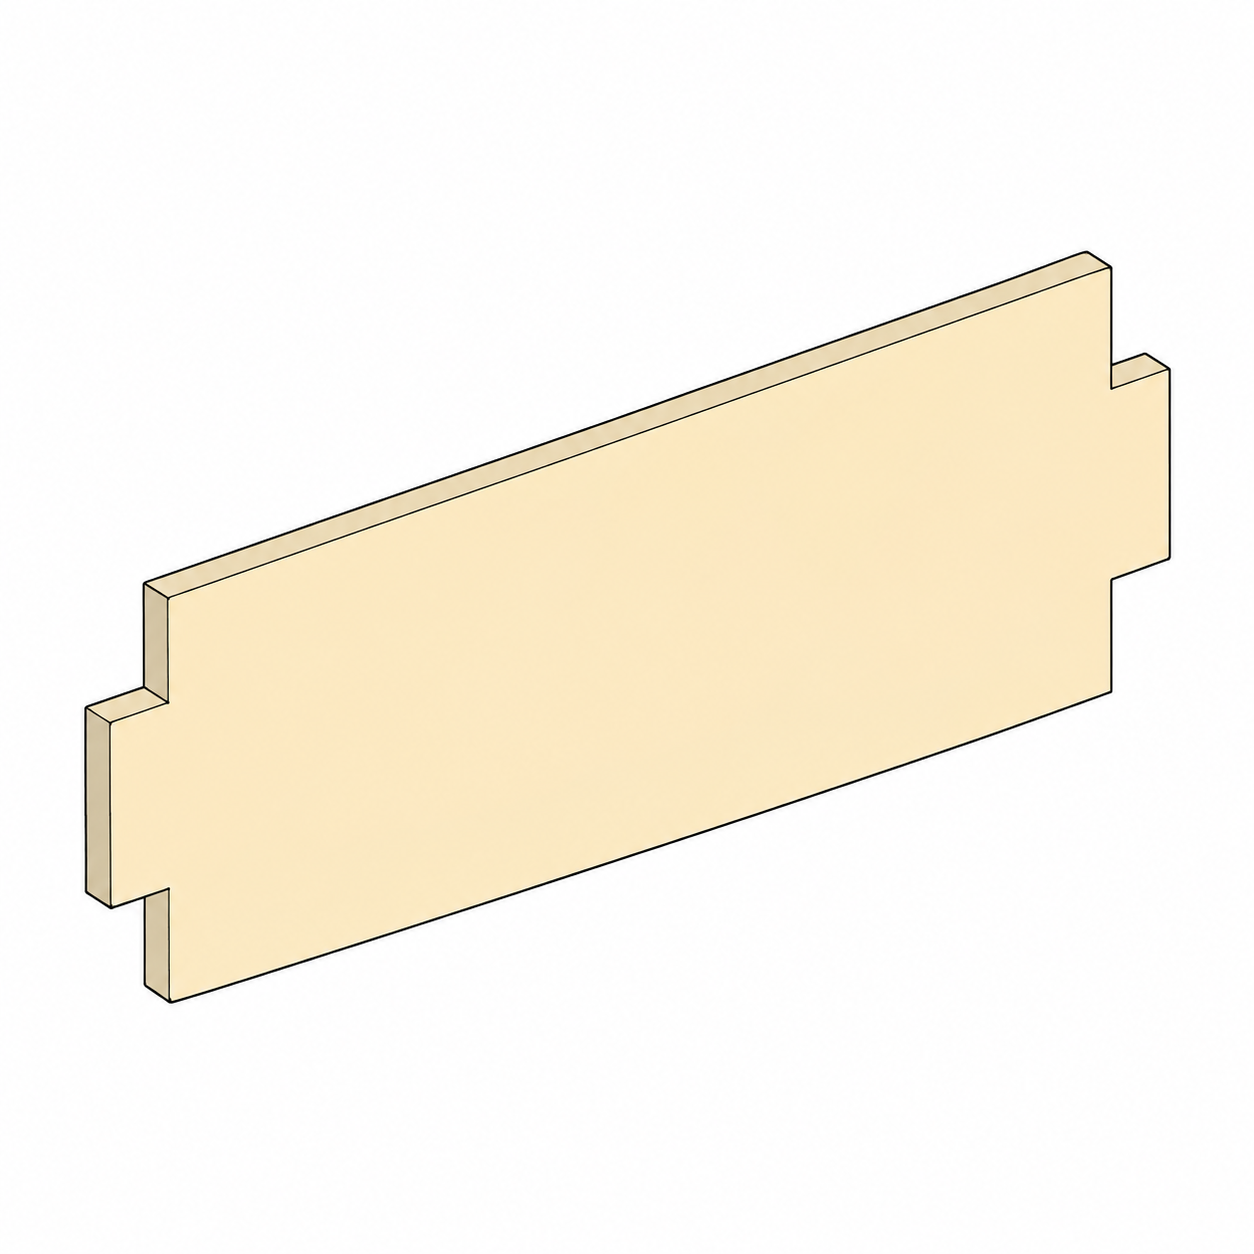
Tabbed Panel A
Panel with connecting tabs.
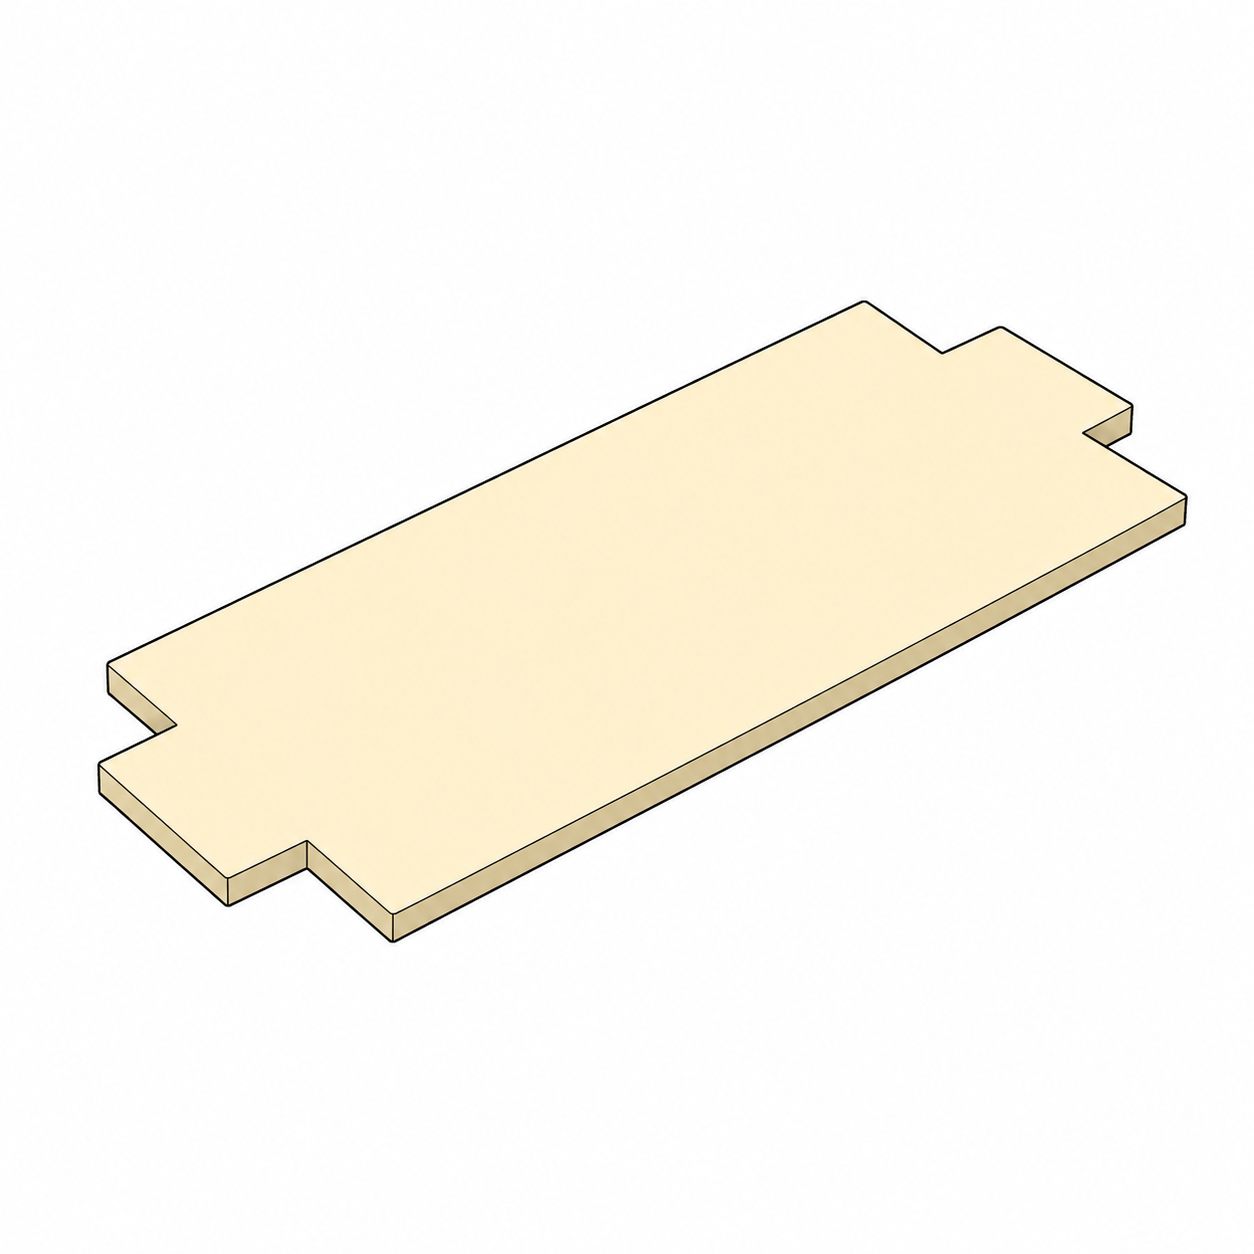
Tabbed Panel B
Panel with connecting tabs.
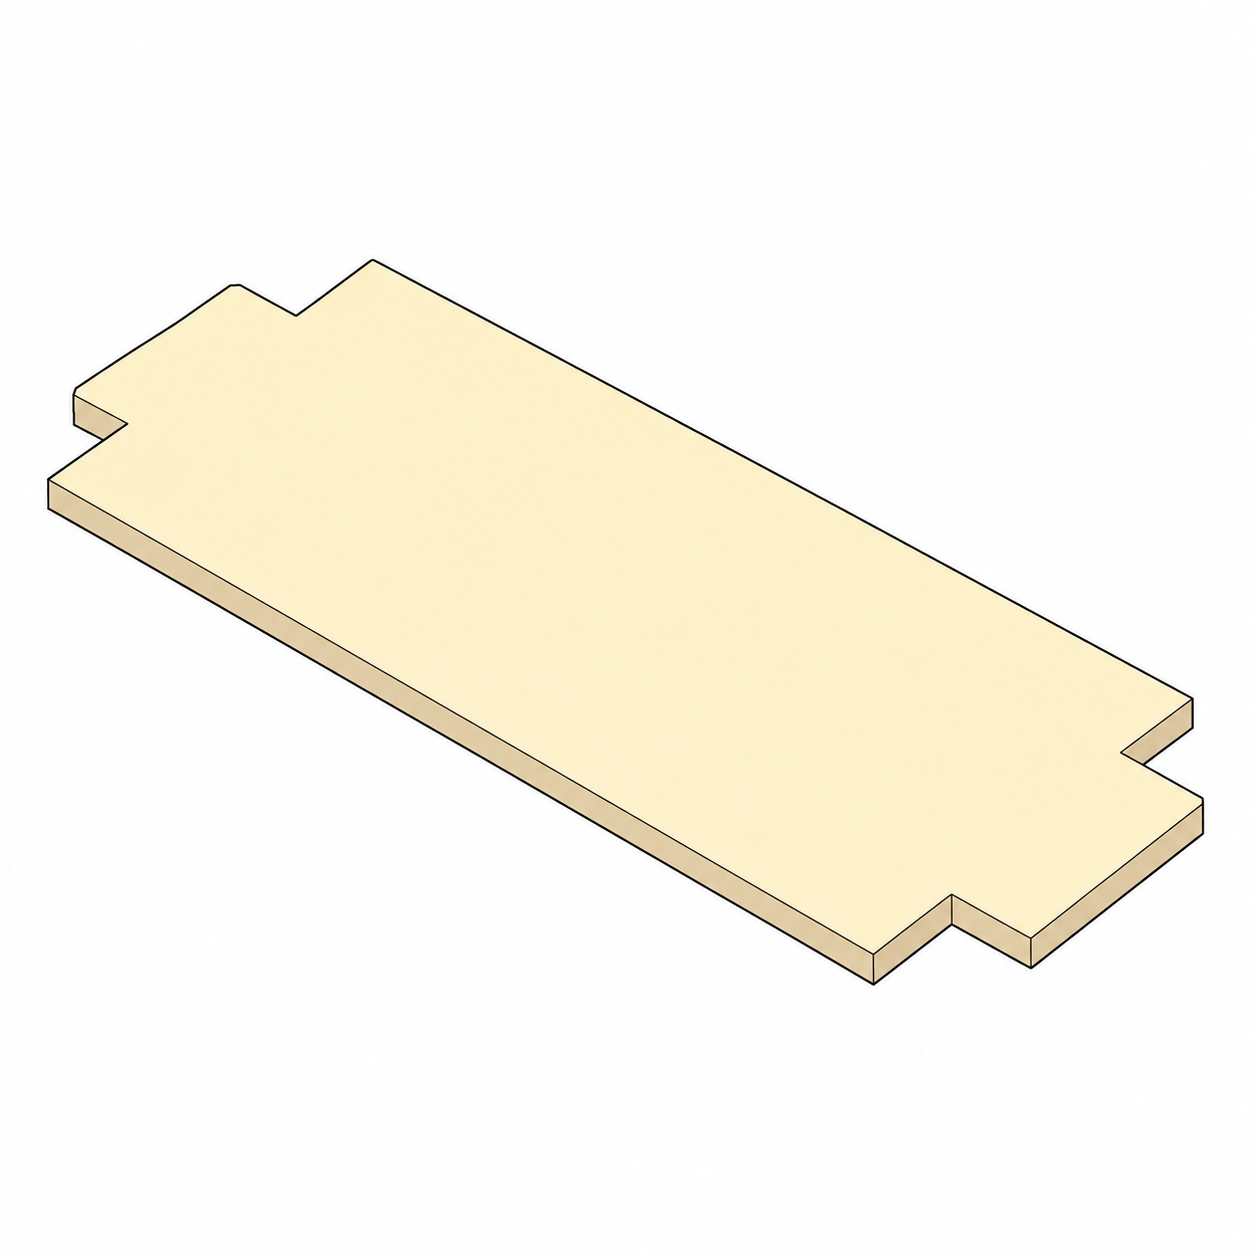
Tabbed Panel C
Panel with connecting tabs.
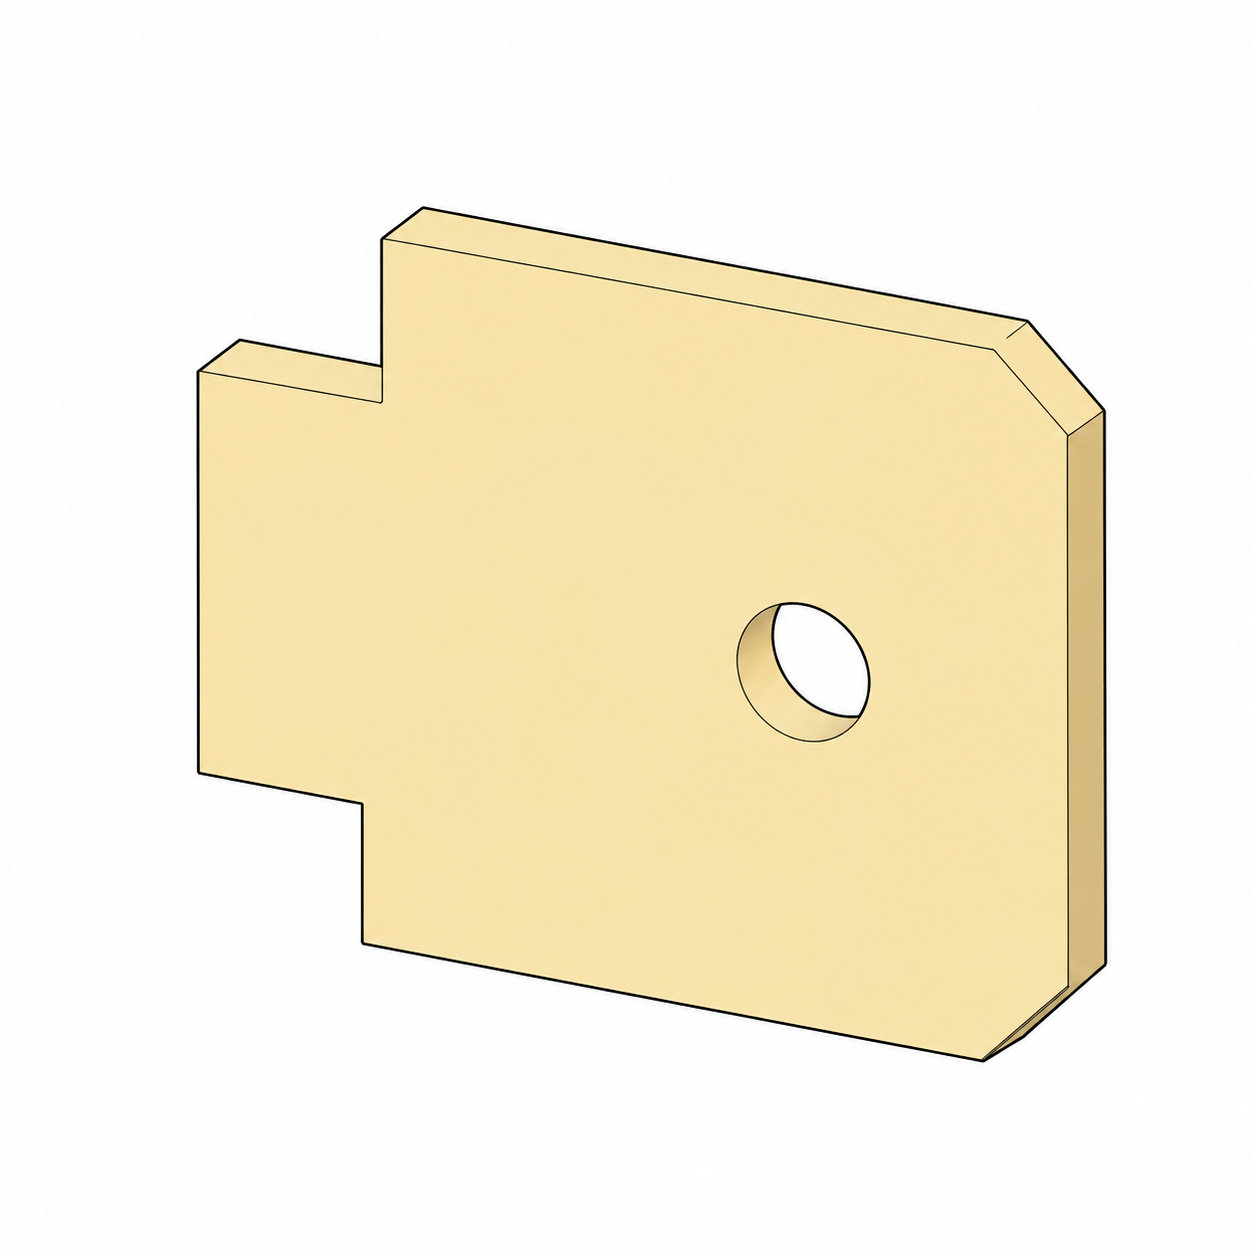
Axle Support
U-shaped piece that holds the axle.
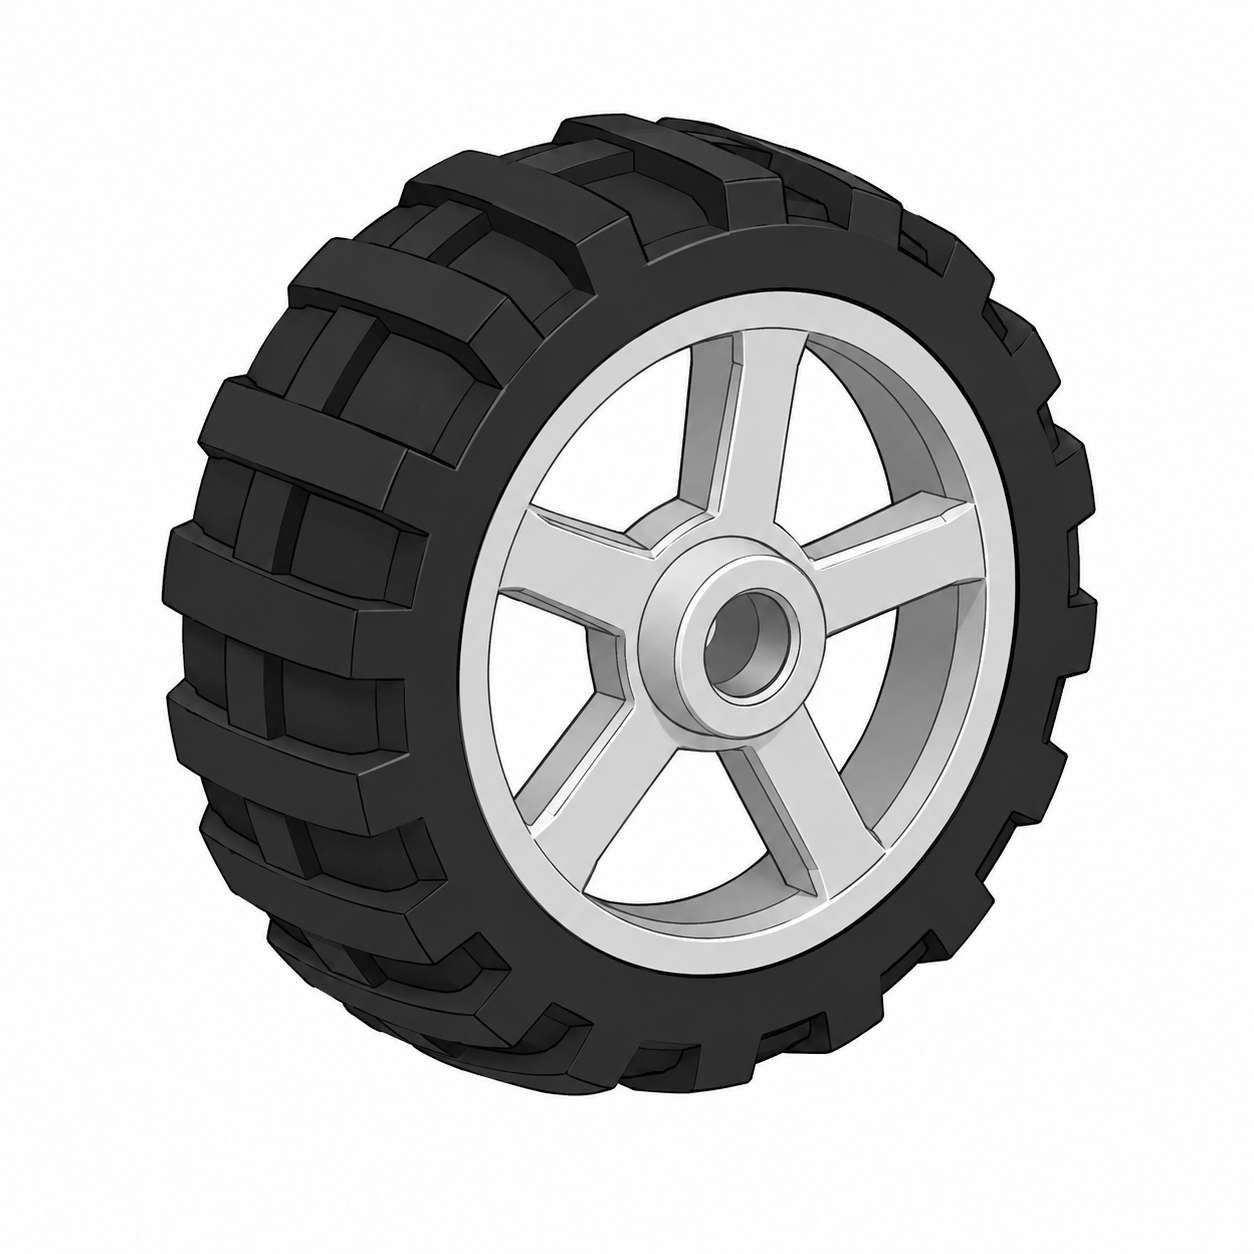
Wheel
Printed wheel with a rubber tyre.
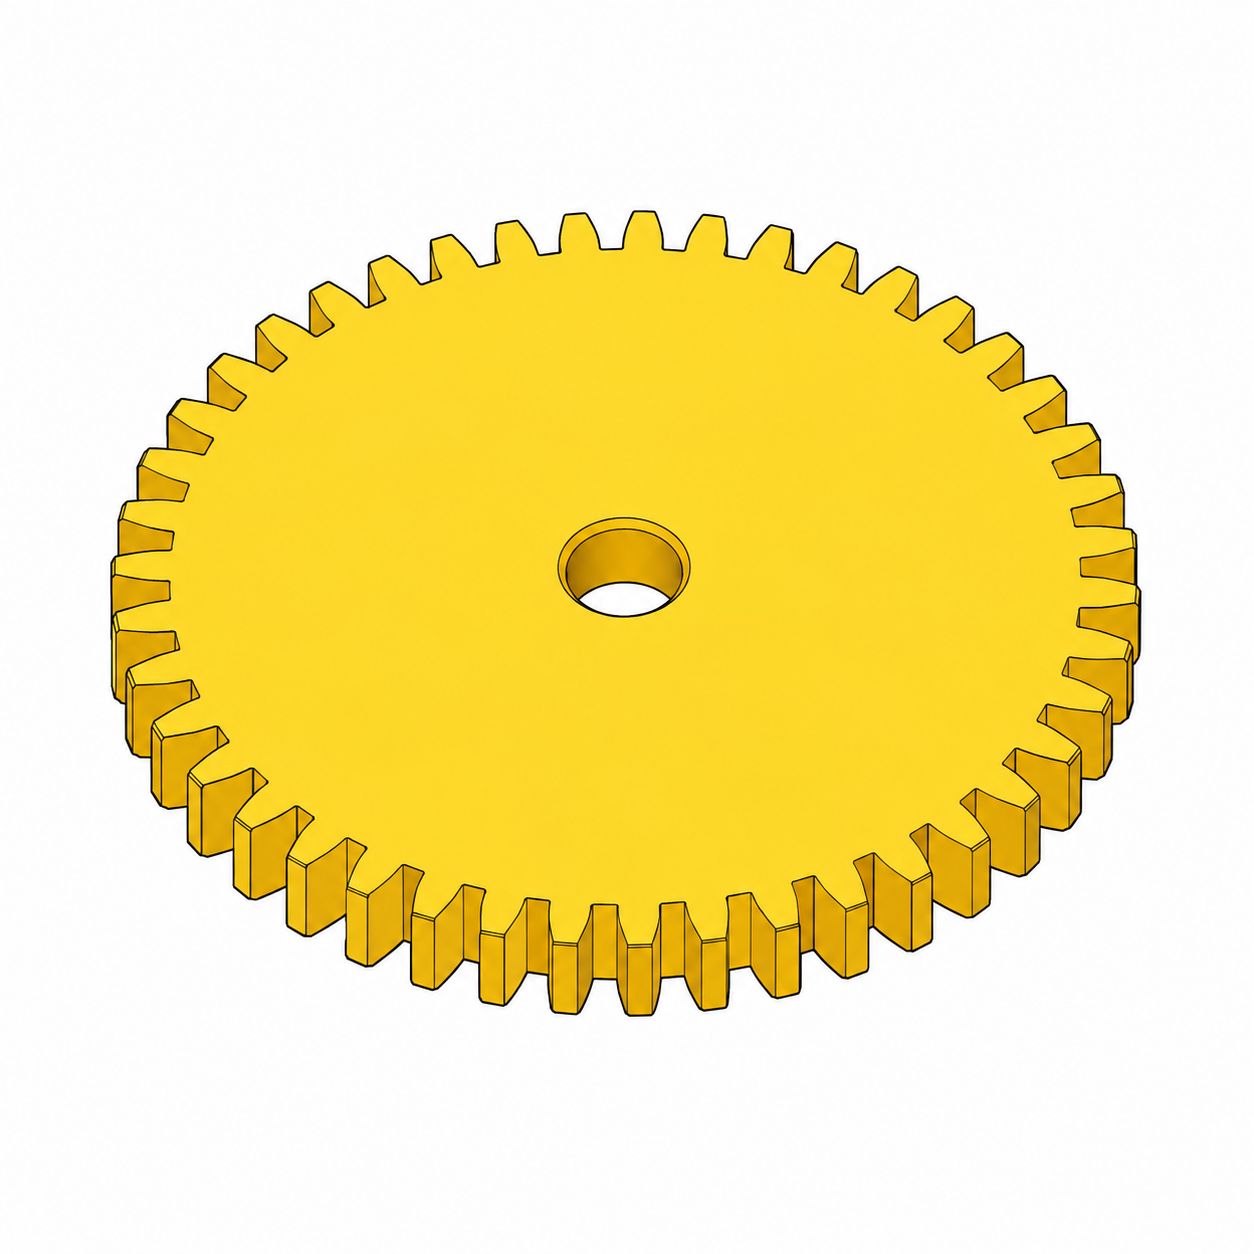
Large Drive Gear
Yellow gear on the axle.
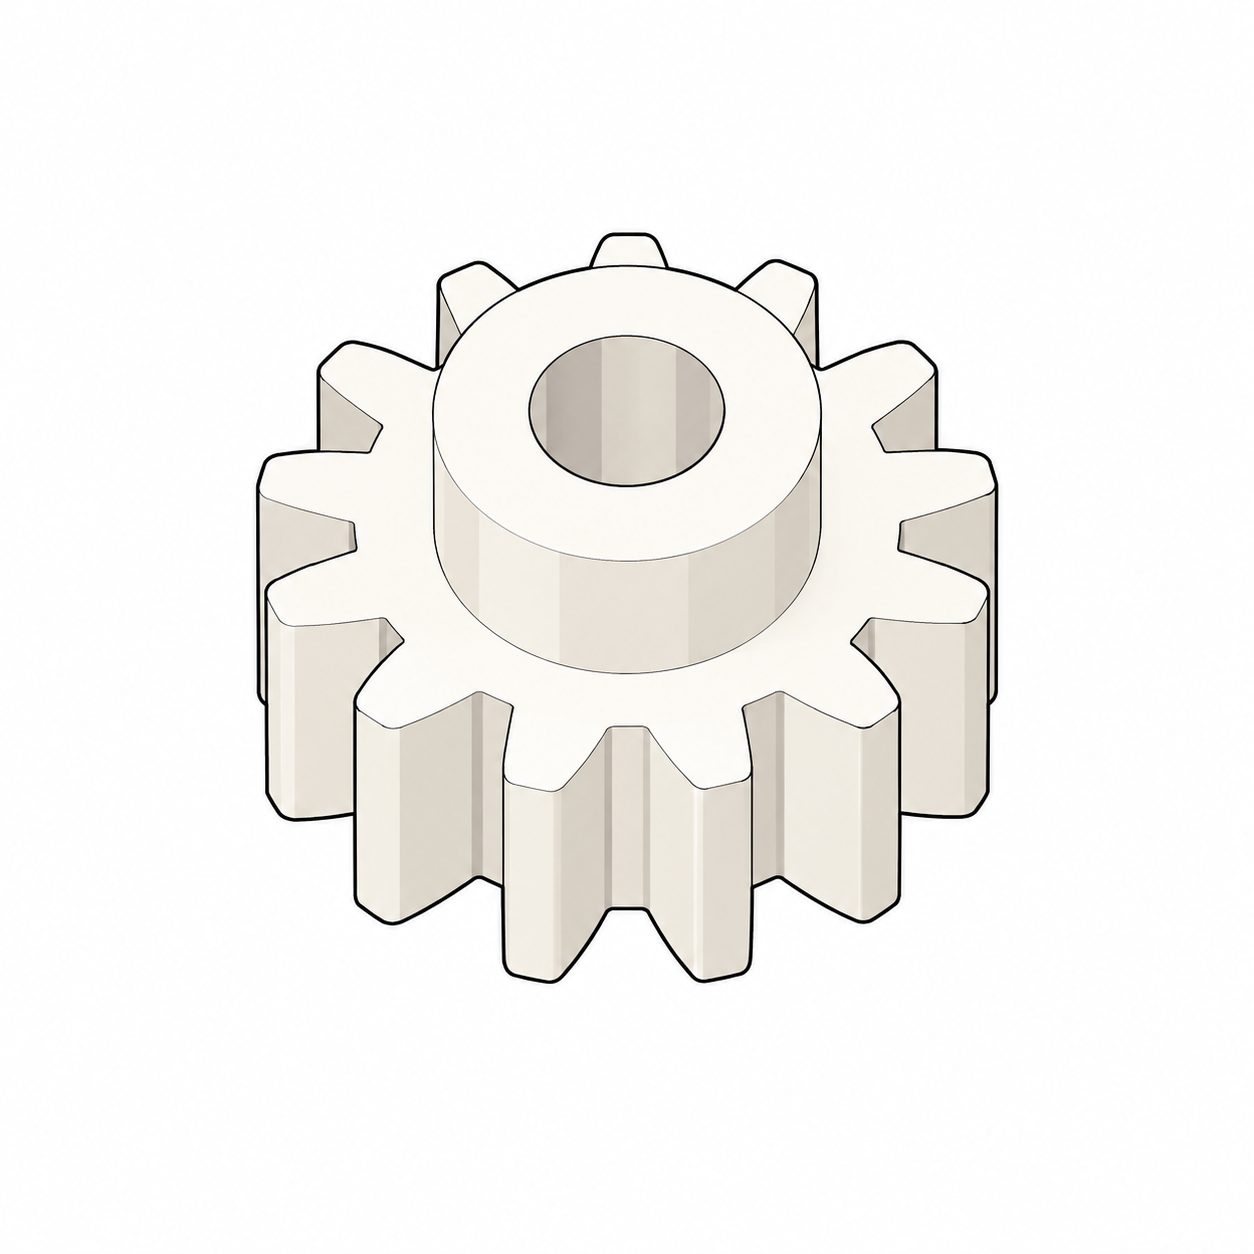
Small Pinion Gear
Small gear that fits on the motor shaft.
Hardware (not printed) (3)
These parts come with the kit or from an electronics shop. You do not print them.
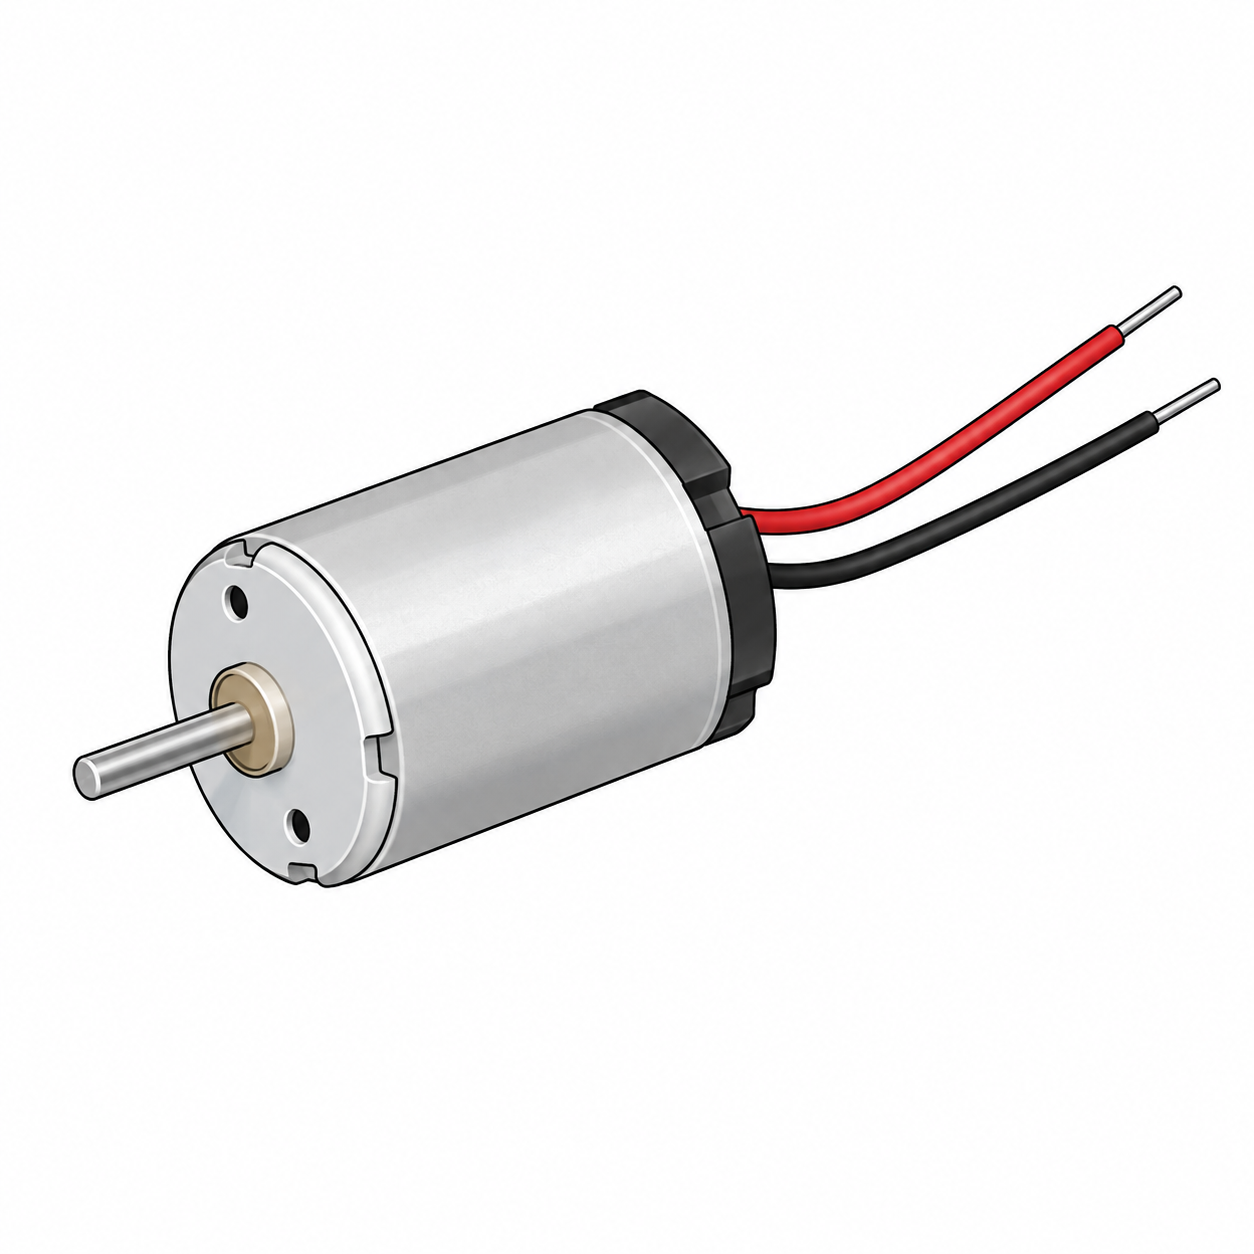
DC Motor
Electric motor with red and black wires.
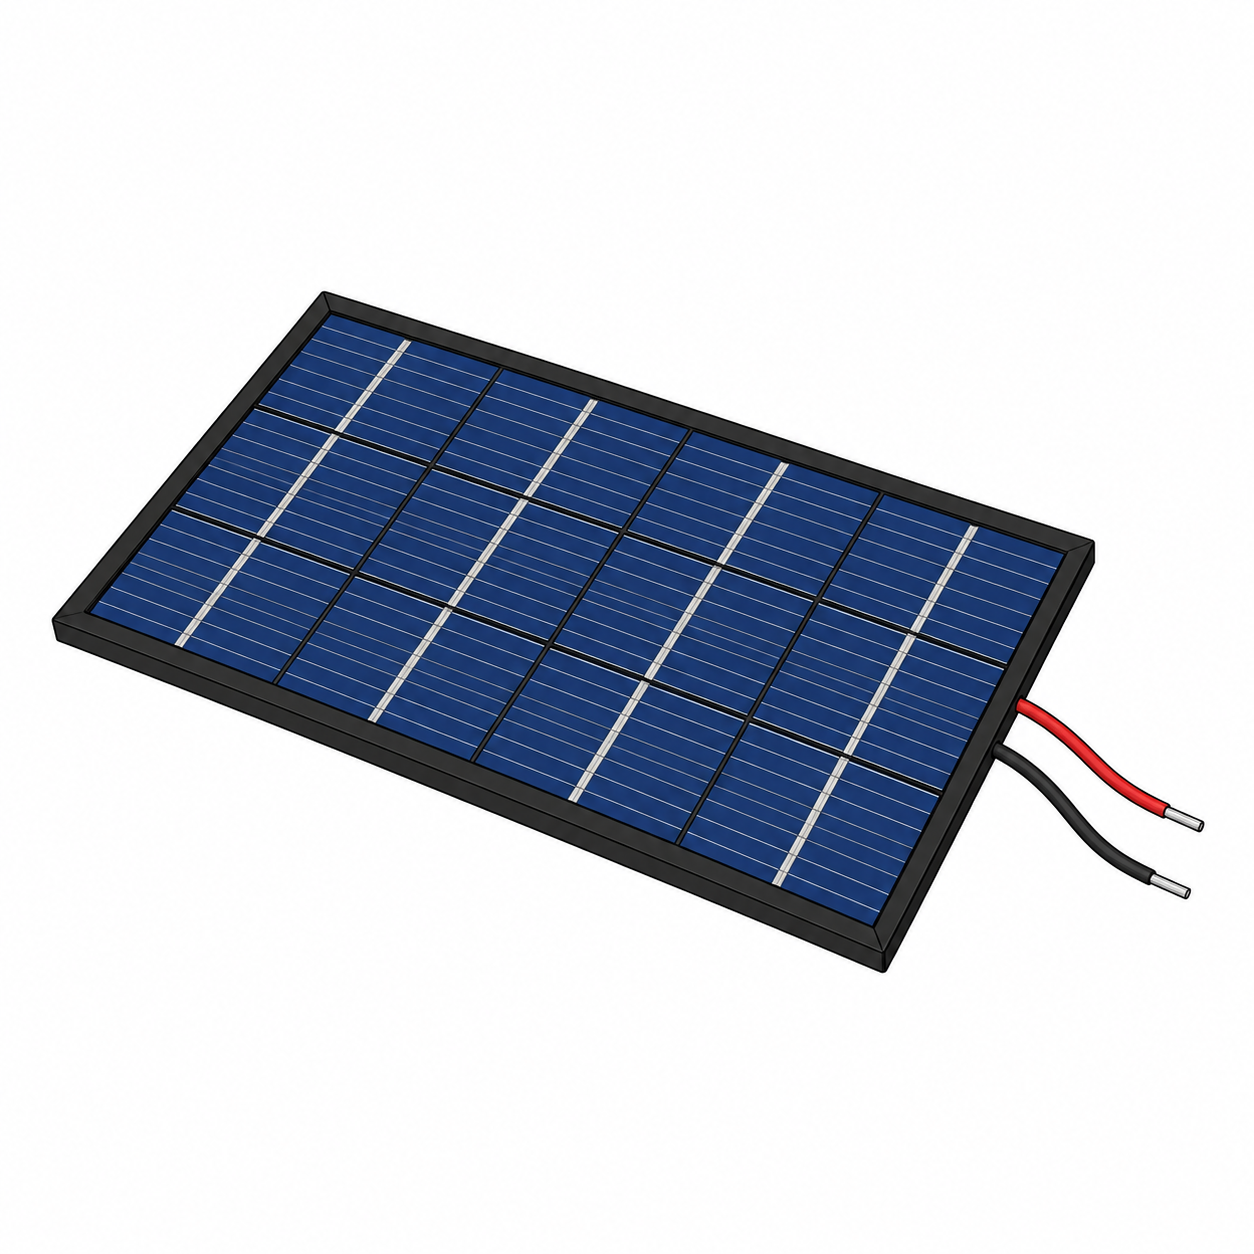
Solar Panel
Blue panel that makes power from sunlight.
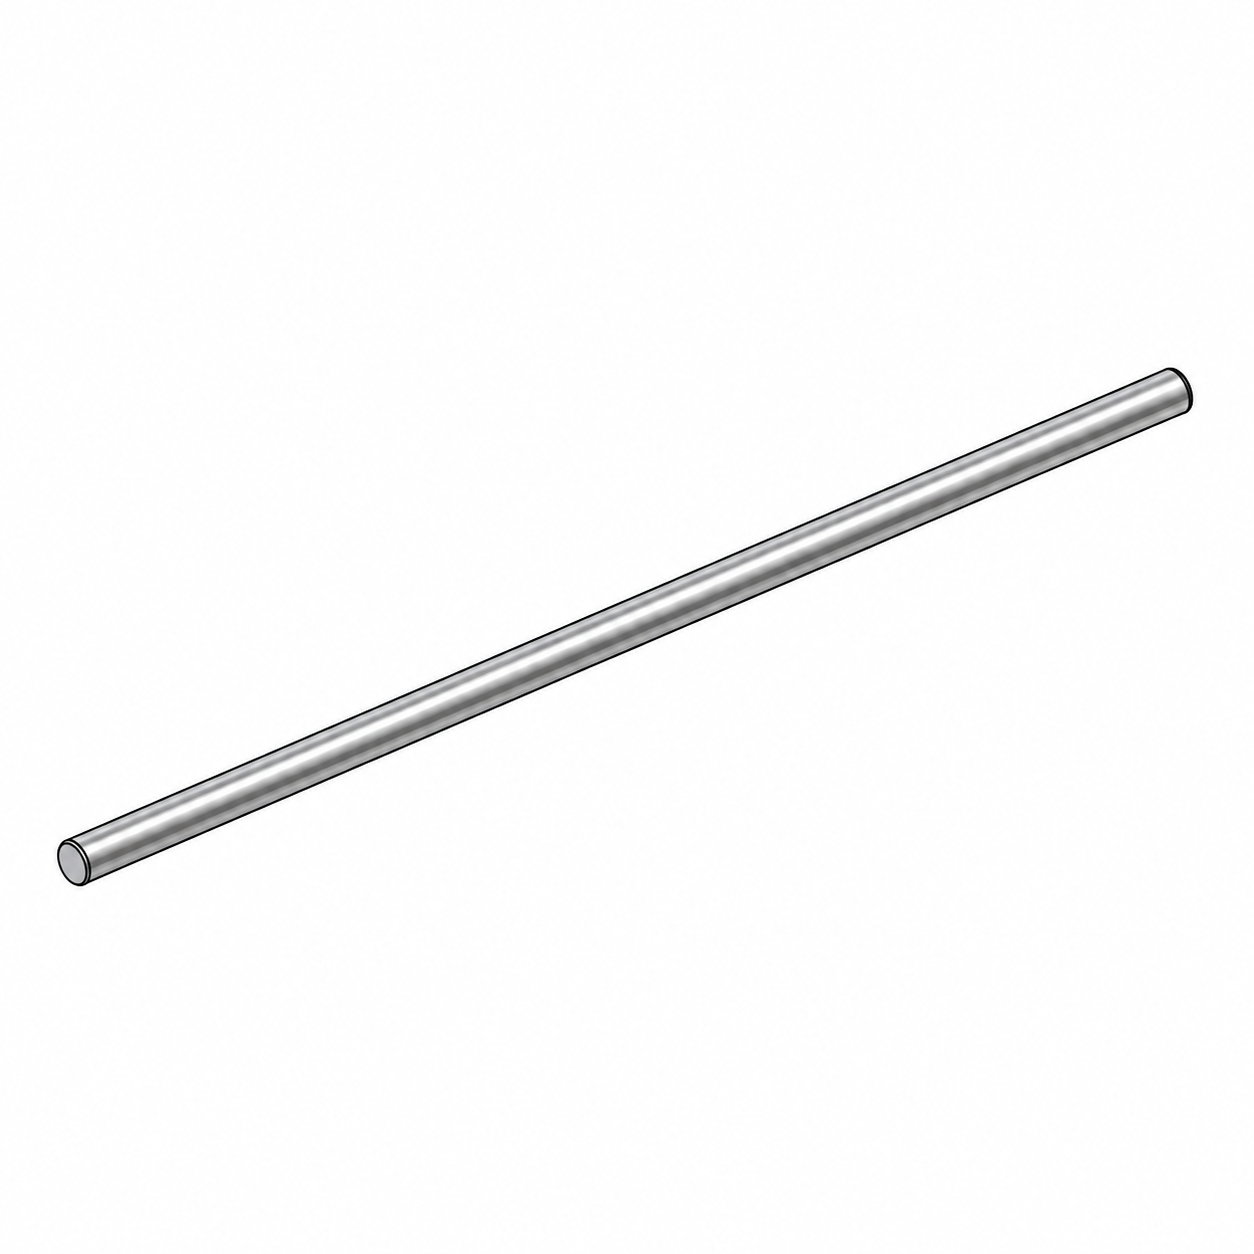
Metal Axle
Silver rod that holds the wheels.
Download the STL files, then preview each part in 3D before you print. Use the recommended settings so the tabs, slots and gear teeth come out strong.
Preview the printable parts
36 STLs in this fileRecommended print settings
| Material | PLA in any color. Use PETG if the rover will sit in hot, direct sun. |
| Nozzle / layer height | 0.4 mm nozzle, 0.2 mm layers |
| Walls | 3 walls, so the tabs and slots are strong |
| Infill | 20% gyroid for panels, 40% for the gears and axle supports |
| Supports | None. Every part is designed to print flat on the bed. |
| Bed adhesion | Clean bed plus a skirt. Add a brim only if small tabs lift. |
| Bed temperature | 60 °C for PLA |
How to print your parts
Click the download button to get a ZIP with every printable part. Unzip it on your computer.
Drag the STLs into Cura, PrusaSlicer, OrcaSlicer or Bambu Studio. The files open at the correct size, so do not resize them.
Apply the settings below, slice the plate, and send it to your printer. Print the two gears at the higher infill so their teeth are strong.
Let the bed cool before popping the parts off. Pull off any strings. Test-fit a tab into a slot; if it is too tight, file the tab slightly until it slides in by hand.
Print the two gears last and at 40% infill. Strong gear teeth mean the motor can push the rover without stripping the teeth.
Follow the steps in order. Tick the Completed button when you finish each step. Watch for the science and math spotlights between the steps, they explain how your rover really works.
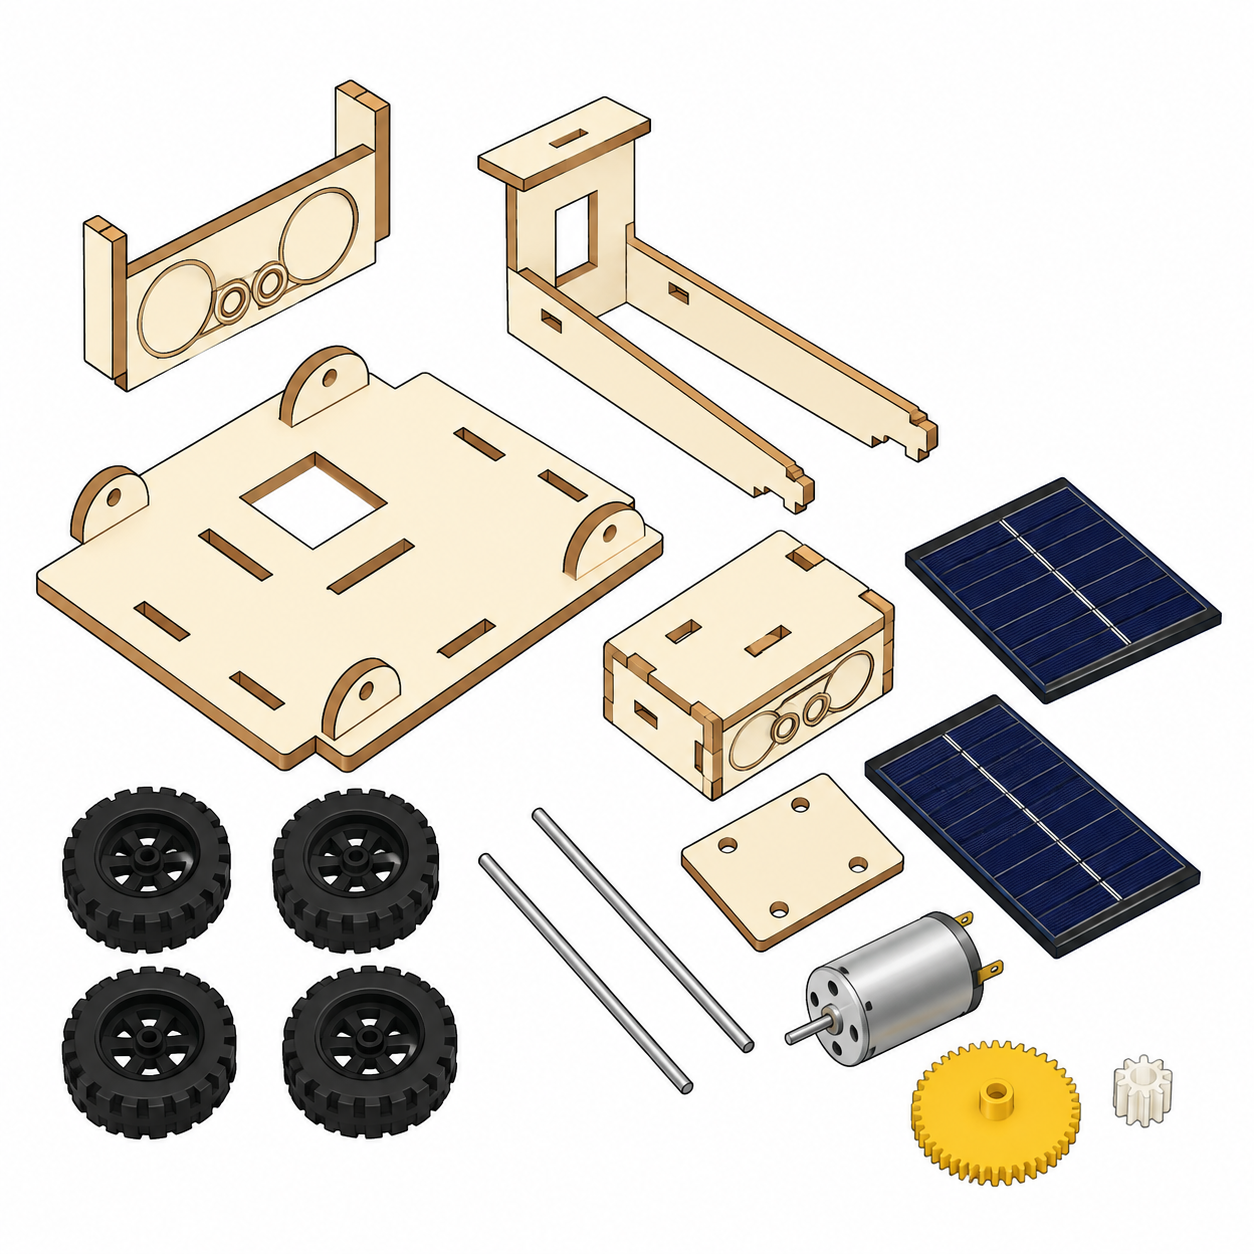
Lay out every printed panel, the four wheels, the two gears and the axle supports. Add the DC motor, the metal axle and the two solar panels. Compare each piece with the parts gallery so nothing is missing.
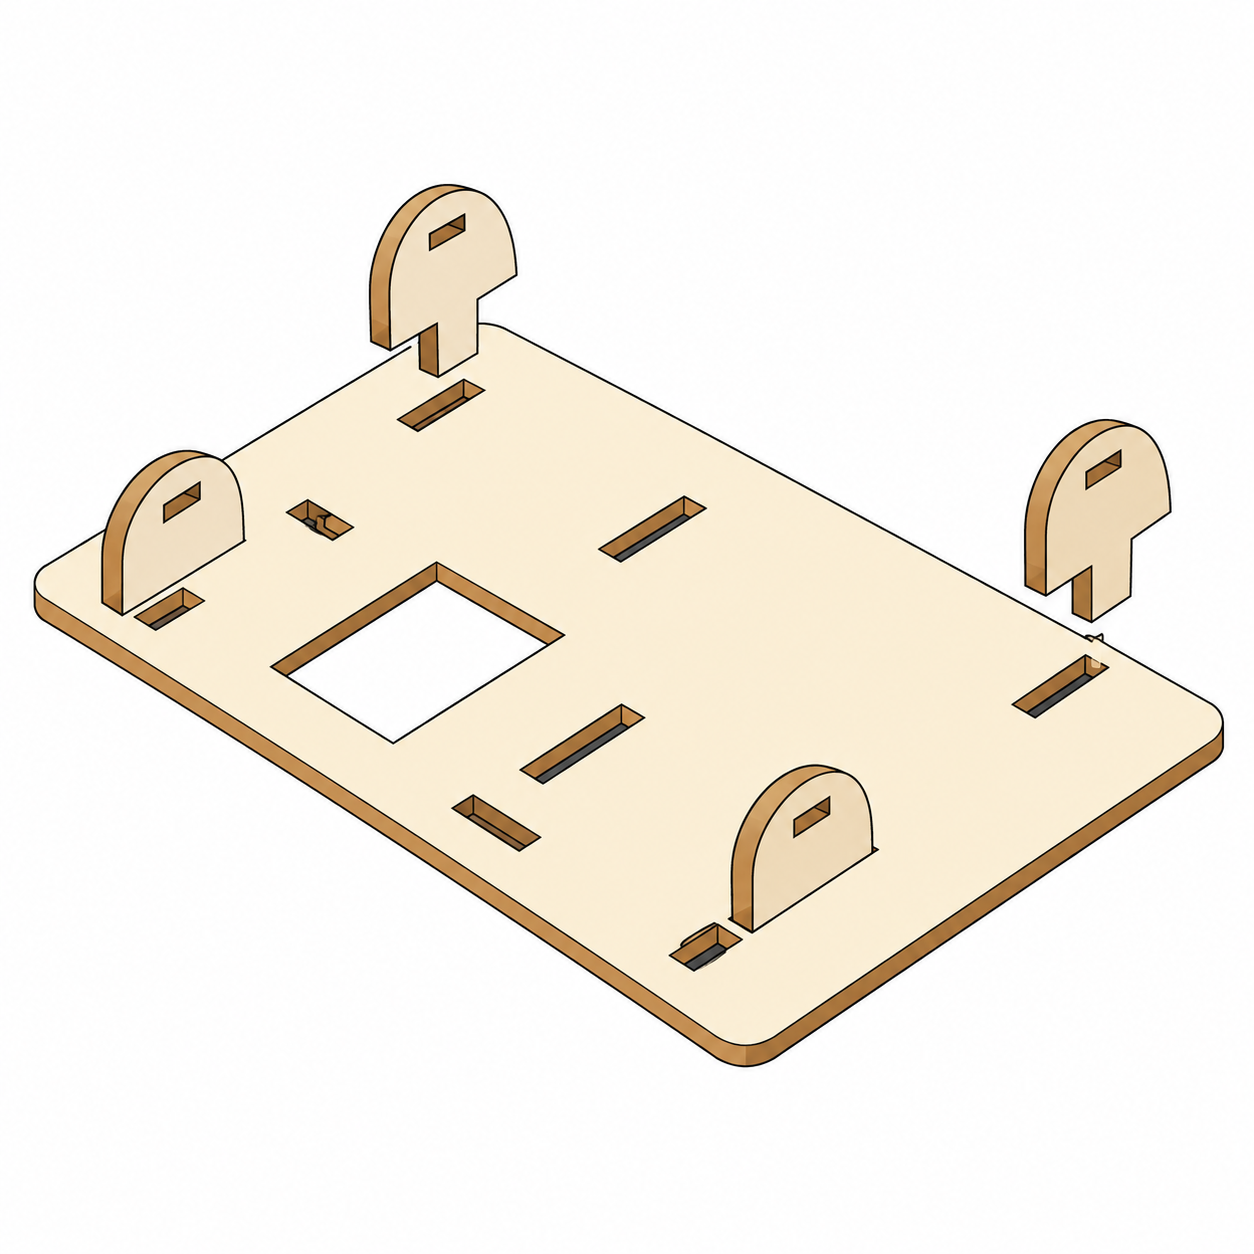
Fit the four axle supports into the matching slots on the chassis. Line up their holes across the chassis so the axle slides through straight. If a slot is tight, file the tab a little.
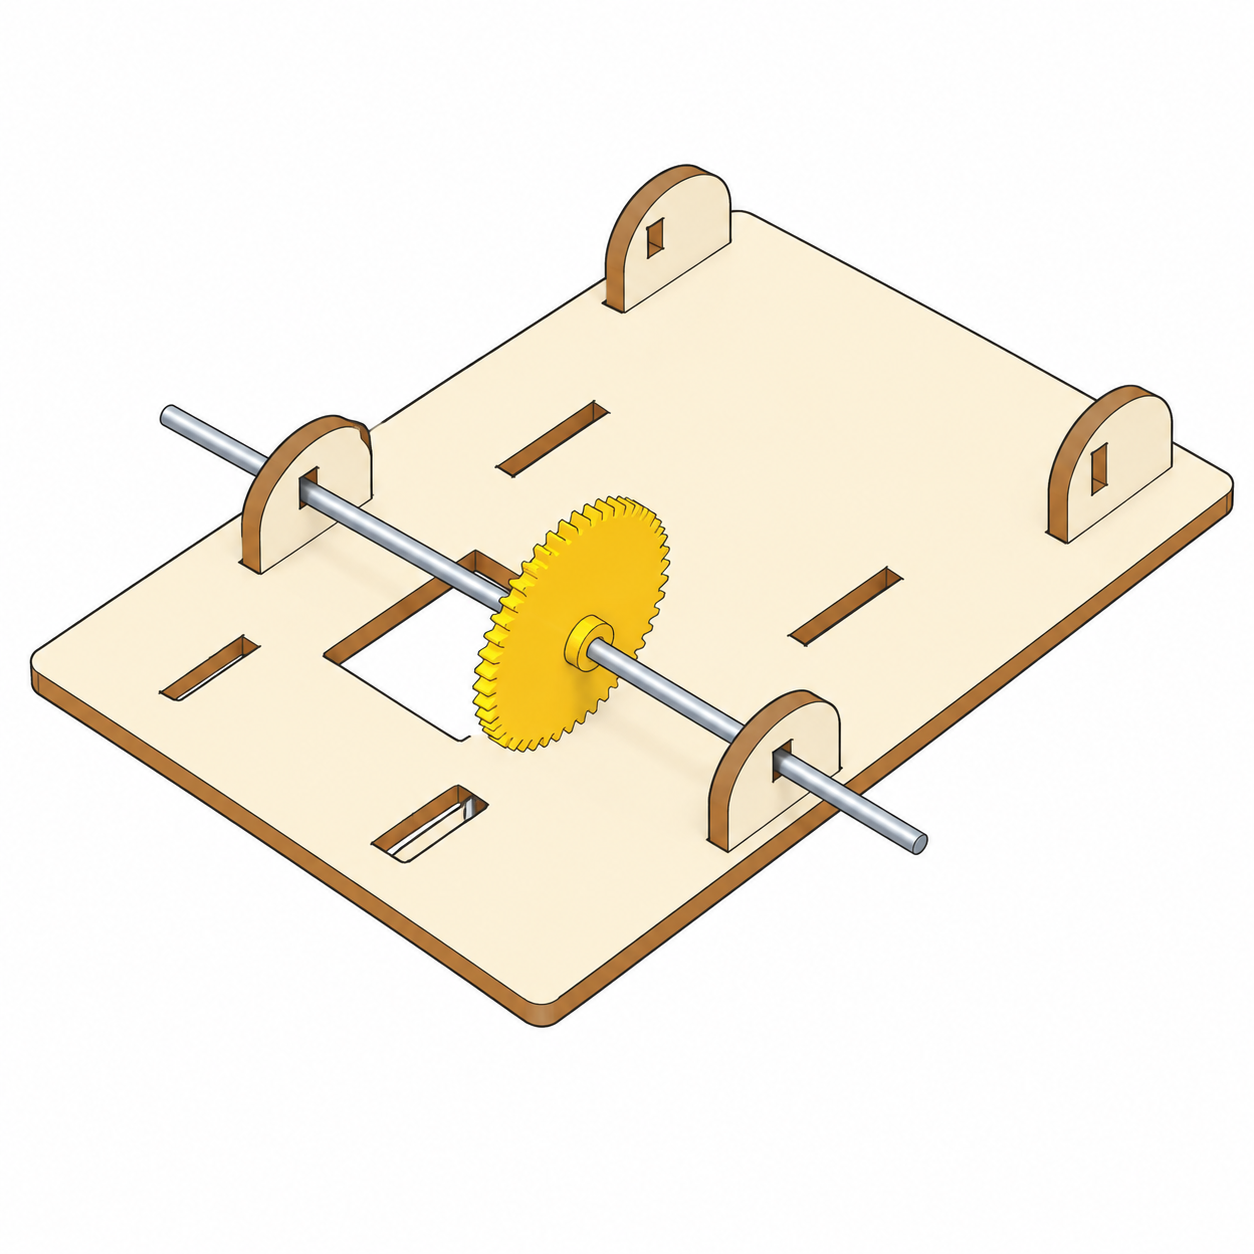
Slide a metal axle through the large drive gear and its axle supports. Position the gear as shown so its teeth will meet the pinion later. Spin the axle by hand to check it turns freely.
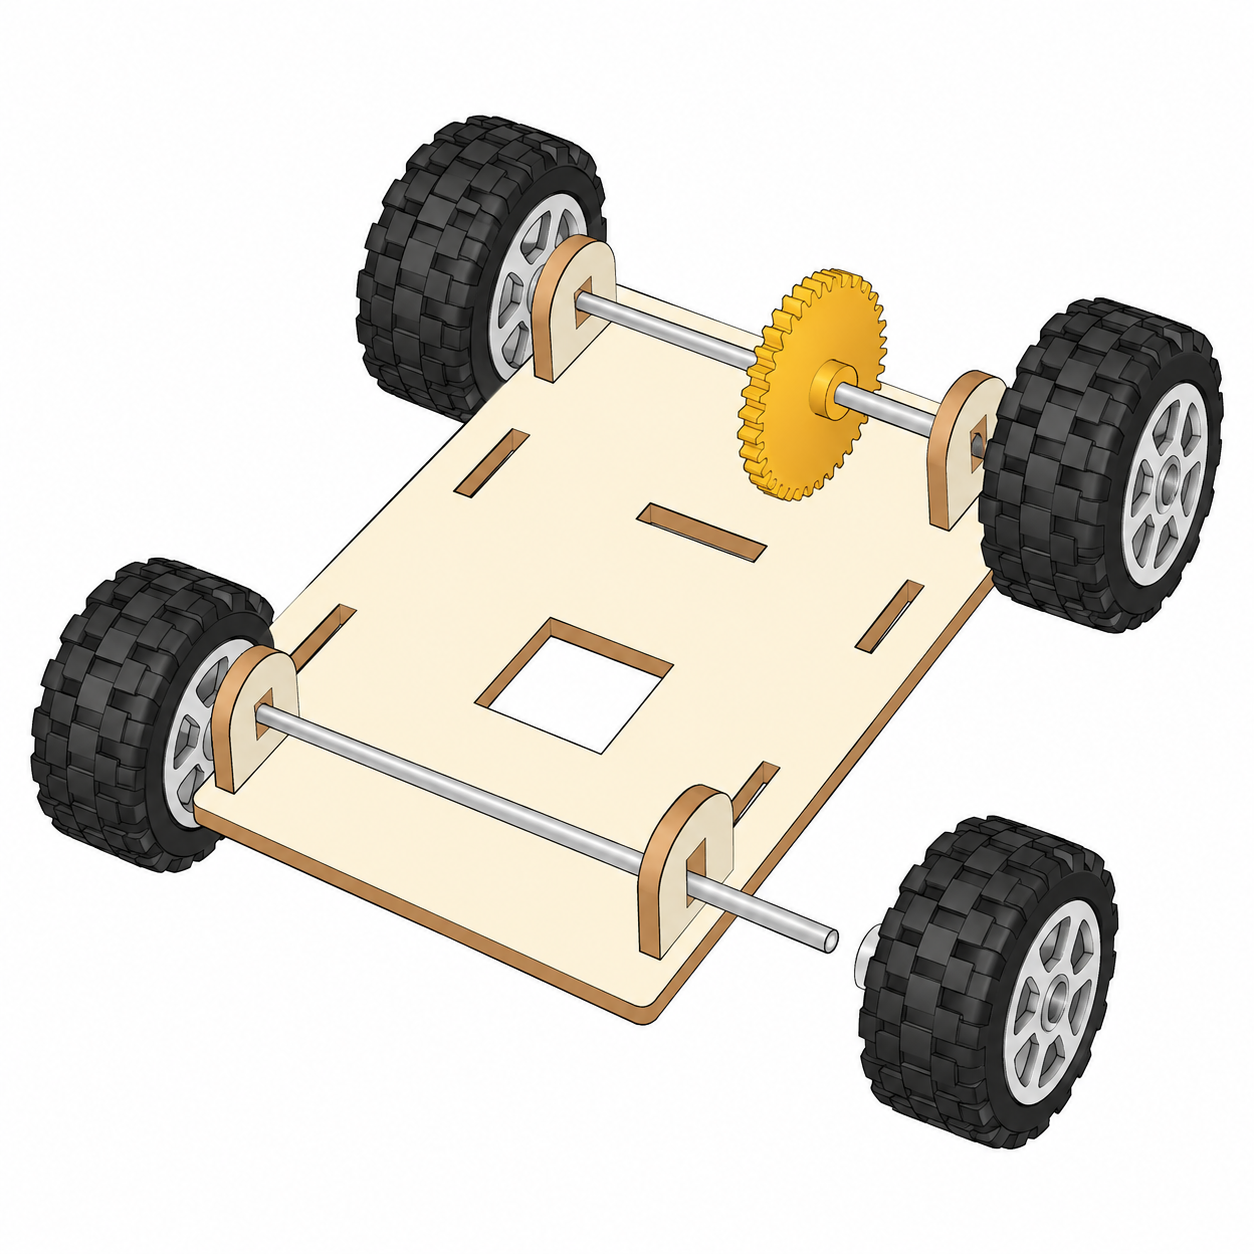
Fit the second axle and press on all four wheels. Leave a small gap between each wheel hub and the body so the wheels spin without rubbing.
Wheels roll instead of slide because rolling friction is tiny compared with sliding friction. The tyre grips the floor and pushes backward, so the floor pushes the rover forward, that is Newton's third law. Smooth wheels slip; a little tread grips better. If your rover slips, try a heavier battery or rougher tyres.
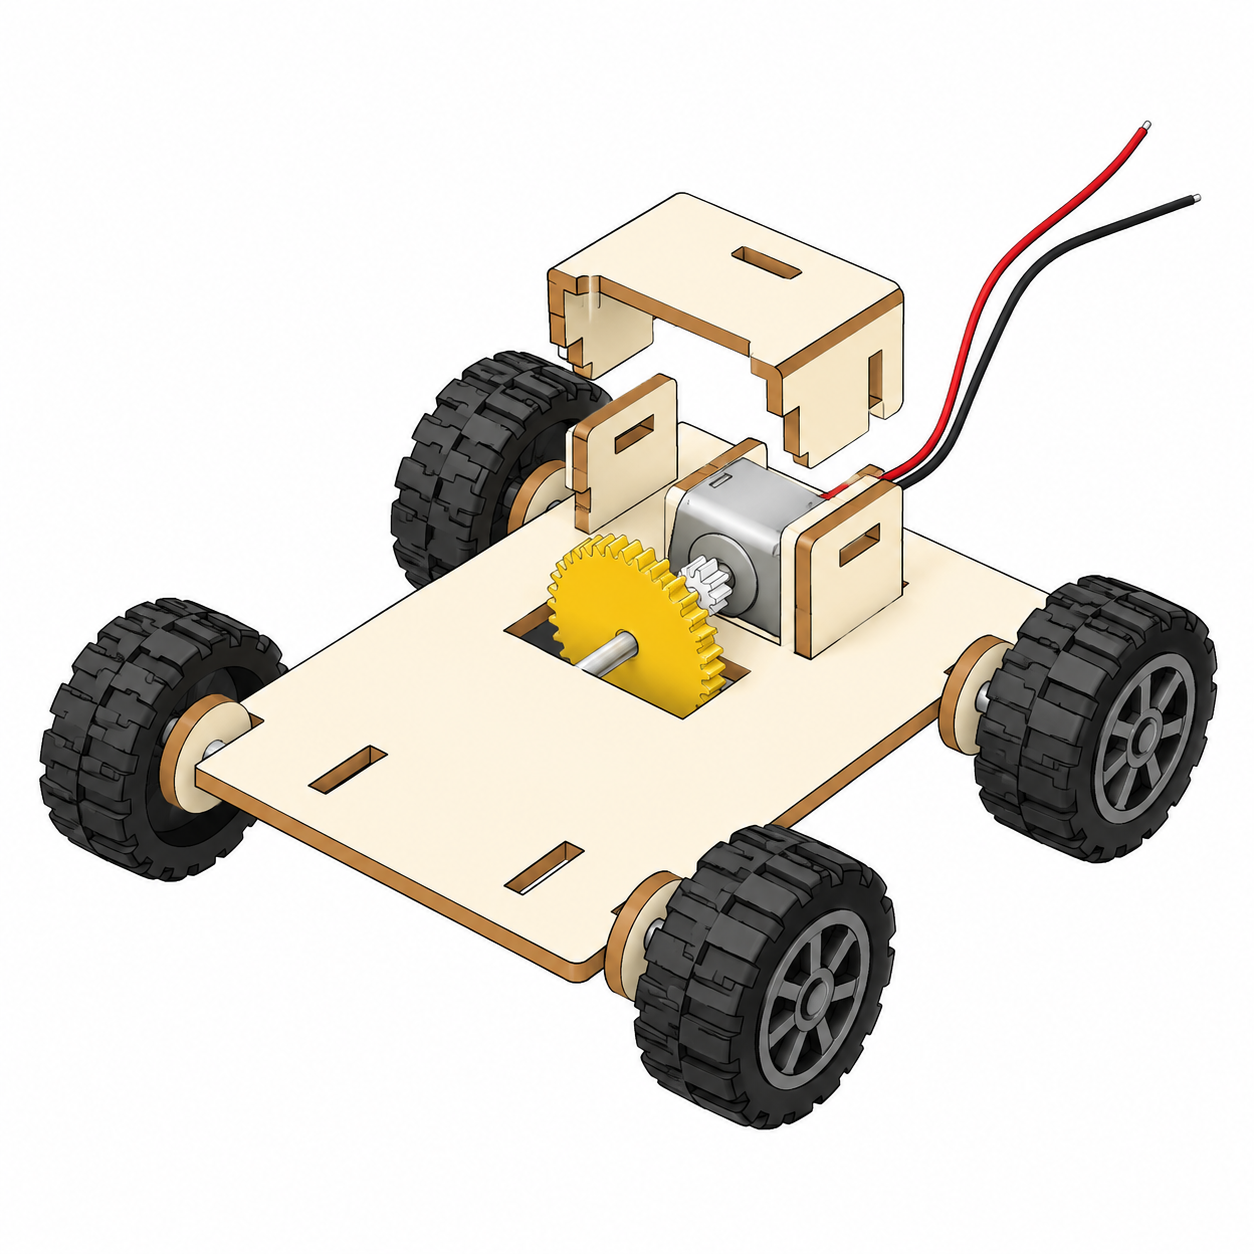
Press the small pinion onto the motor shaft. Place the motor so the pinion teeth mesh with the large drive gear, then clip on the retaining bracket. Turn the axle gently: the gears should engage smoothly with no grinding.
Gears let us swap speed for turning force (torque). The small pinion has few teeth and spins fast; the big drive gear has many teeth and turns slowly. The ratio is drive teeth divided by pinion teeth. A big ratio makes the wheel turn slowly but with more force, which is what a heavy little car needs. Drag the sliders below and watch the math change.
Ratio
4.0:1
Motor
60 rpm
Wheel
15.0 rpm
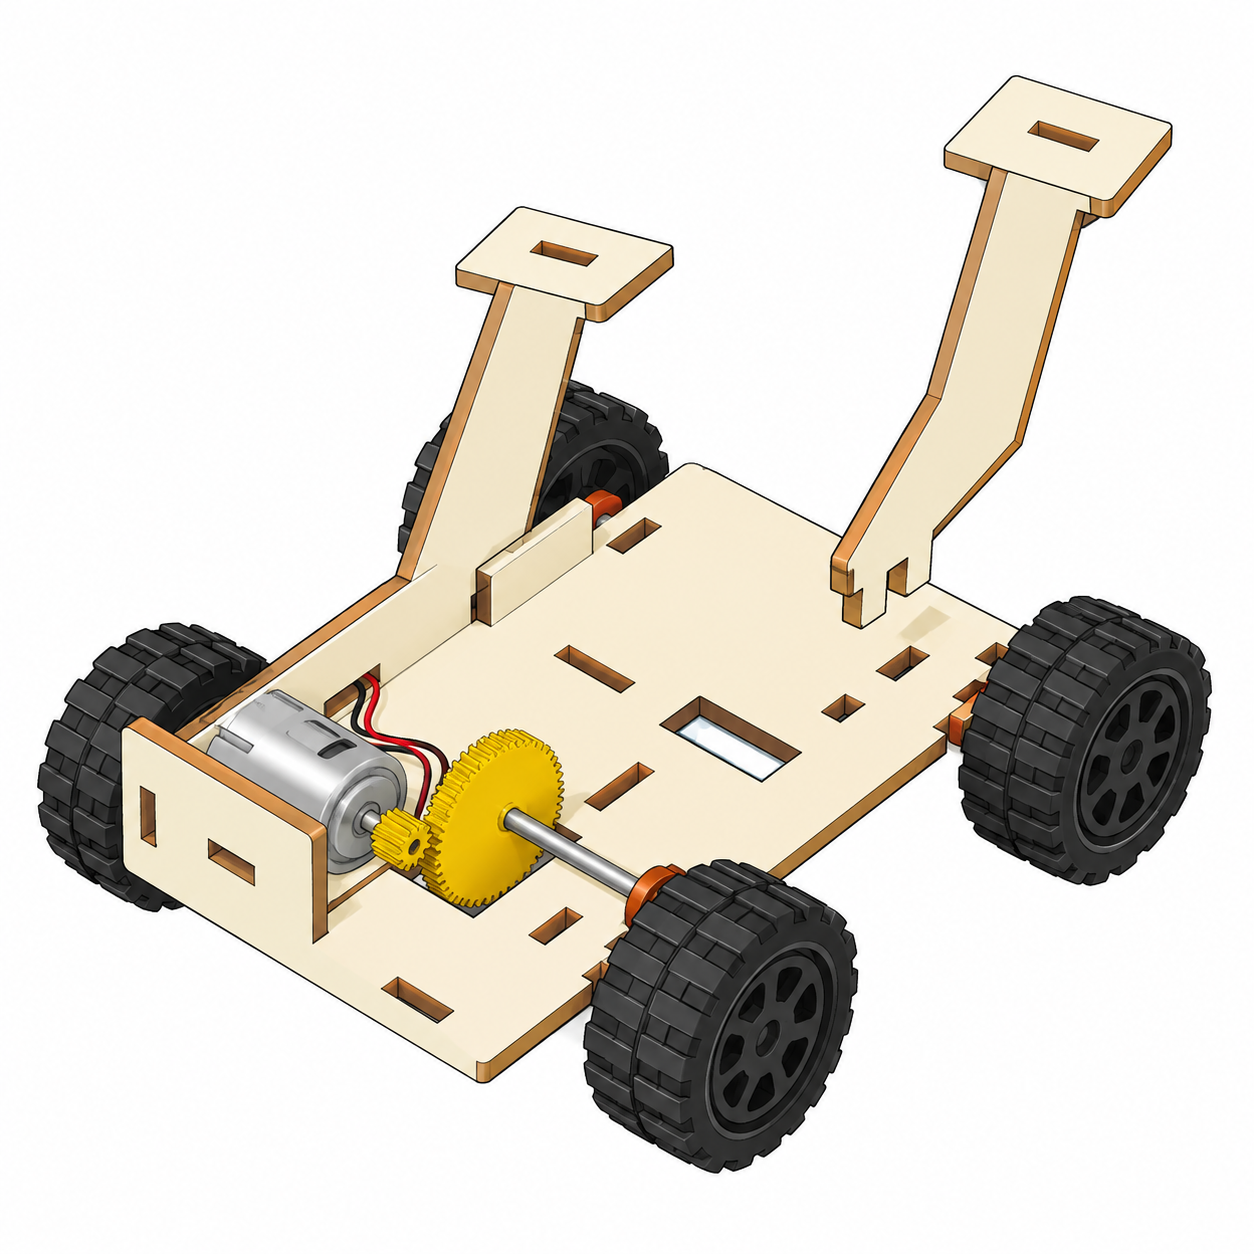
Fit the two angled support pieces into the matching chassis slots, one on each side. The angle tilts the panels toward the sun.
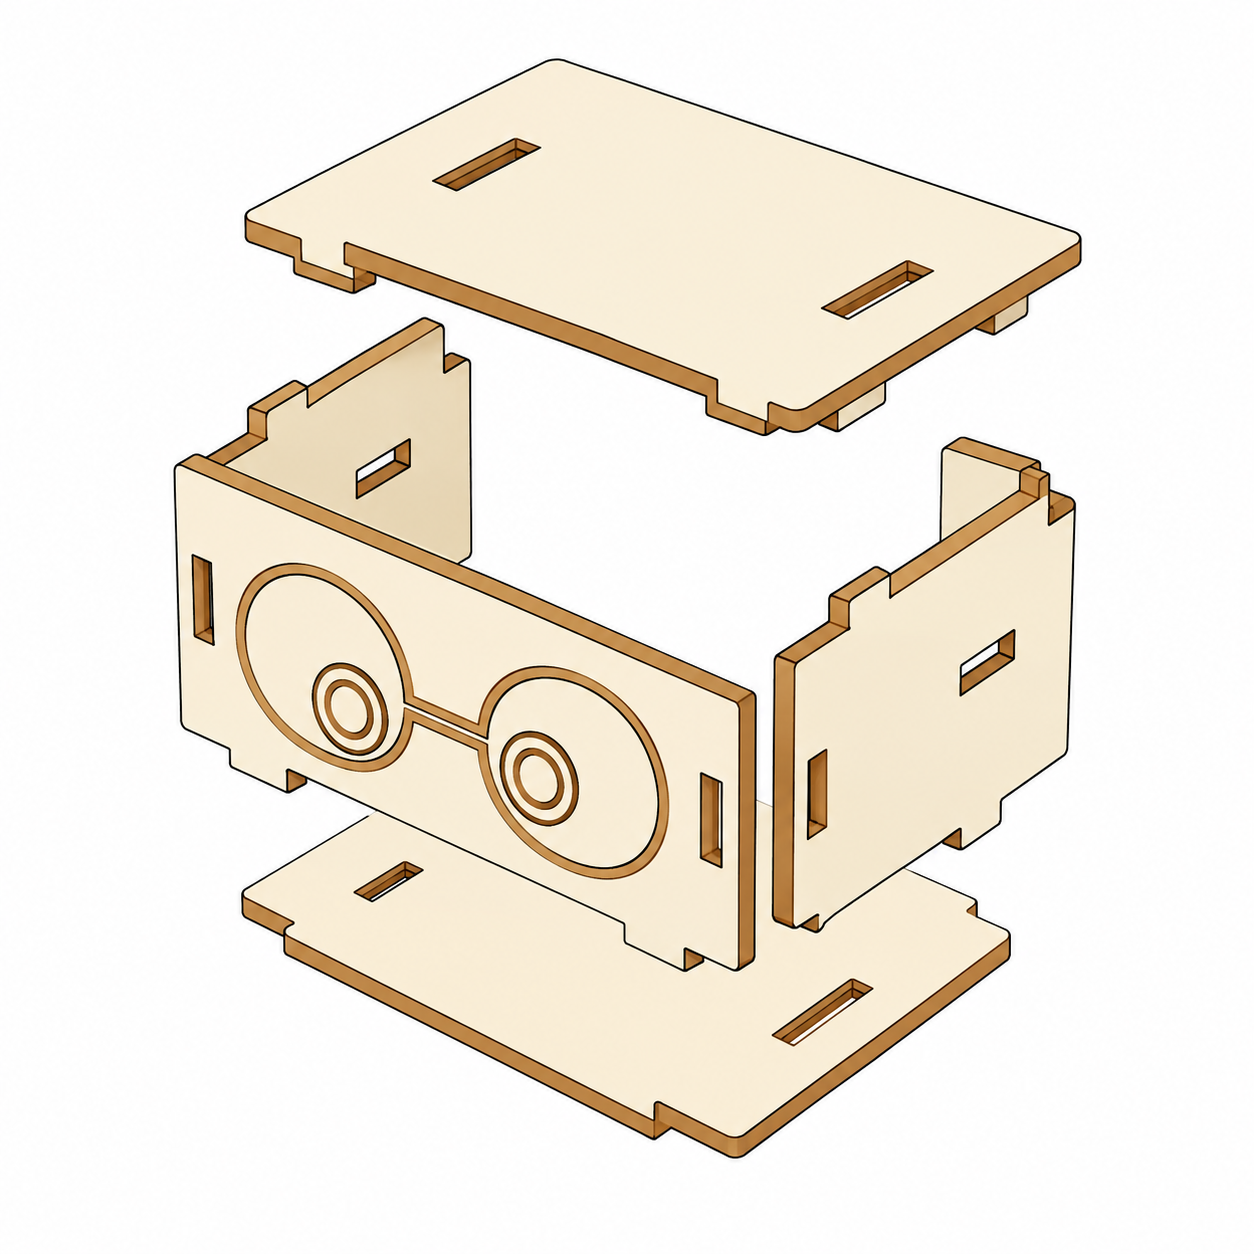
Join the front, side and remaining head panels using their matching tabs and slots. The circular eye markings are decorative.
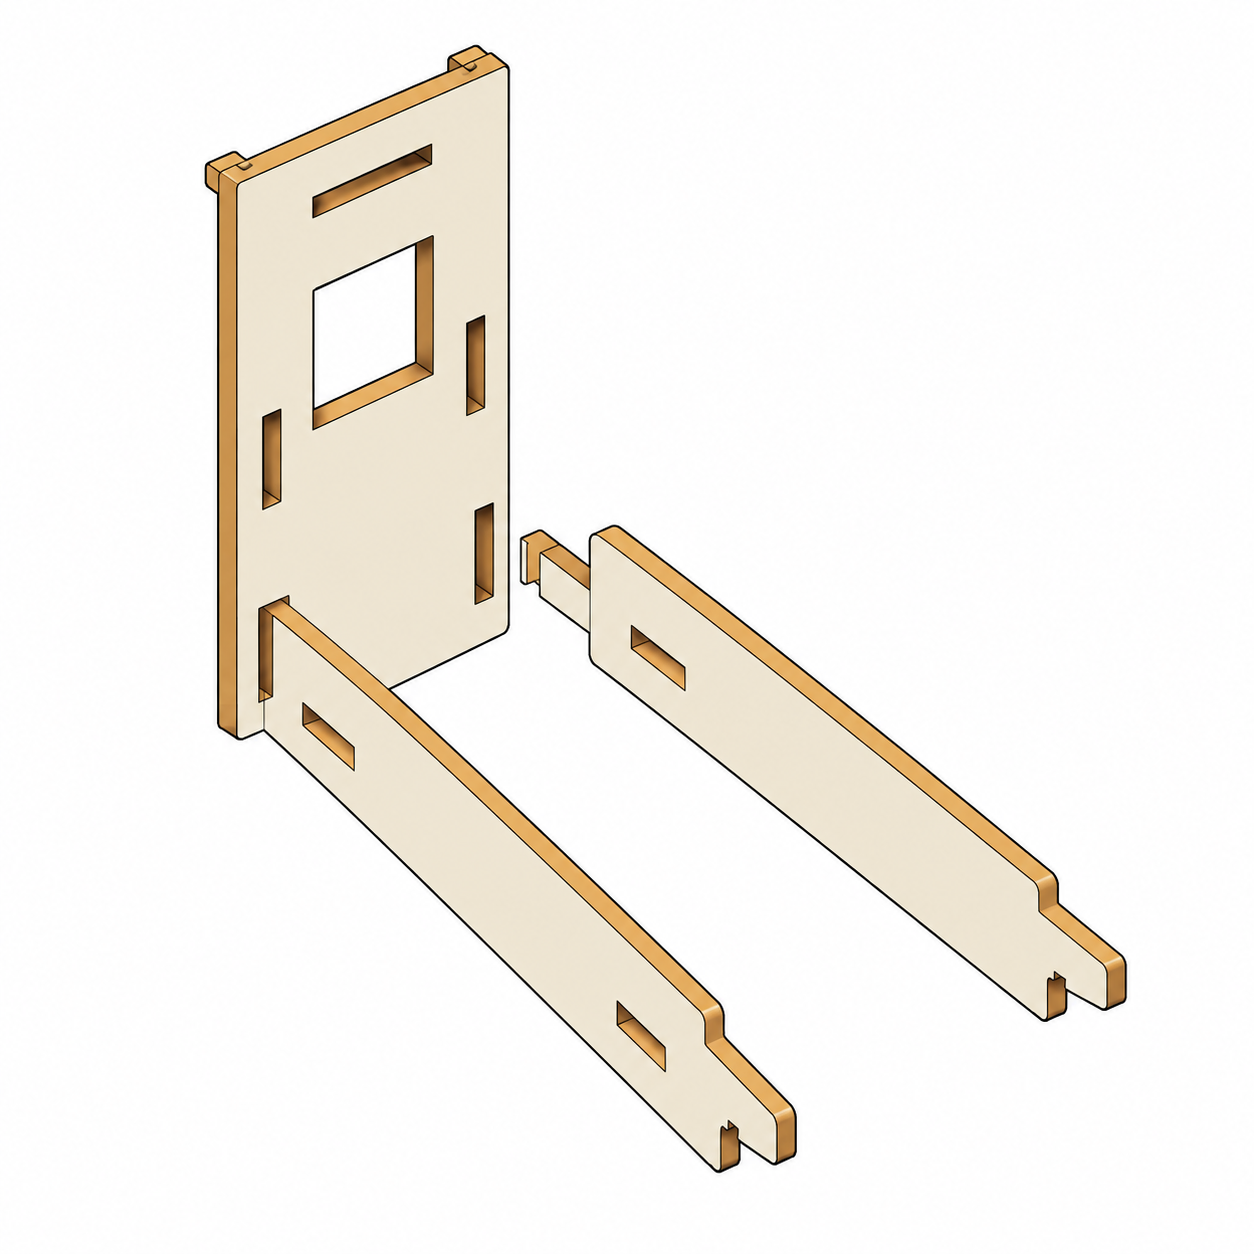
Join the windowed frame and the two long support rails. Press every tab fully into its slot so the mast is stiff and square.
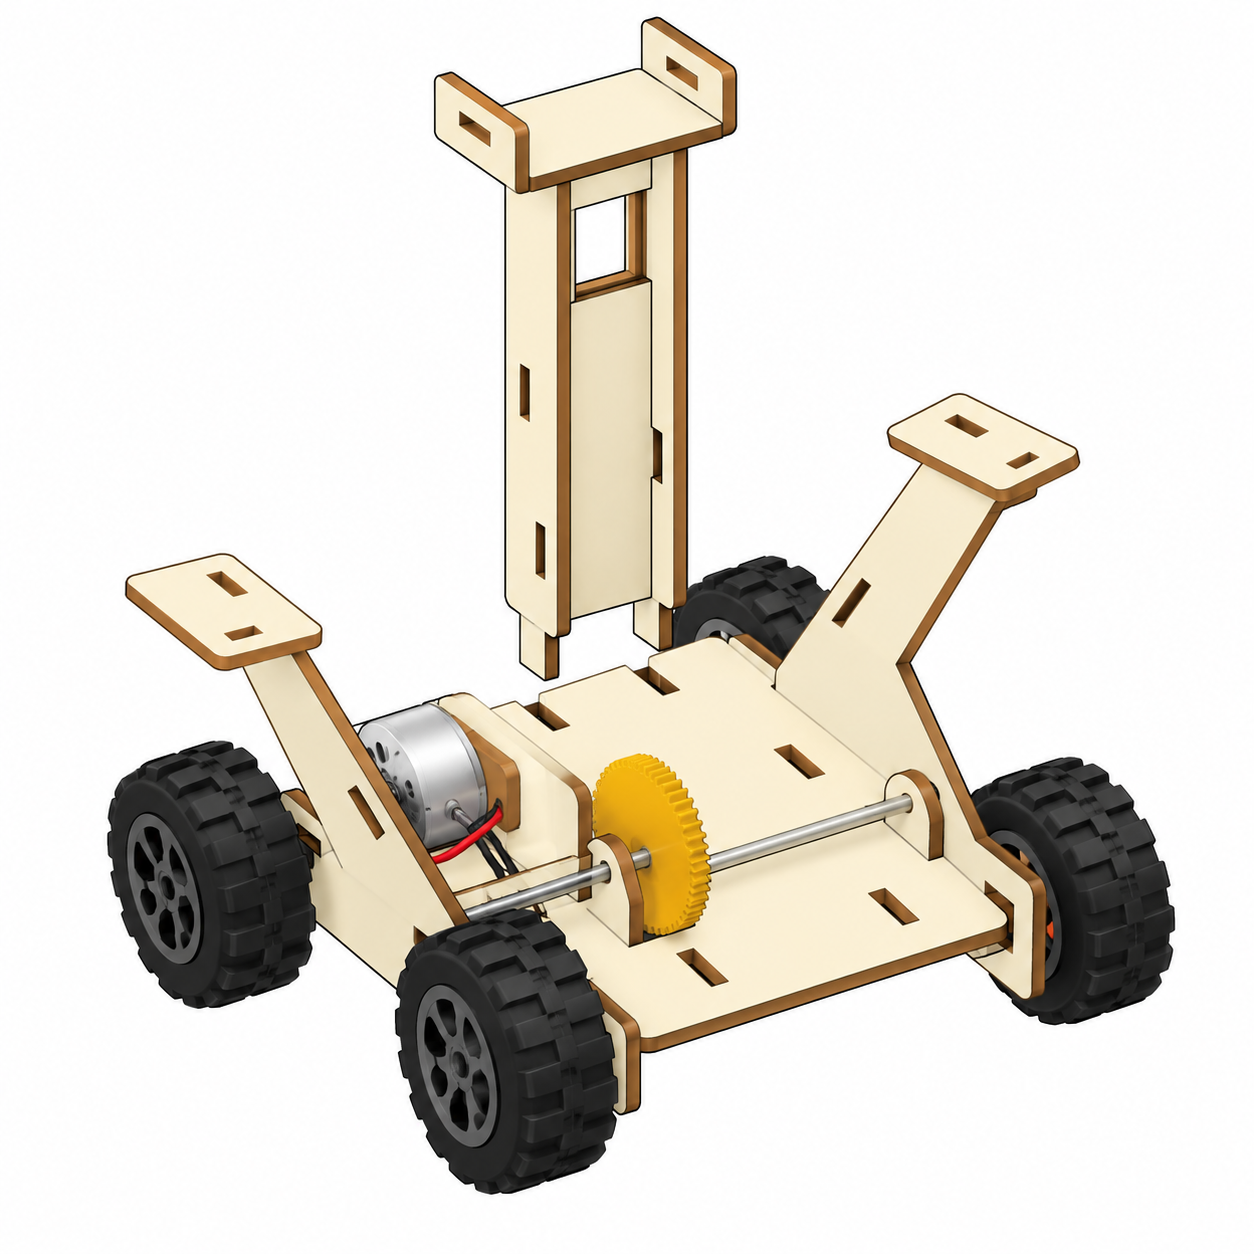
Align the mast tabs with the chassis slots and press the mast assembly down into place. Check that it stands straight.
The mast has to hold the head and two solar panels up high without toppling. Engineers use deep, tall shapes because they resist bending far better than flat plates. Notice how the windowed frame is tall: that depth keeps it stiff. A flat piece the same width would wobble and snap. The cut-out window saves plastic without losing much strength.
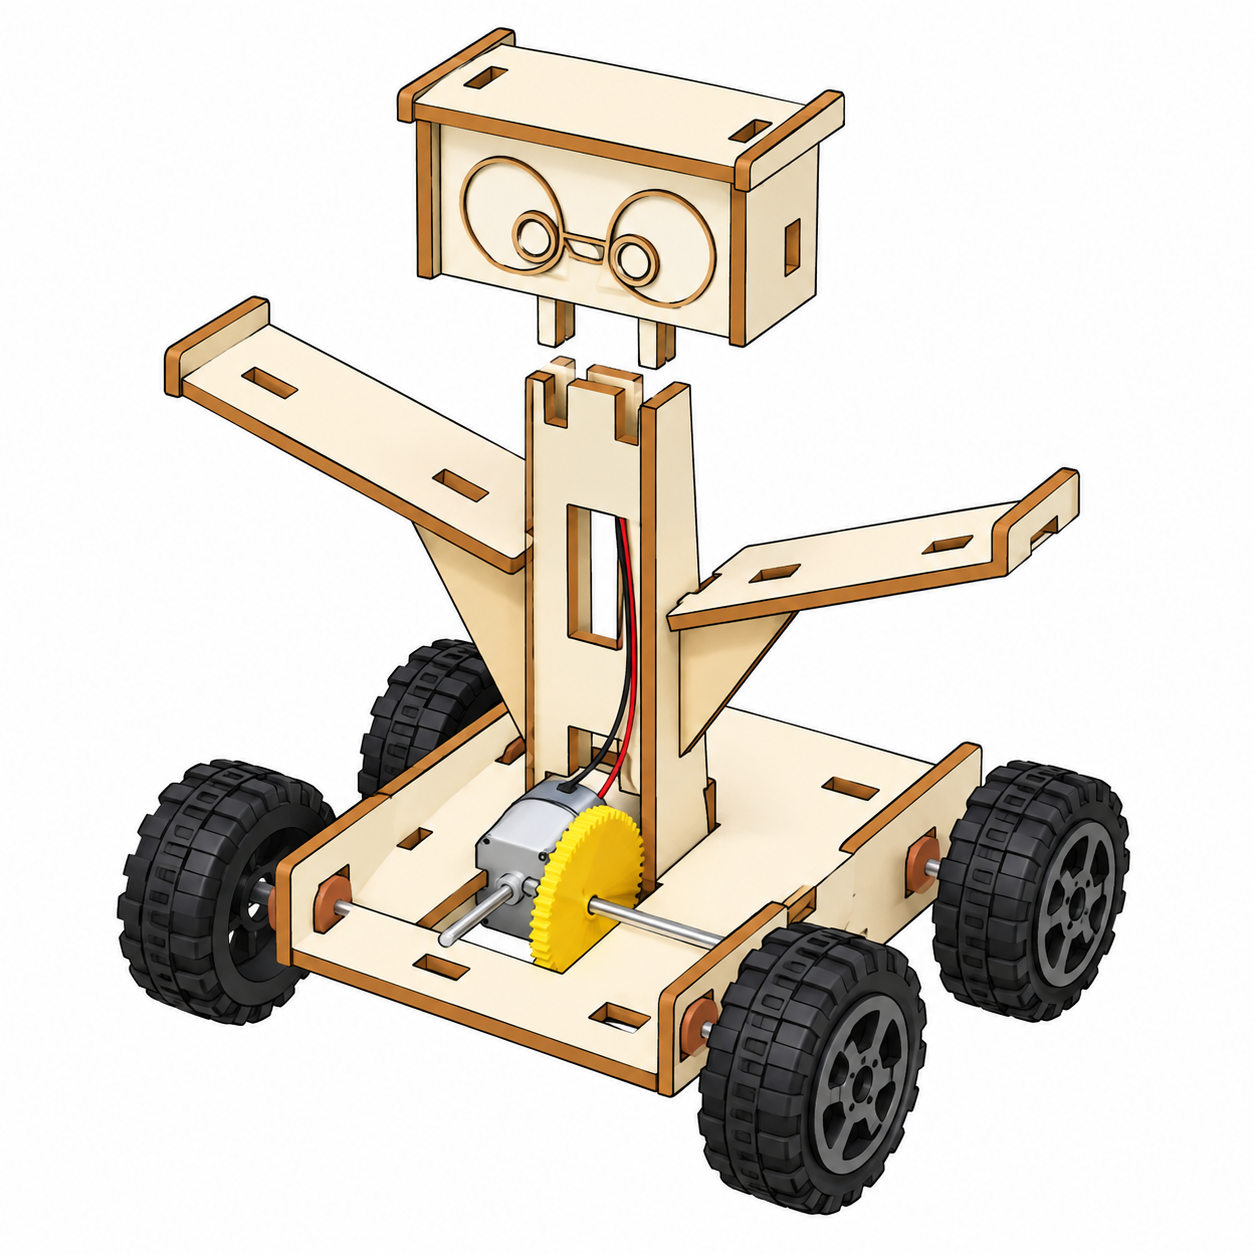
Fit the assembled head onto the mast attachment points. Check that the head and mast are secure before wiring.
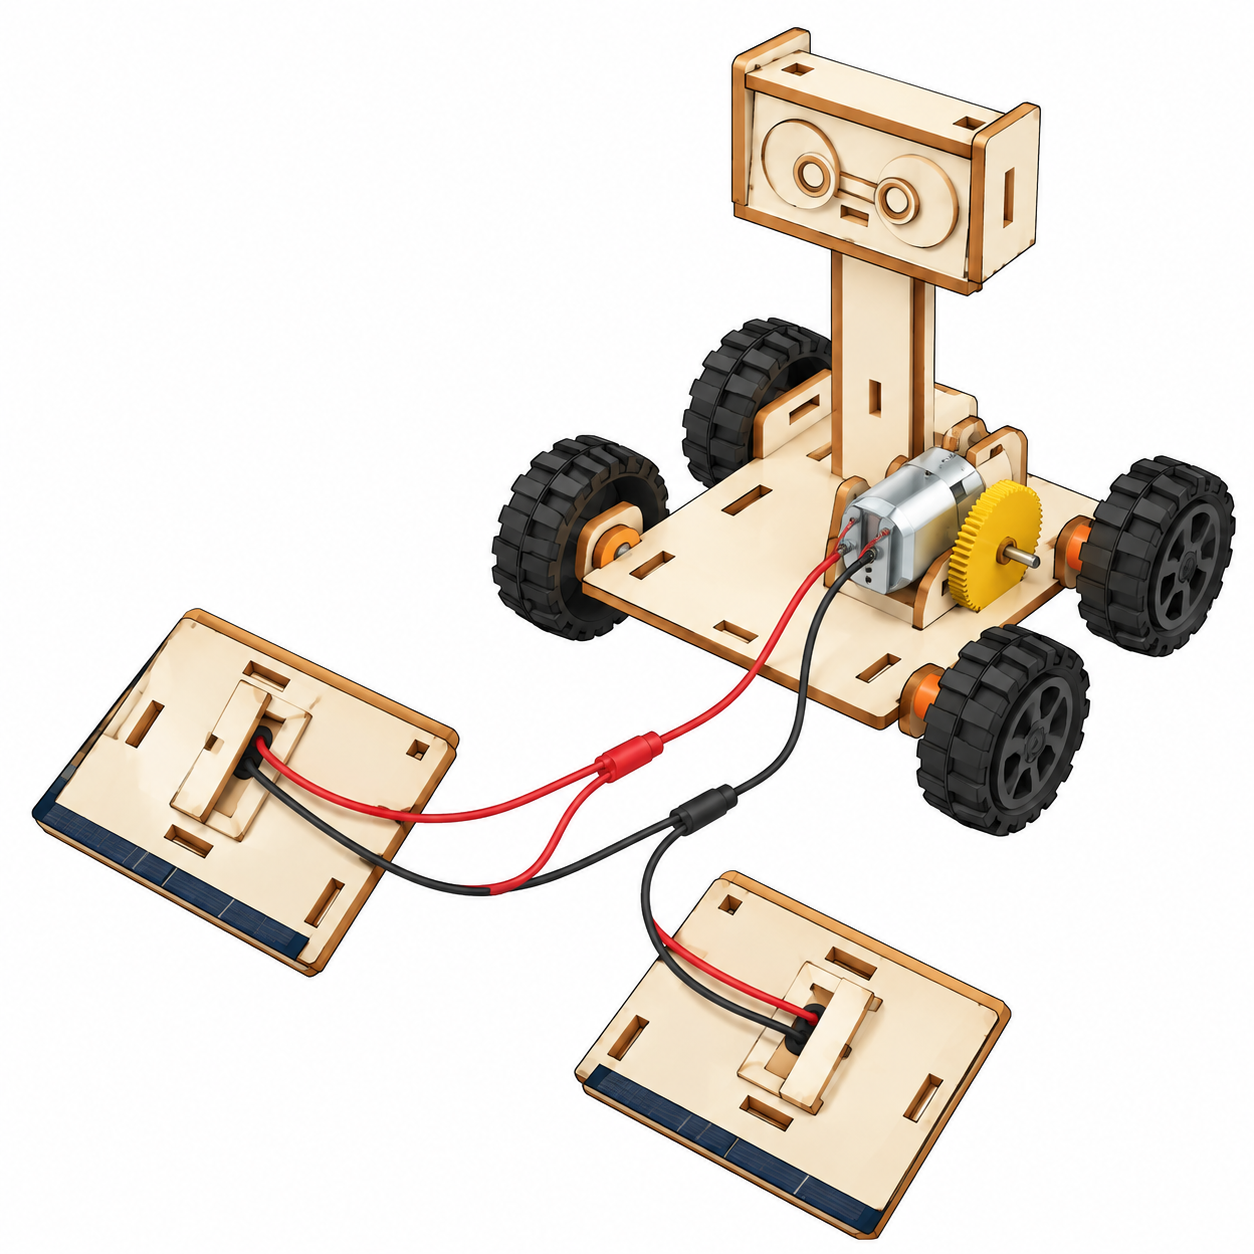
Join both red panel leads to the red motor lead, and both black panel leads to the black motor lead. Keep the two junctions separate and insulated with tape. Double-check the polarity before connecting.
A solar panel changes light energy into electrical energy. The panel makes the most power when sunlight hits it straight on. When the sun is low, the light strikes at an angle and less energy is captured. Clouds block light too. Move the sun and the clouds below and find out when the rover finally has enough power to drive.
The red line shows the power the motor needs to move.
Not enough power yet. The sun is too low or the clouds too thick. Raise the sun or clear the clouds to get the rover moving.
Attach one solar panel to each support with double-sided tape. Keep the wires clear of the wheels and gears. Place the rover in direct sunlight and watch it drive. If it goes backward, swap the motor wires.