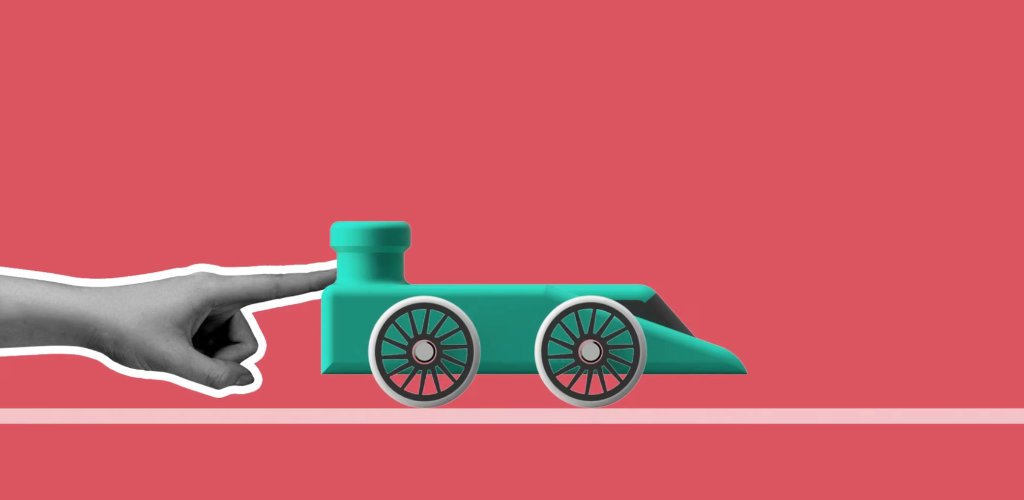
Balloon Dragsters
In this project, you'll be designing and making a 3D printed balloon dragster, with the aim of making it travel as far as possible in a straight line. After analysing an example model, you'll follow tutorials to design your own unique dragster, which will be tested and improved through an iterative process. Watch the intro video below and browse through the project sections to learn more about the journey.
Overview Video
Design Consideration
Before we begin designing, let's take a look at some design considerations for balloon dragsters. Browse through the content below and feel free to refer back to it at any point for guidance.
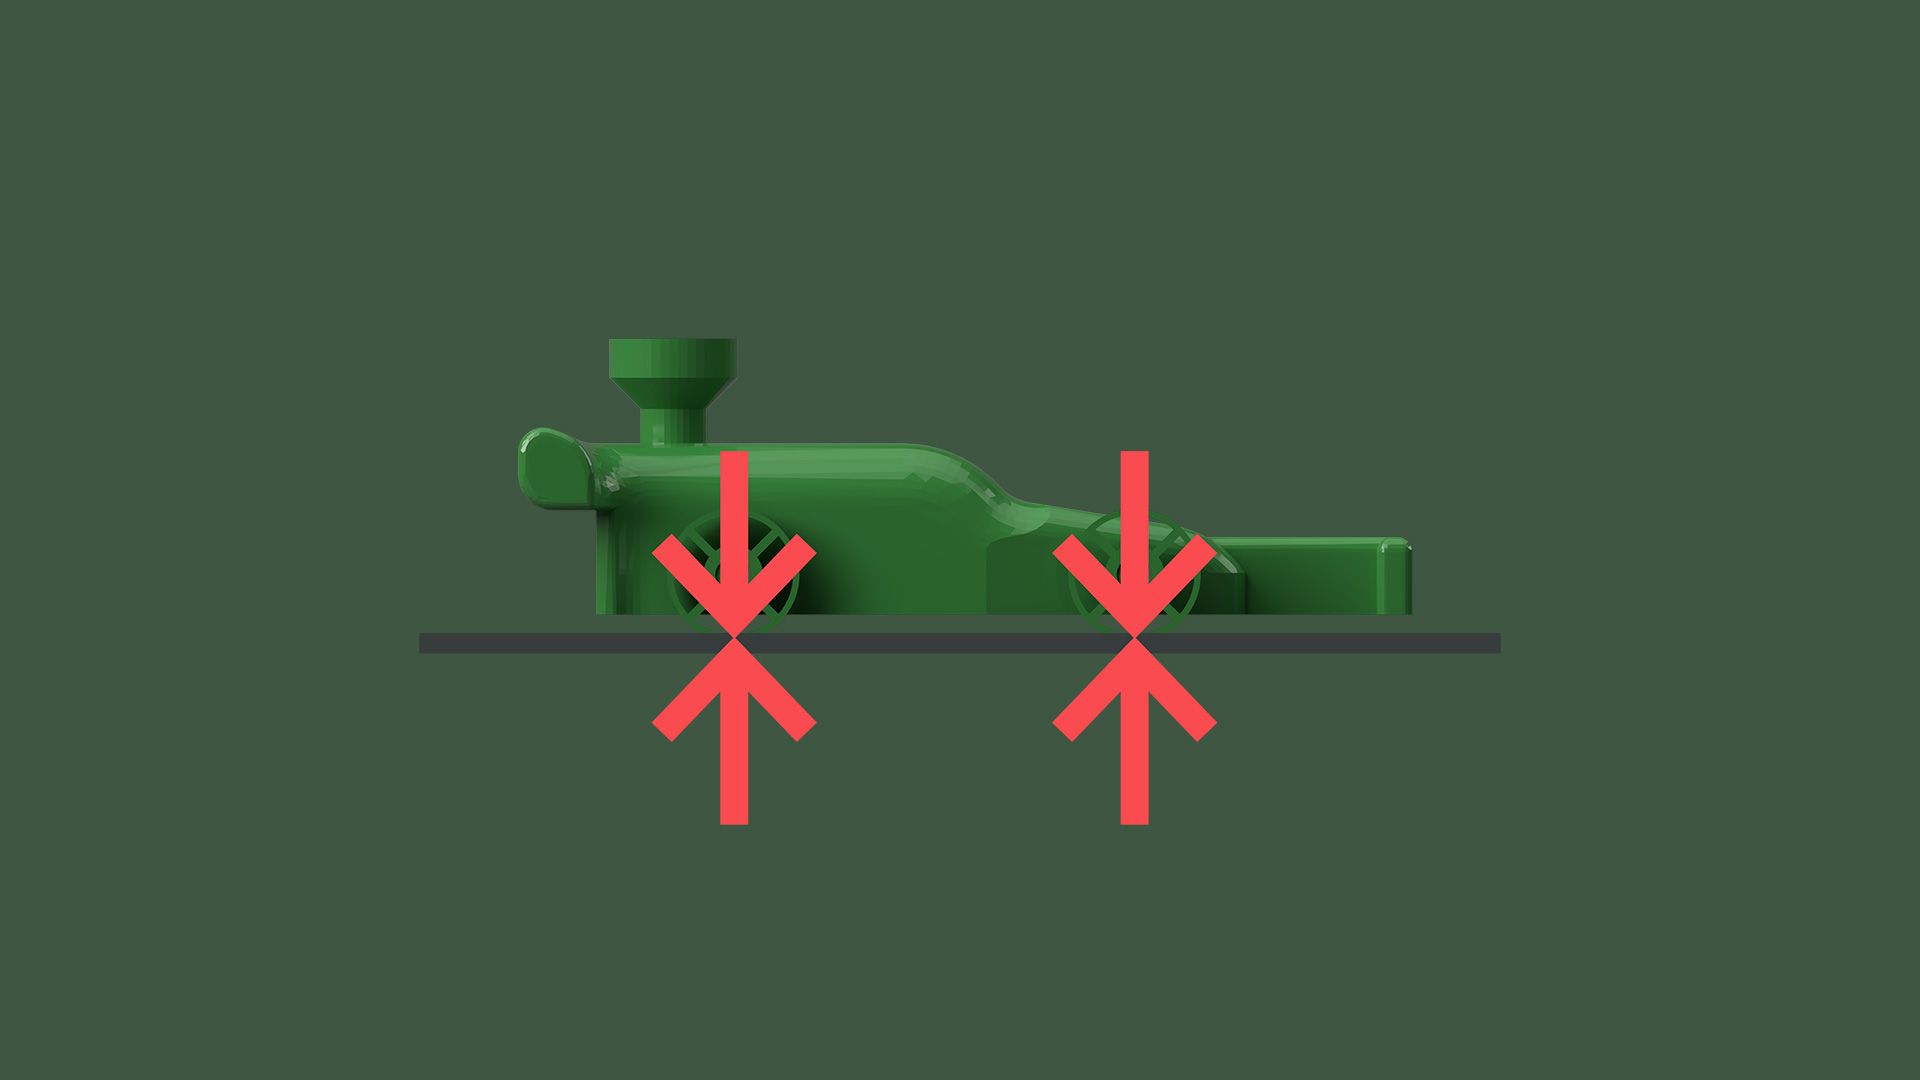
Mass
A dragster with more mass will require more force to propel the wheels on a flat surface. Reducing the mass will increase its acceleration and ability to travel further.
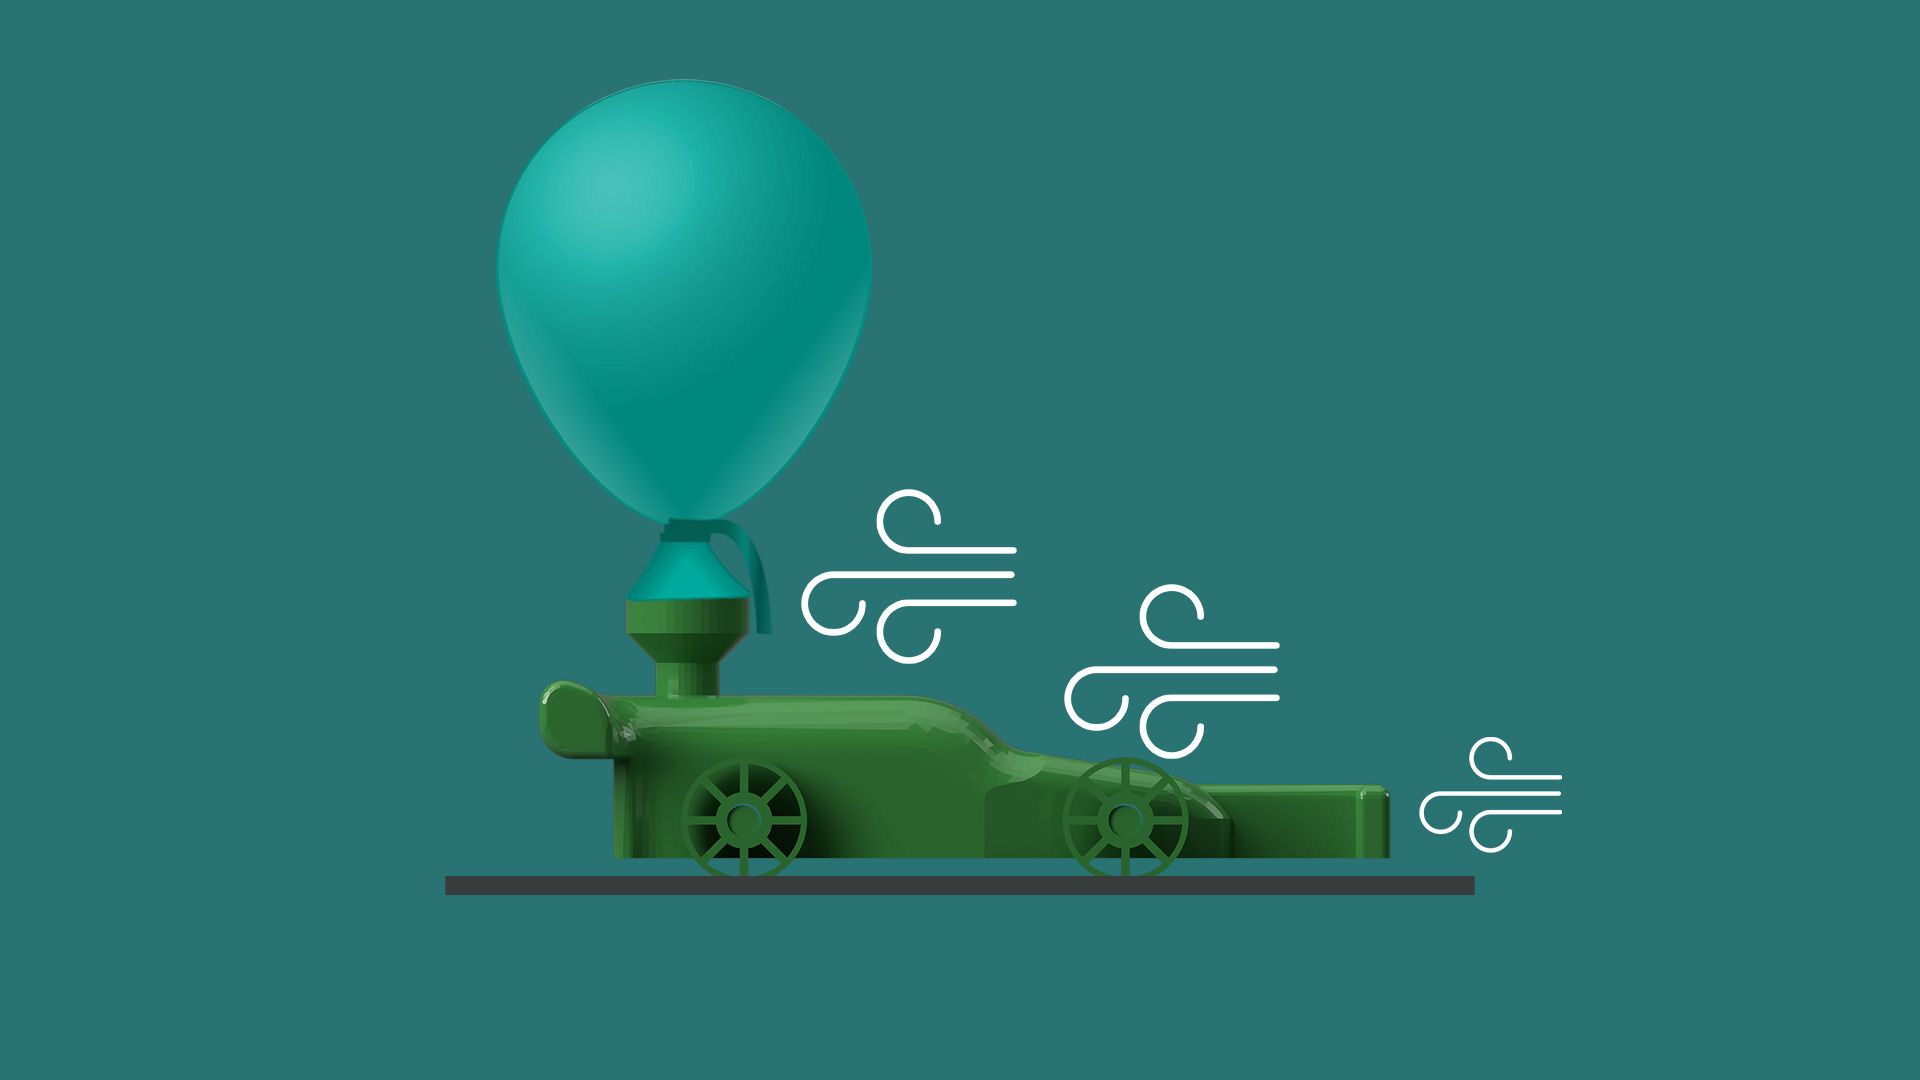
Air Resistance
If the front faces of the dragster have large surface area, it will incur increased air resistance and will slow down quicker. Experiment with angled and curved surfaces to reduce drag.
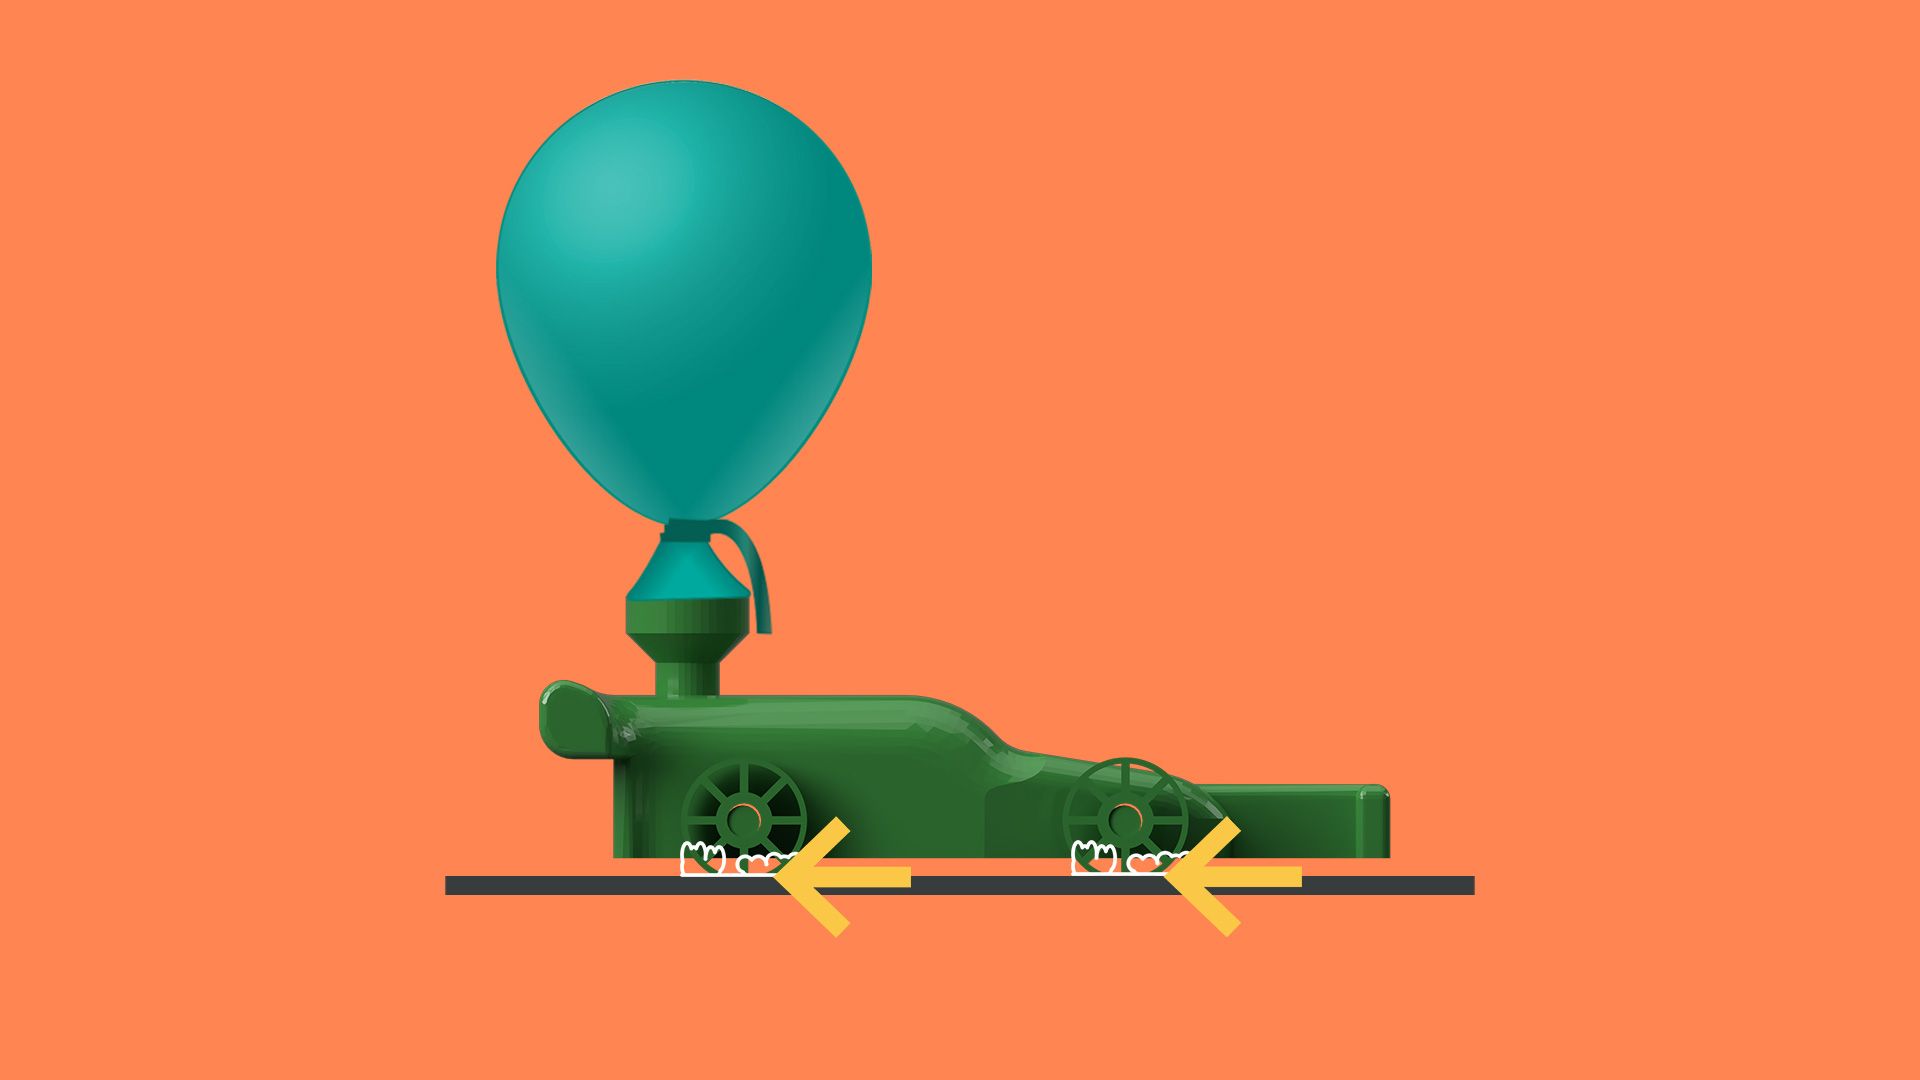
Friction
Wheels with less surface area will decrease the amount of friction applied to the dragster when in motion. However, reducing the surface area may affect the dragster's ability to travel in a straight line.
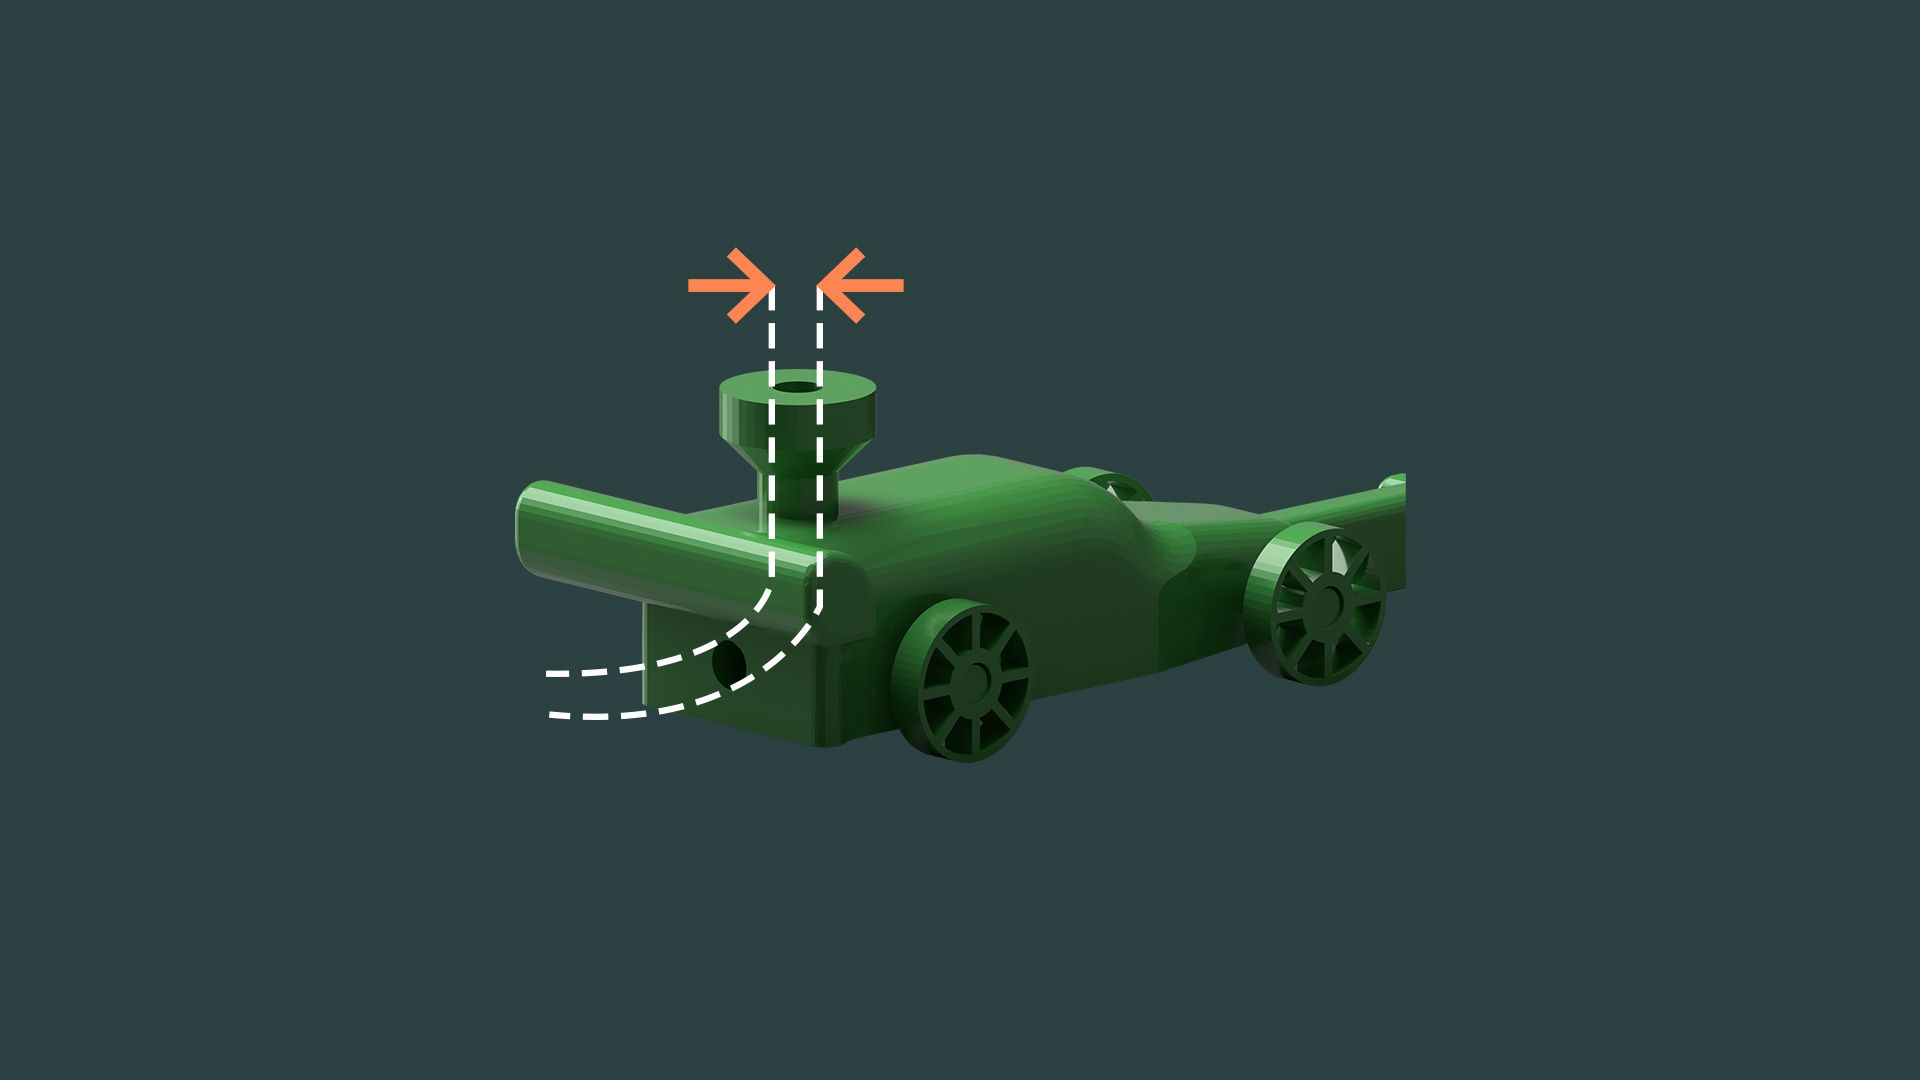
Air Pipe Diameter
Experimenting with different air pipe diameters can help you improve the amount and duration of thrust. When doing so, ensure the rear outlet is pointing straight back and not at an angle.
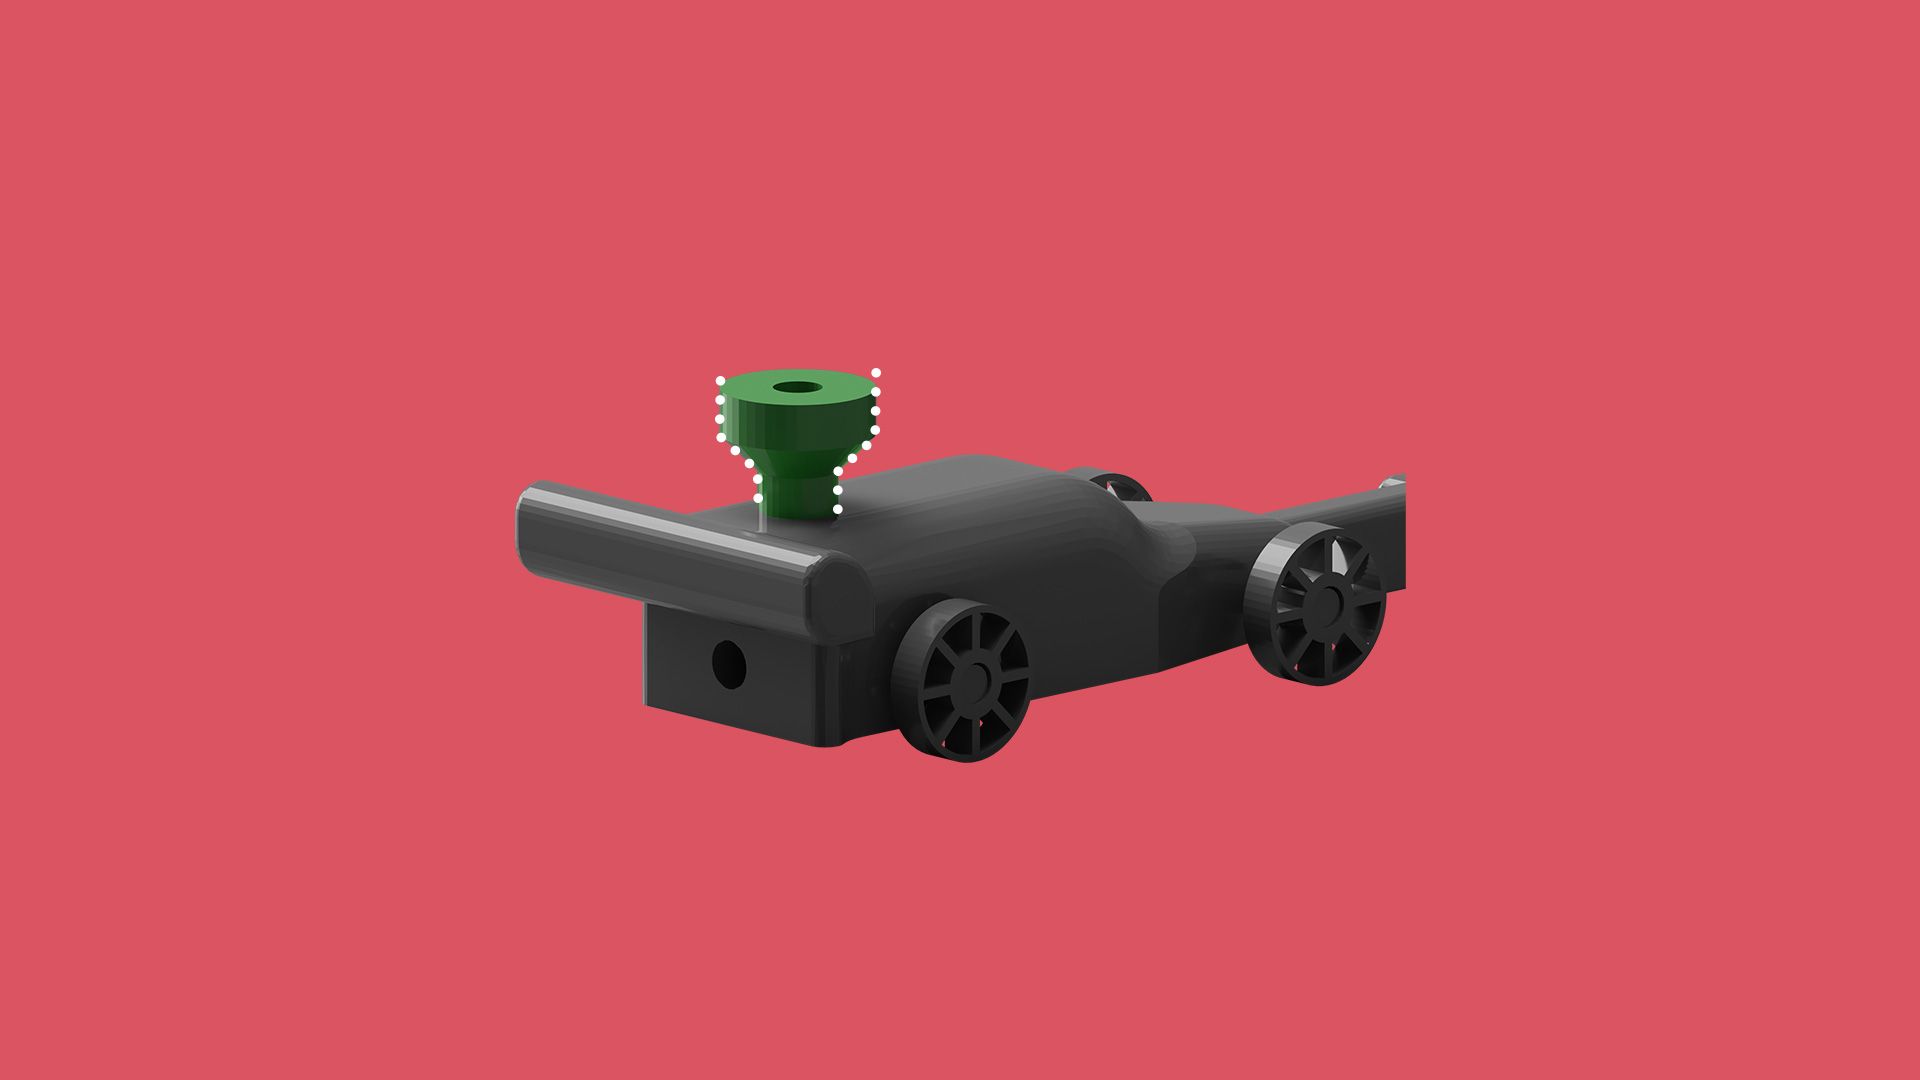
Balloon Connector
Ensure your connector is big enough for the balloon to fit around tightly without air gaps, but not too big that it significantly increases the mass of the overall dragster.
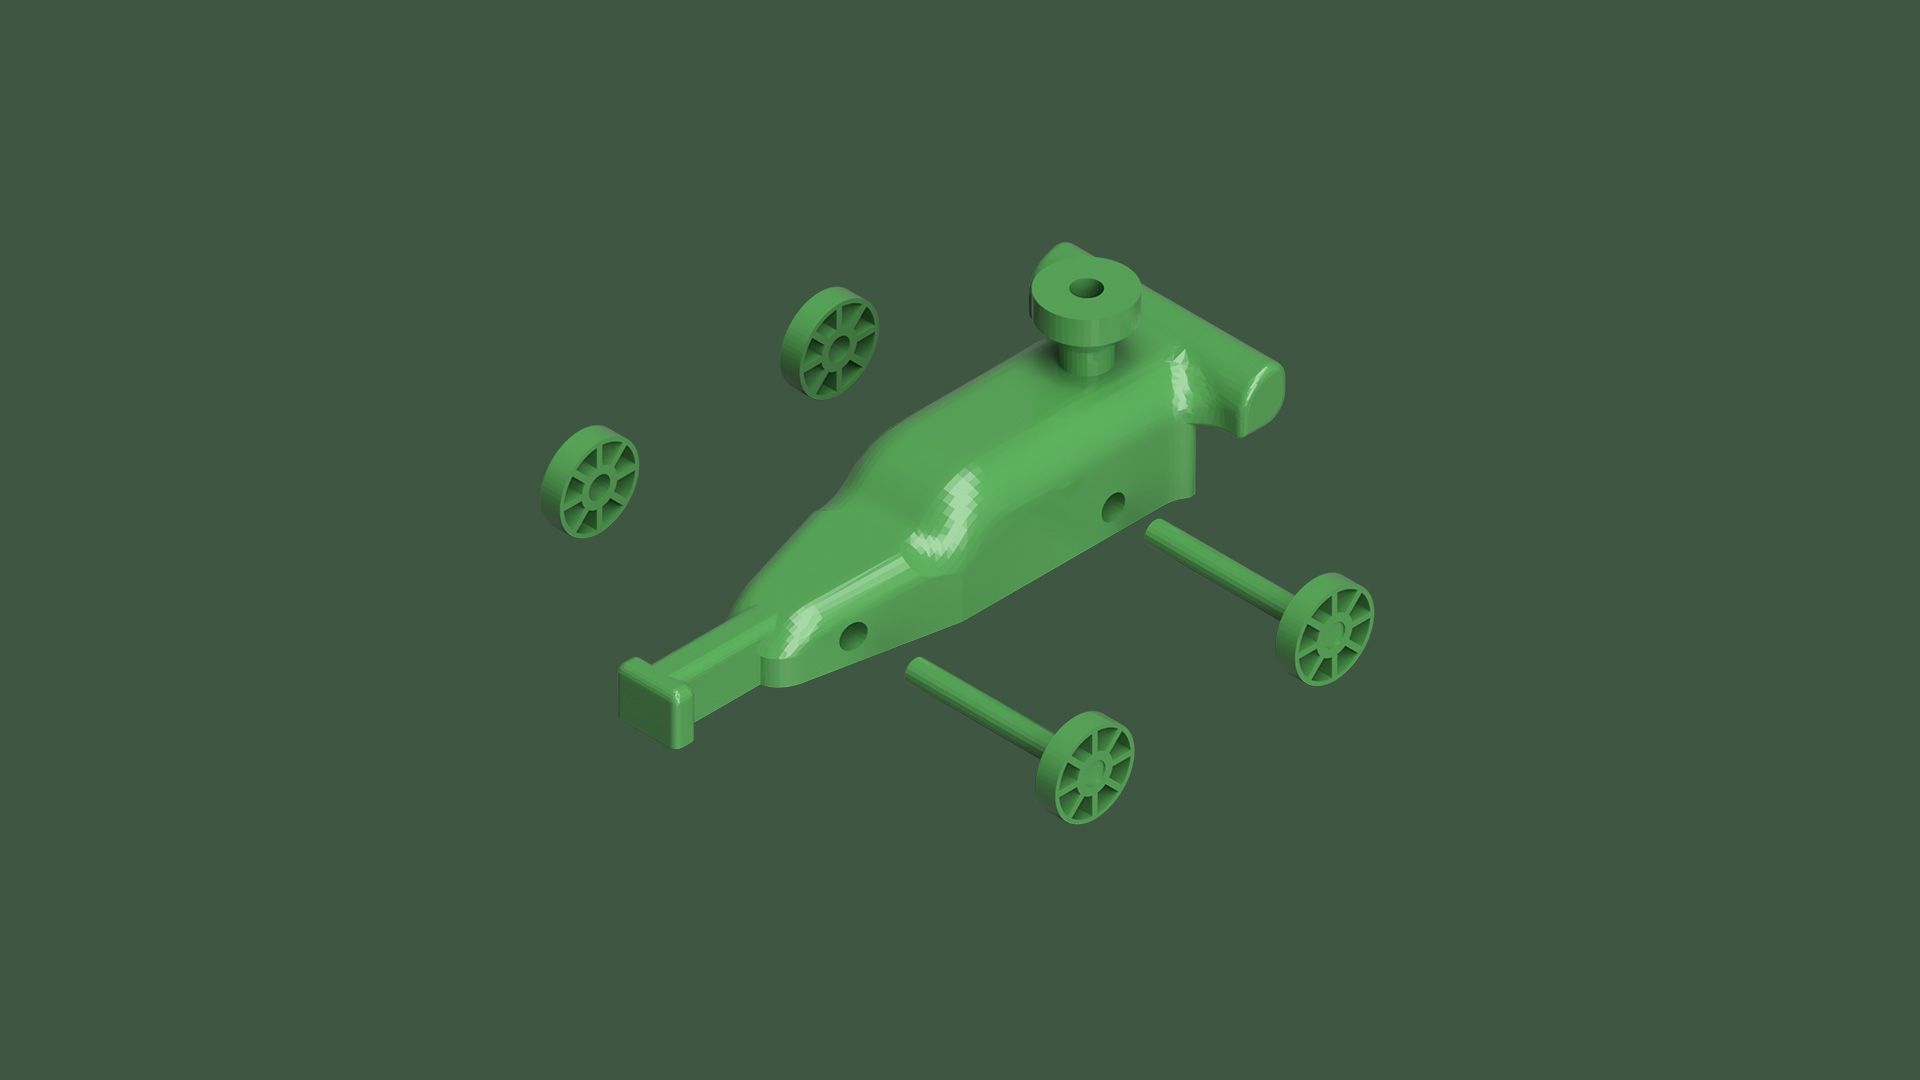
Clearance
Clearance (the gap between 2 joining parts) needs to be considered to ensure axles have a tight fit with the wheels, and to ensure the axles can turn freely within the chassis.
Skill Building
We're now going to go through a tutorial to design a basic balloon dragster. This is going to act as the starting point of your own unique design! Select either the Tinkercad or Fusion 360 tutorial below and follow it to design the example balloon dragster. If you are using the Tinkercad tutorial, you will require this STL file to import into the design. There are options for both voice over instructions and text-based instructions so simply pick your preferred method of learning.
Download Balloon Dragster Pipe STLBalloon Dragster Pipe
1 STL in this file🖥️ TinkerCad Video
Feature Iteration
Now that you've created your initial prototype, it's time to test and improve it through an iterative process – in view of getting the dragster to travel as far as possible in a straight line. To do this, we'll be using a design method called 'Feature Iteration Diagrams', which is a simple method to plan out product improvements.
The process involves creating basic diagrams of the various features that make up your prototype. Once your prototype has been tested, a new set of diagrams are created showing changes and improvements to be made. For each iteration, the process is repeated. Using basic visual diagrams encourages you to consider each key feature of your design – helping you to plan improvements in a simple, clear and effective way. Download and print out this template and then follow the below steps to complete the project!
*The following instructions are just one of many ways in which you might approach the design process. If you'd like to adapt the project or challenge yourself to take an alternative approach, feel free to explore the Design Method Toolkit and use different methods to those stated in this project.
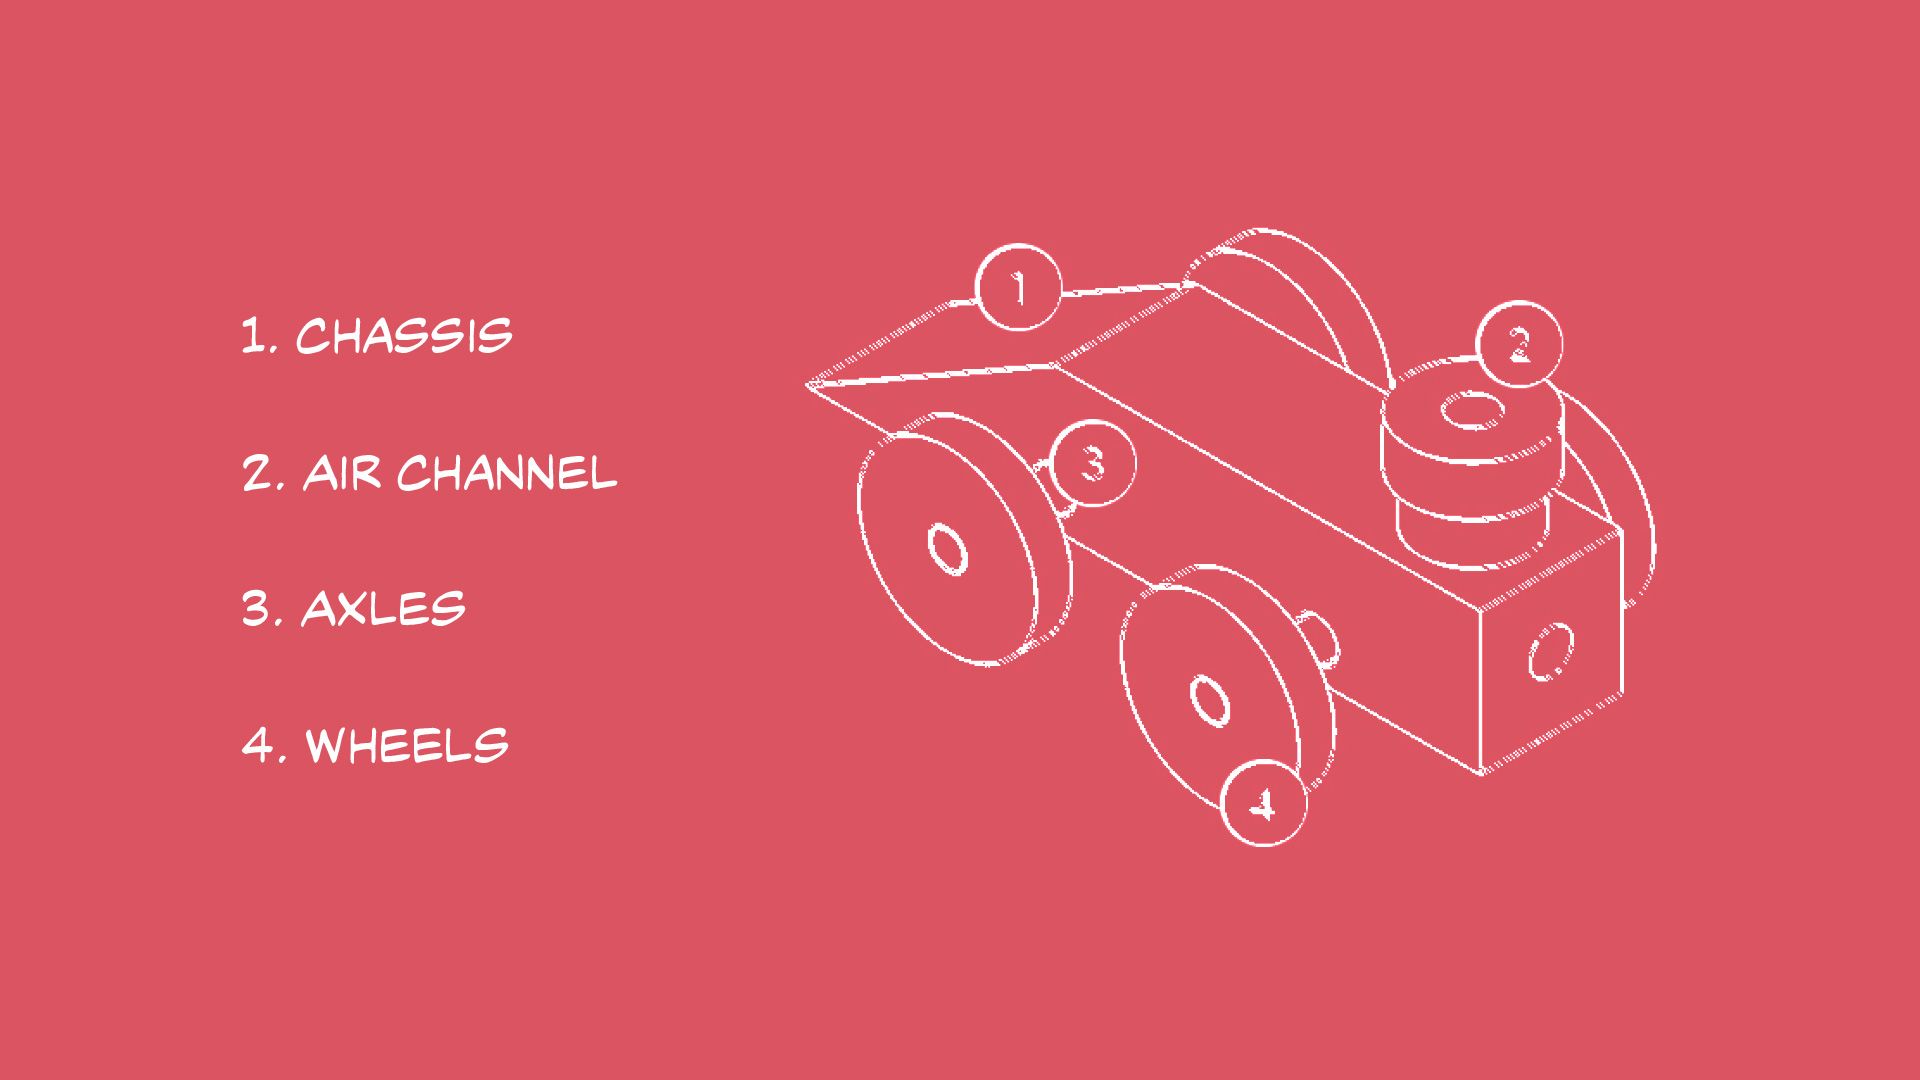
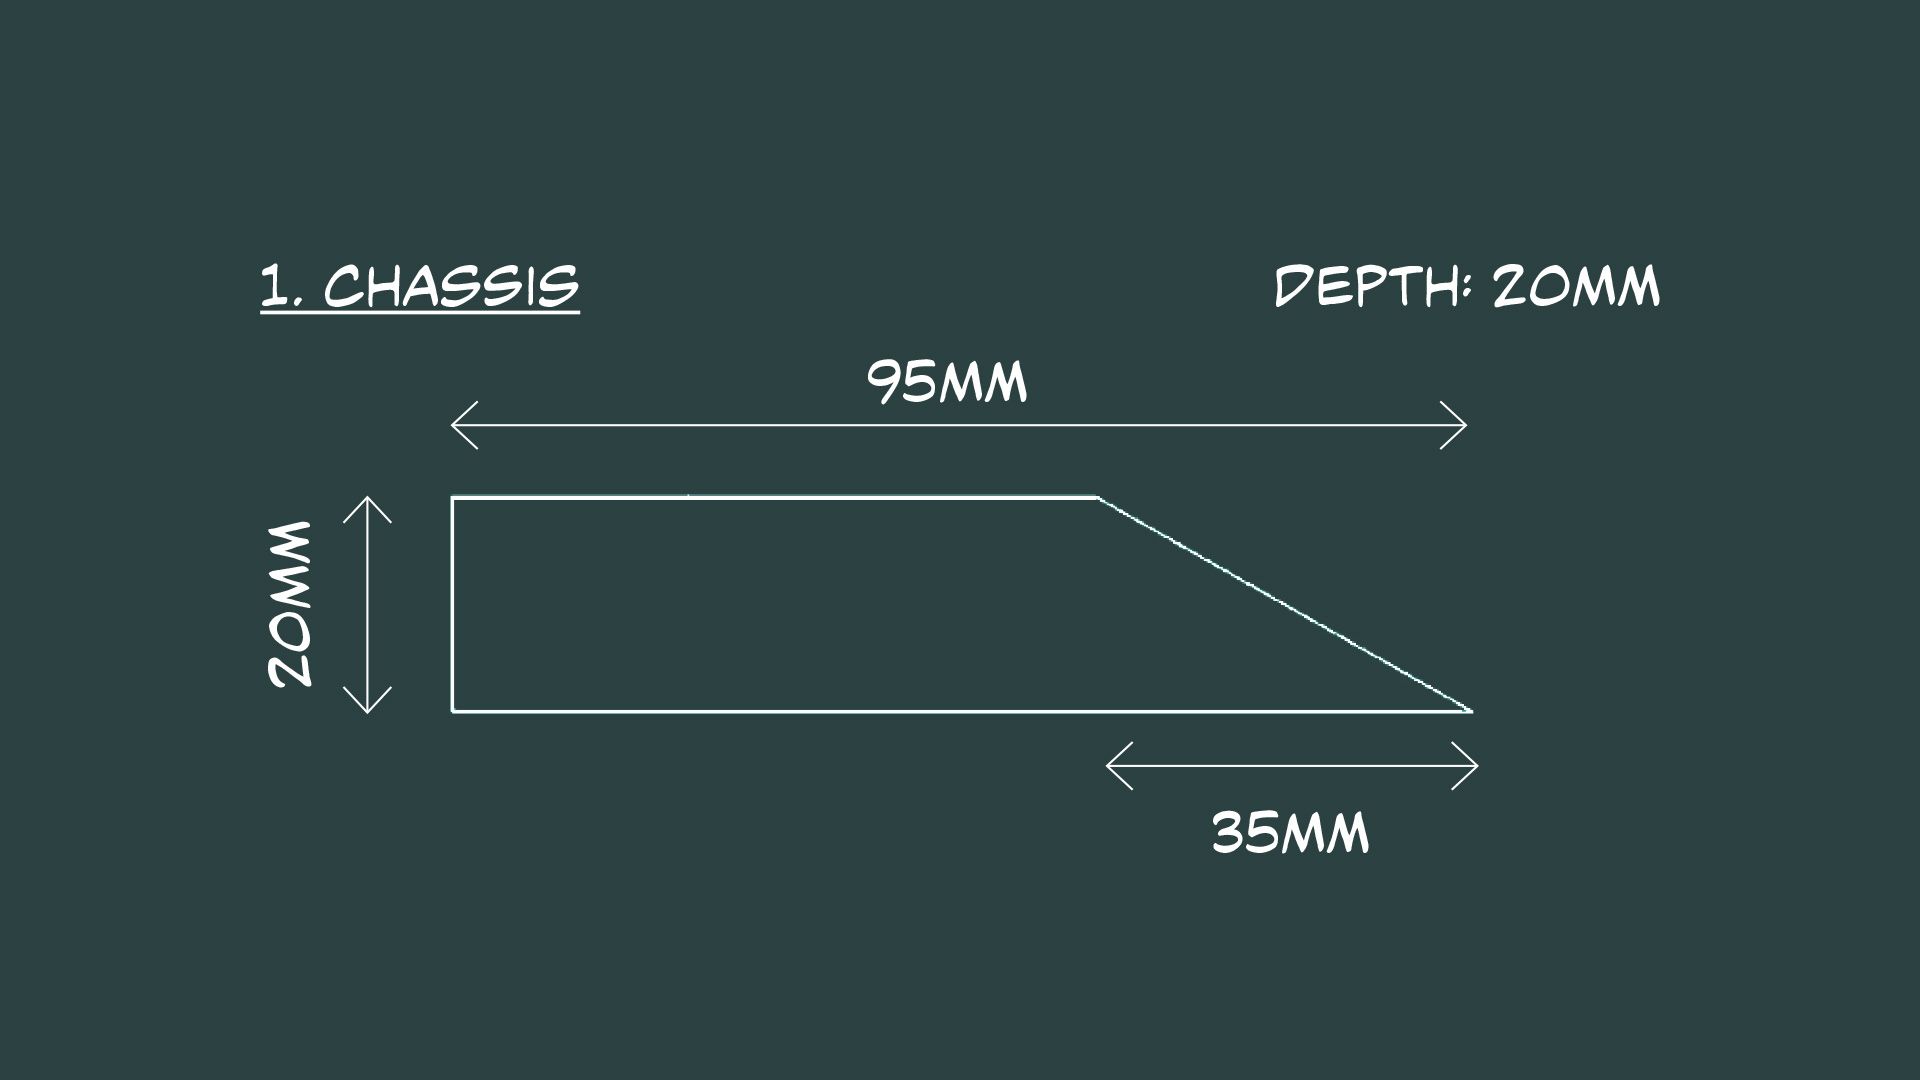
Test your initial prototype by measuring the straight line distance it can travel. We recommend doing 3 tests and using the best result. When testing, ensure you identify a straight line path you'd like the dragster to follow. When measuring the distance travelled, measure along the straight line path to the point that the dragster is in line with.
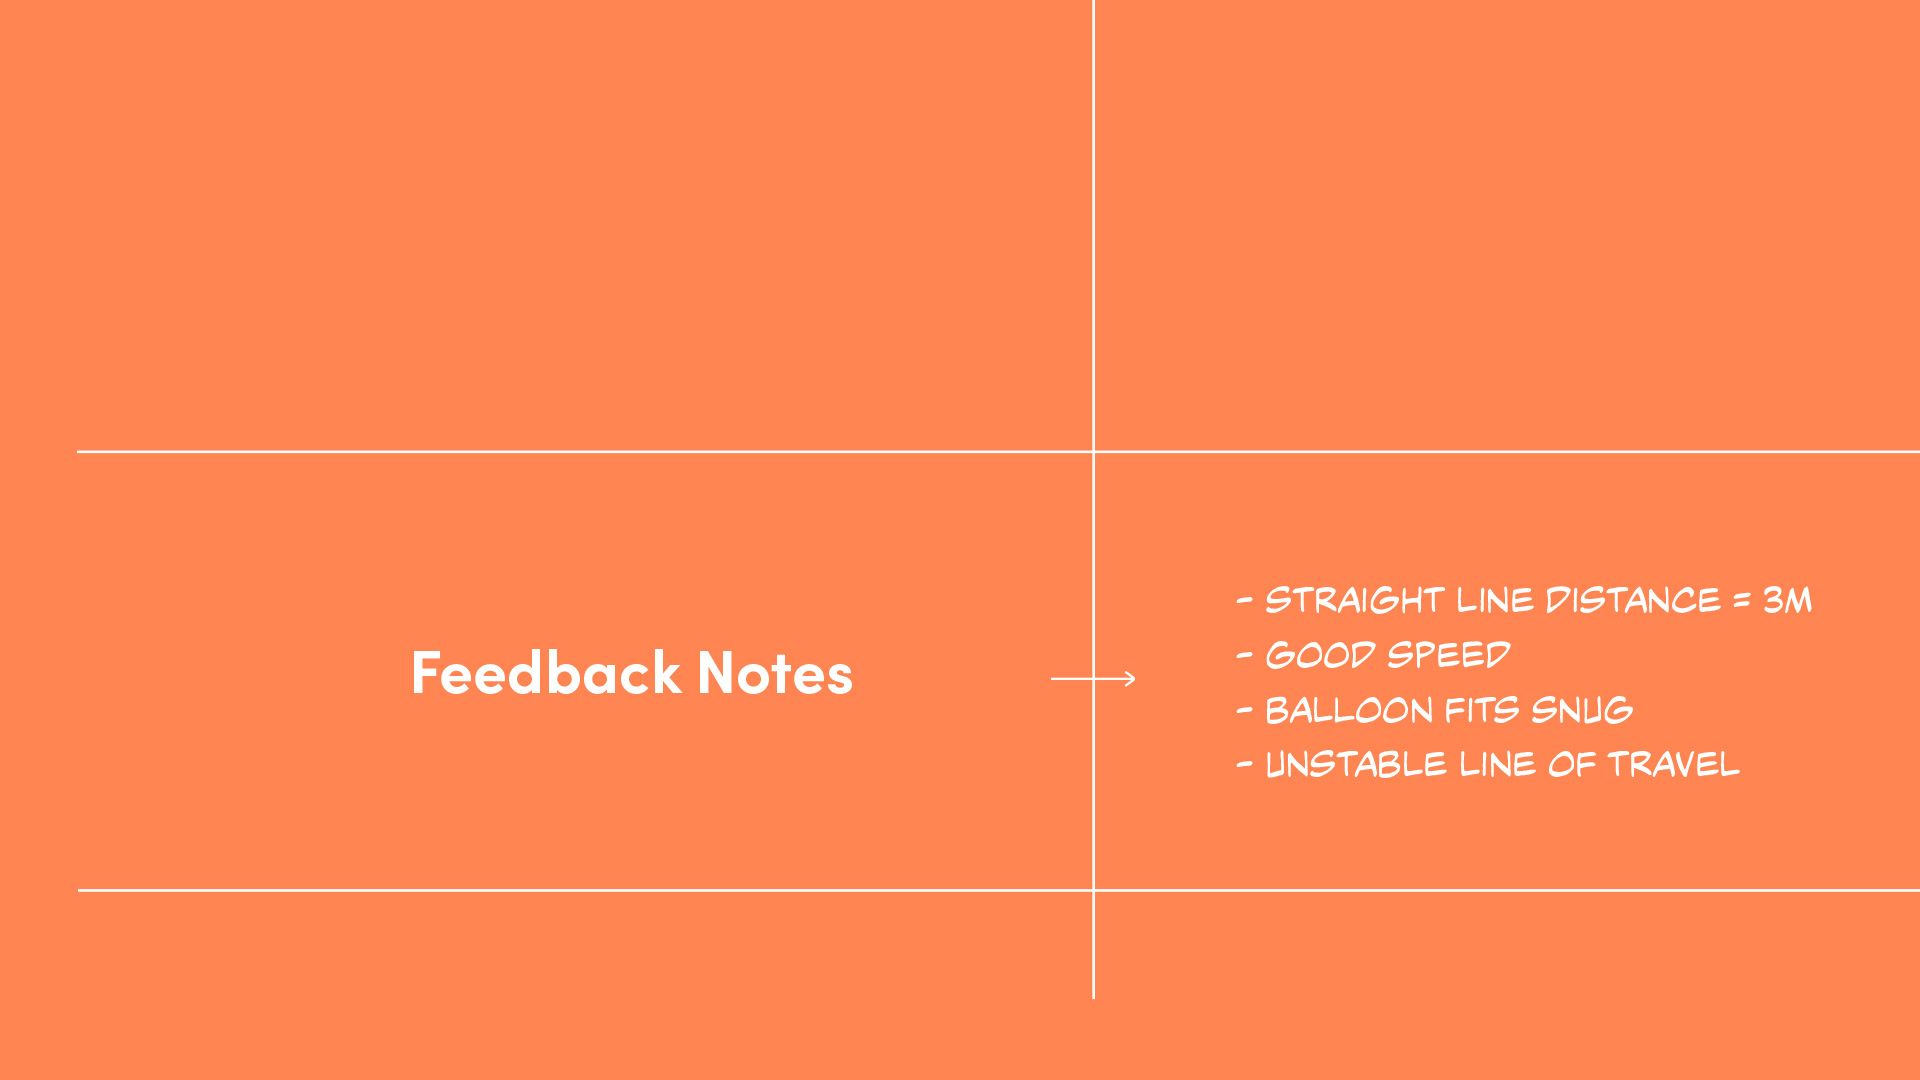
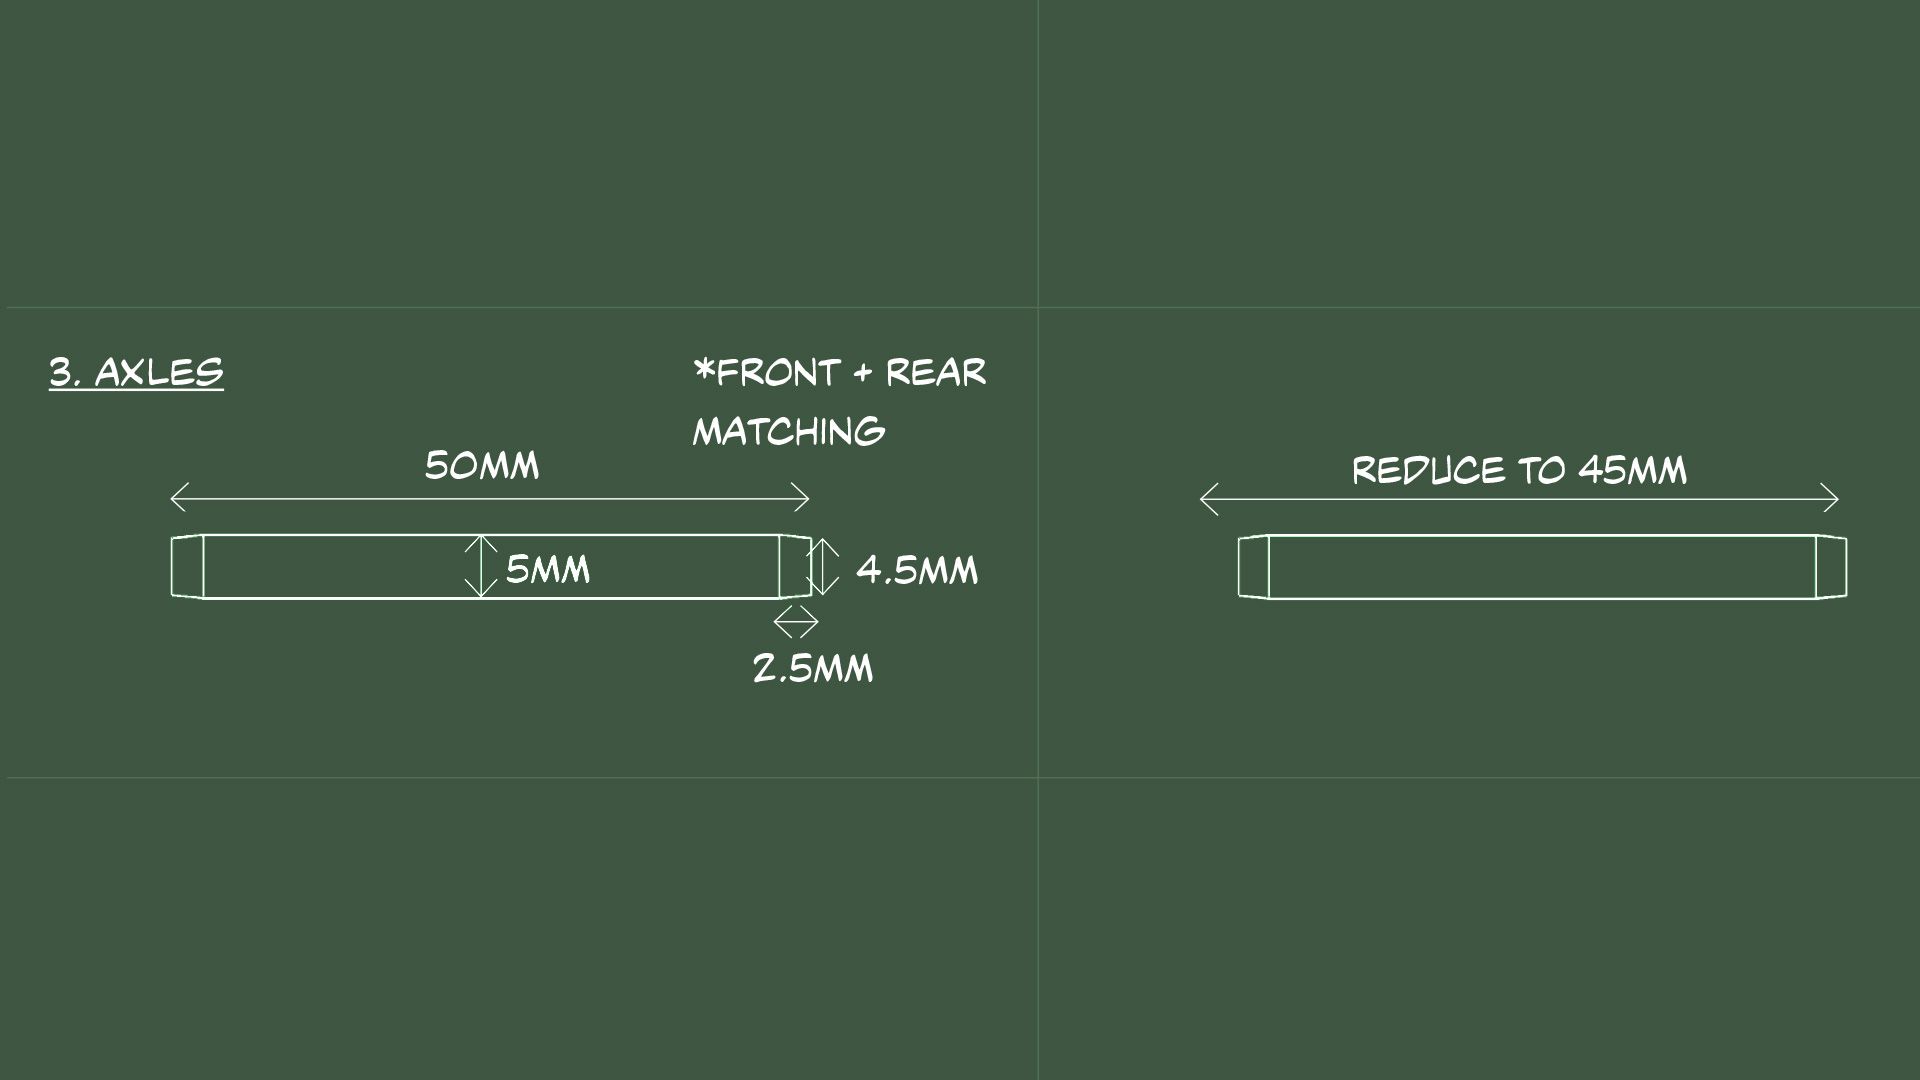
Go through your features and think carefully about what could be changed to increase the straight line distance travelled. It's important to note that you don't need to change everything – even minor changes to 1 or 2 features can have a great impact. Create new diagrams in the 'Iteration 2' column to show the changes. Then use the diagrams as a foundation to build your new and improved prototype.
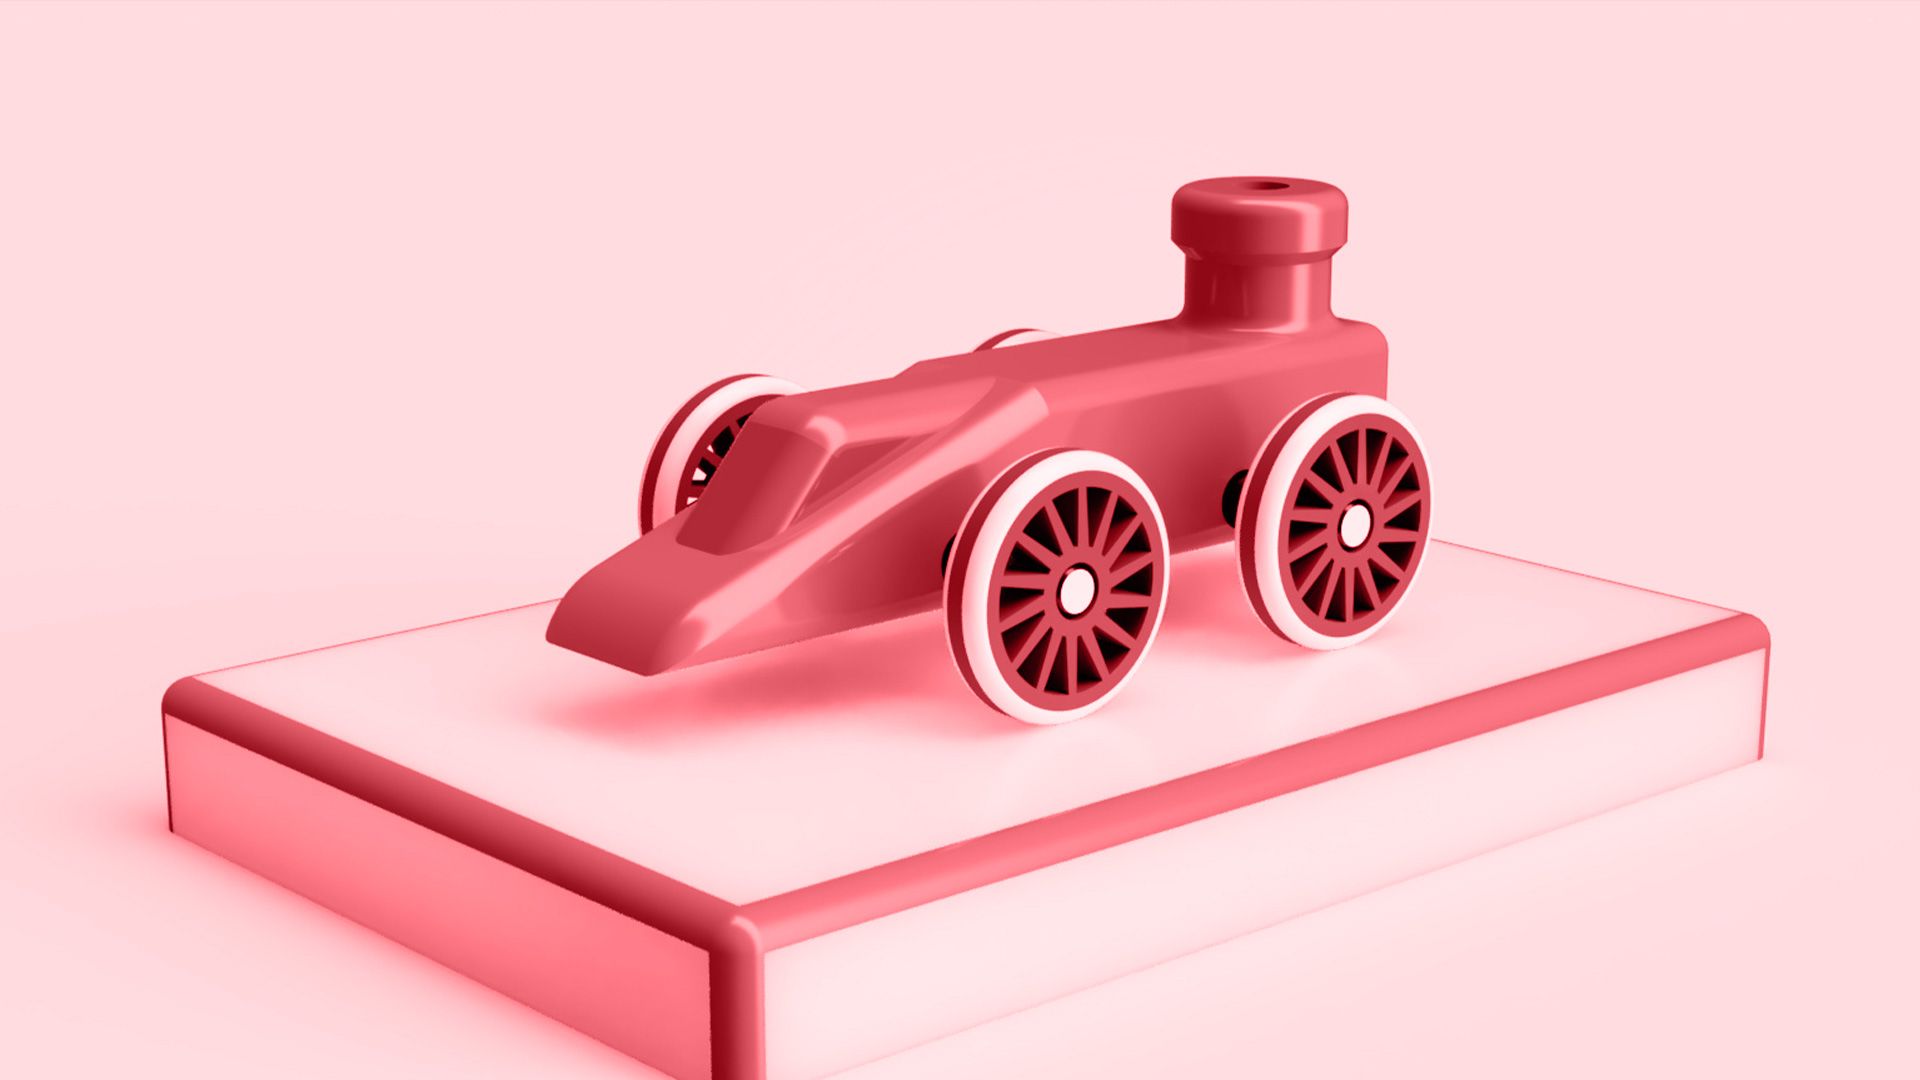
When you have 3D printed 'Iteration 2', repeat steps 3-5 again to bring your final model to life. Depending on the time you have available, you can continue developing further iterations to see how far you can get the dragster to go!
🔑 Key Learning
This project teaches learners how forces, thrust, friction, air resistance, and mass affect motion. It also builds skills in CAD design, 3D printing, prototyping, testing, measurement, iteration, and STEM problem-solving.